Cover Photo
Dear friends, I love making different types of dies. Today I have come to you with a wonderful die post, I hope you all enjoy it. So let's get started.
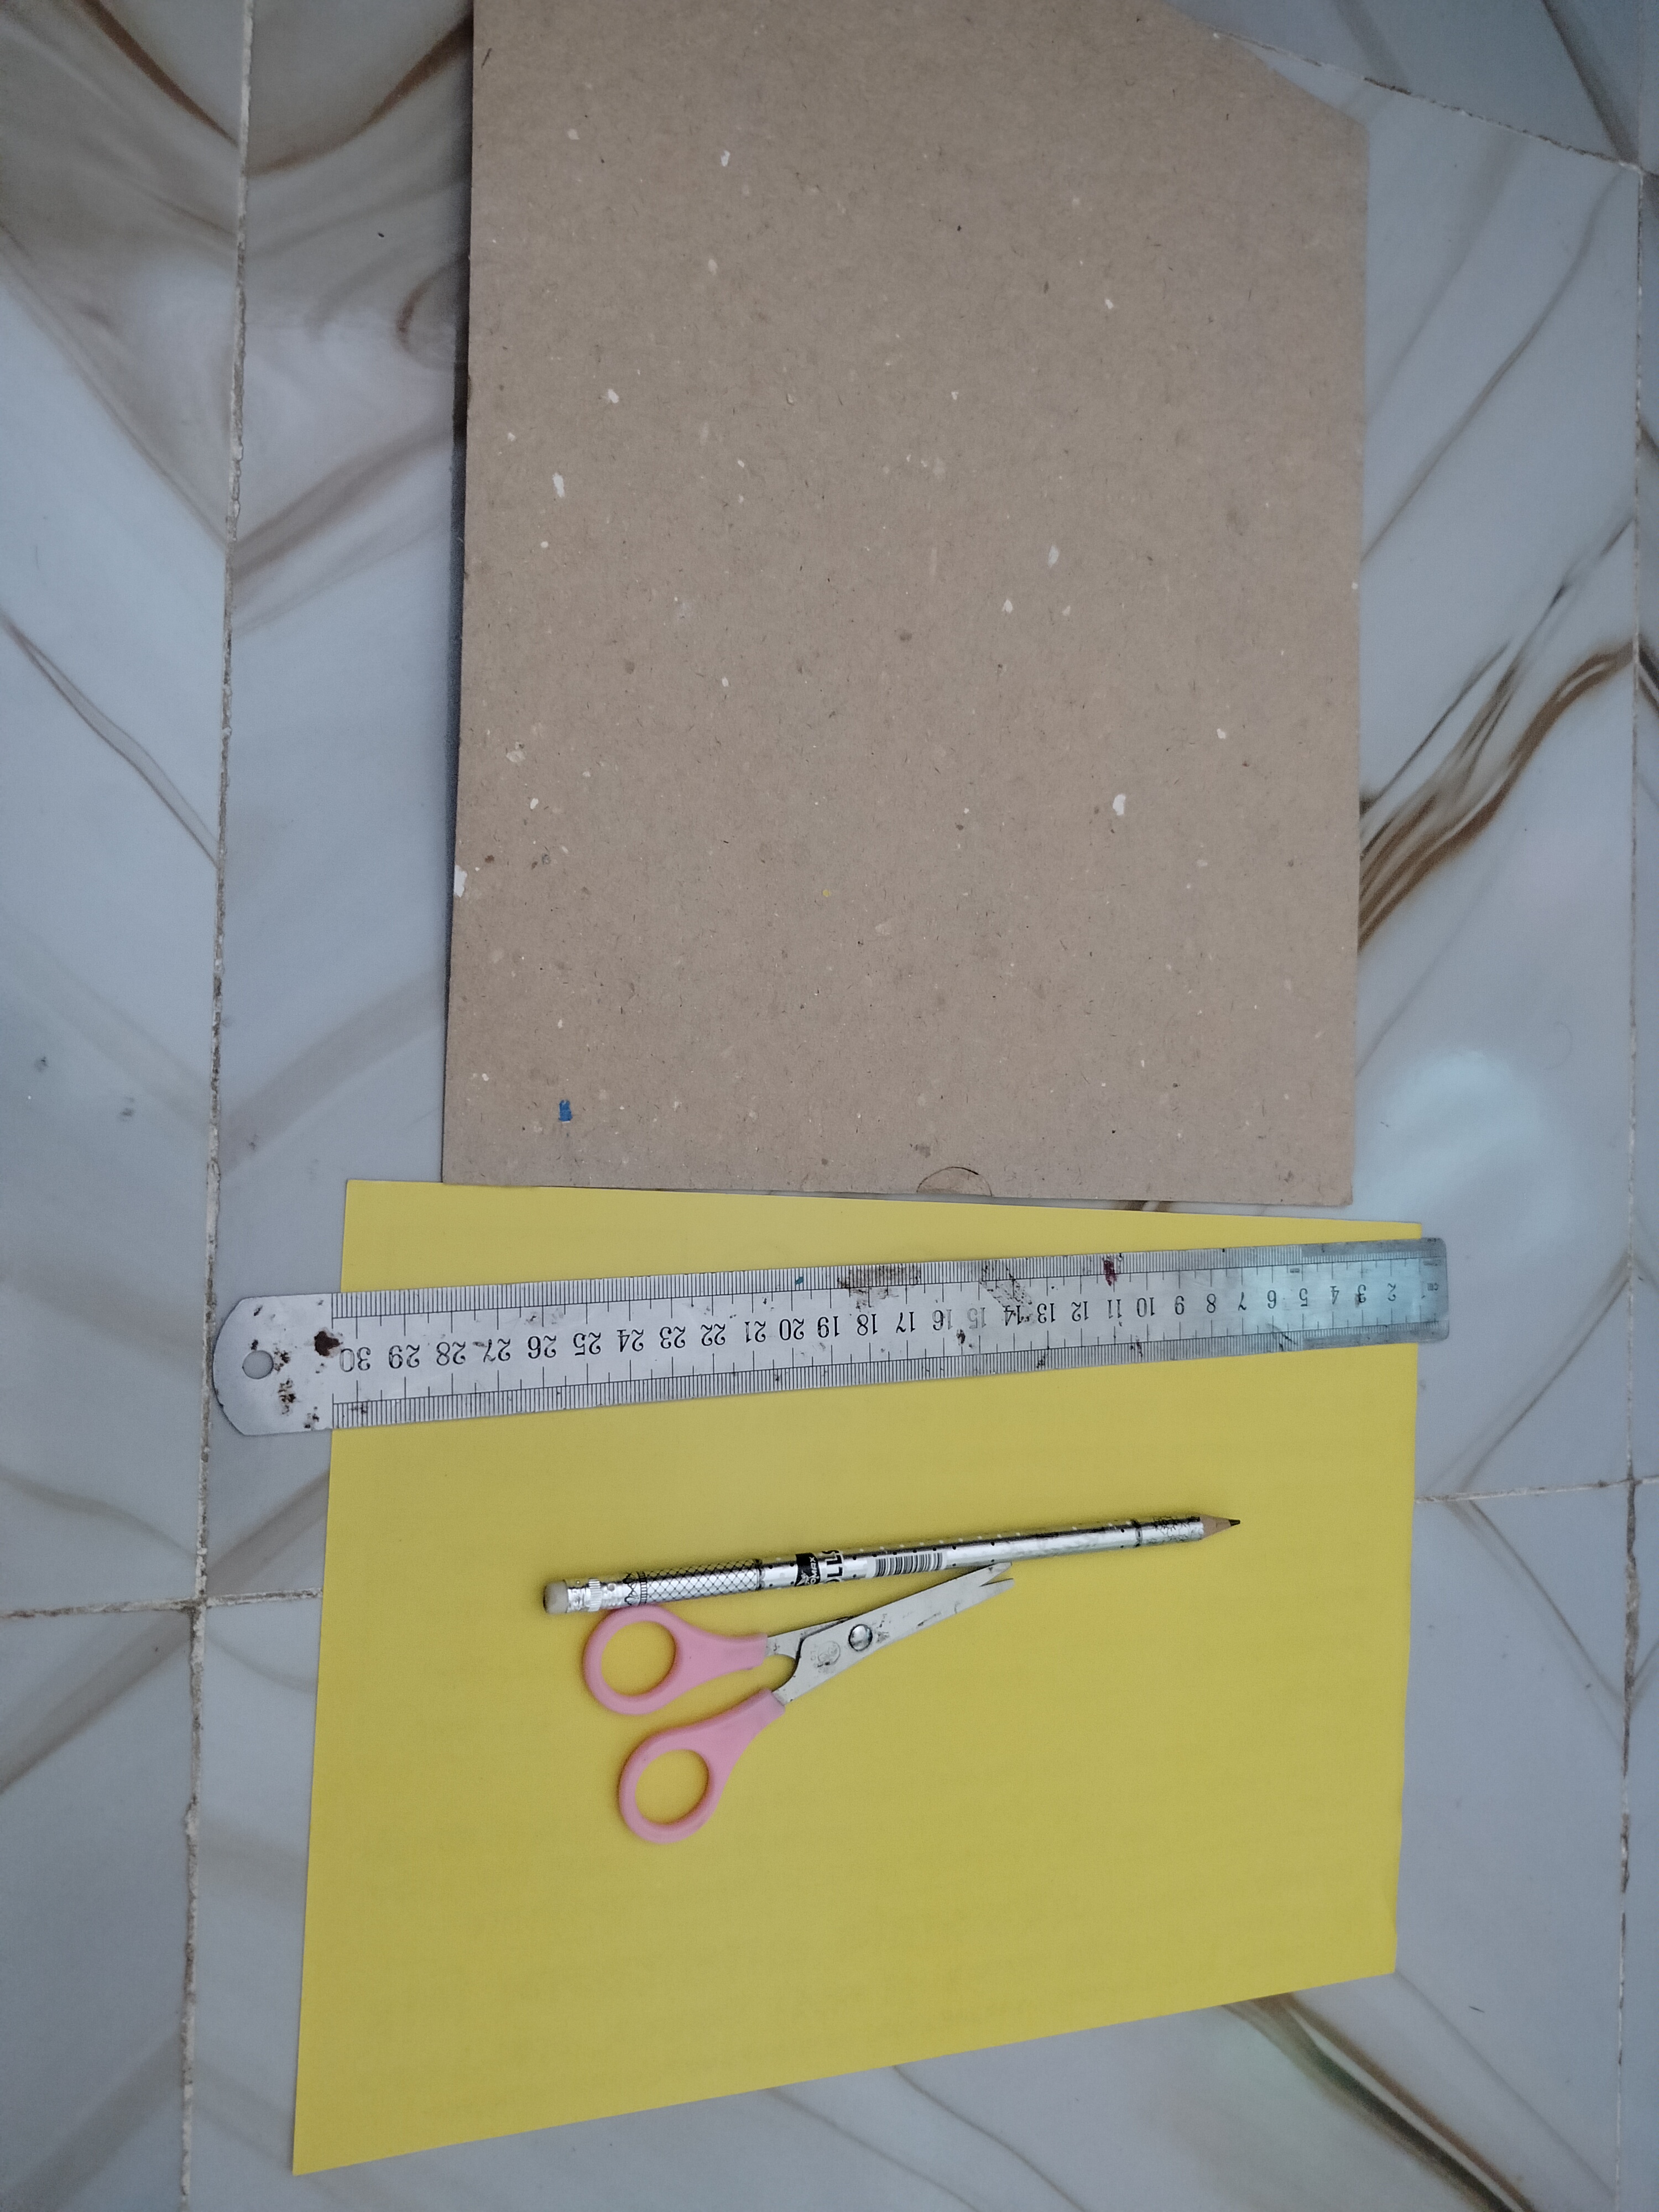
Materials required:-
- Cardboard.
- Colored paper.
- Scissors.
- Ruler.
- Pencil.
- Colored pencils
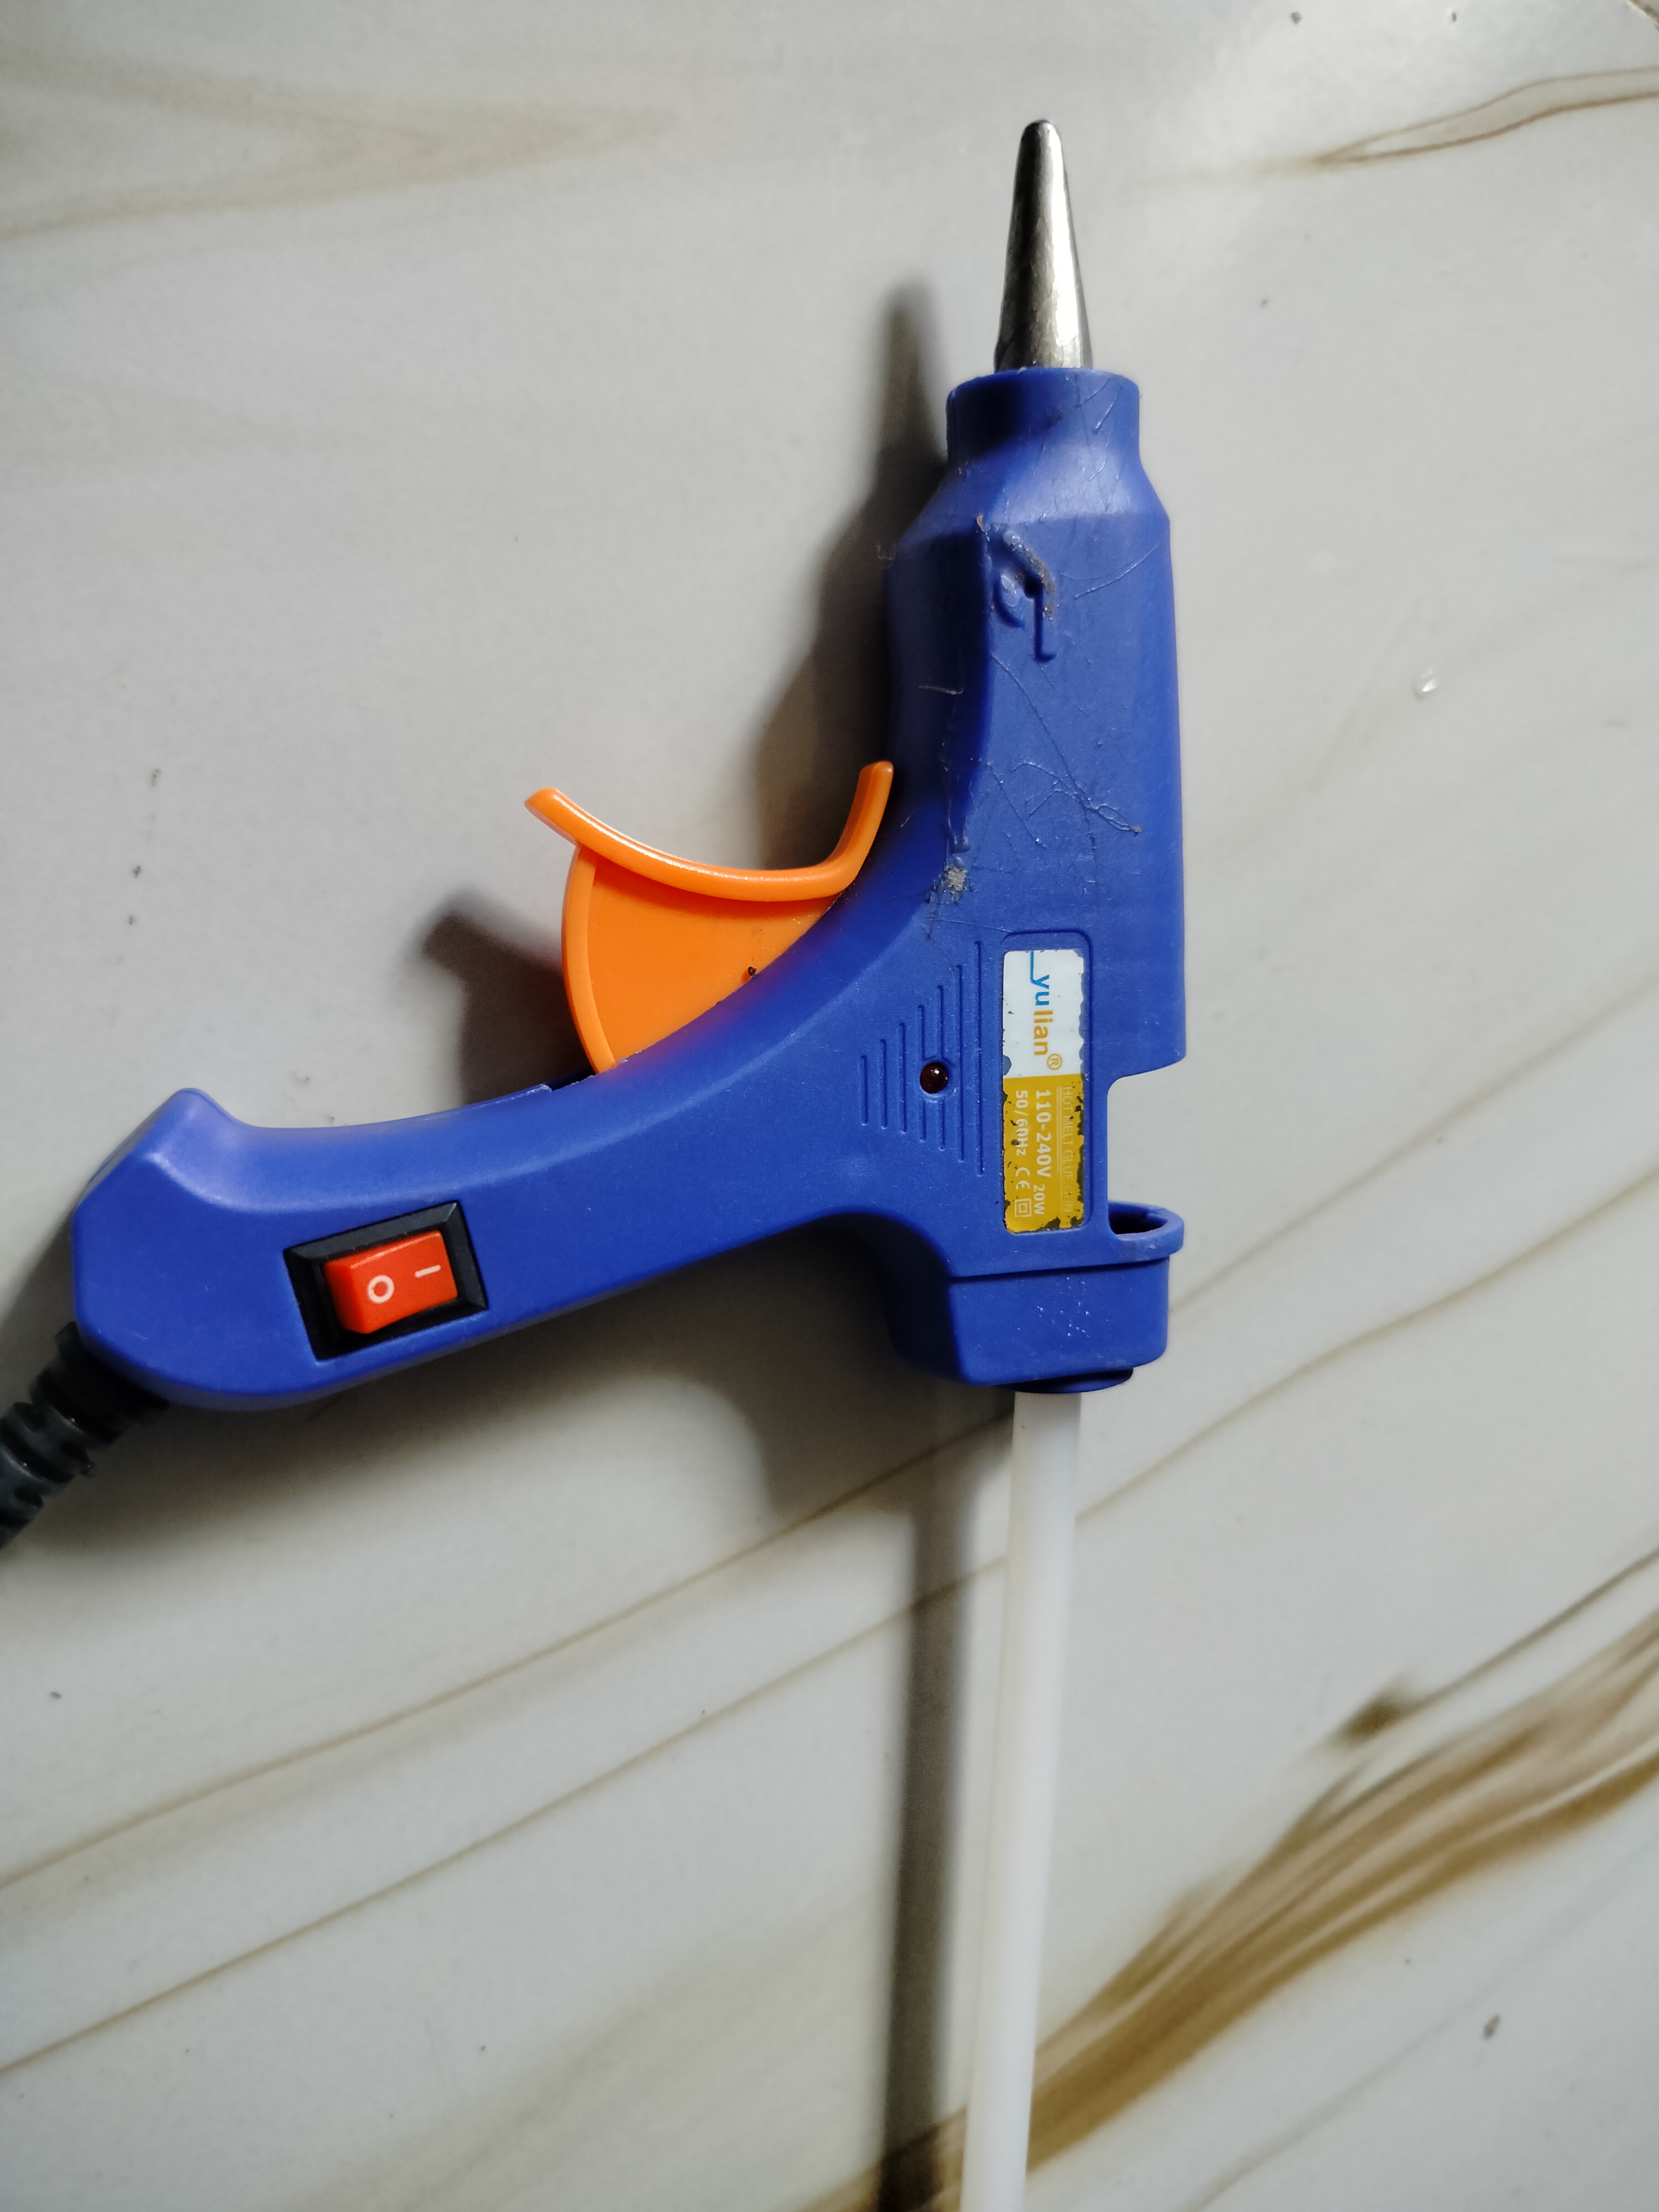
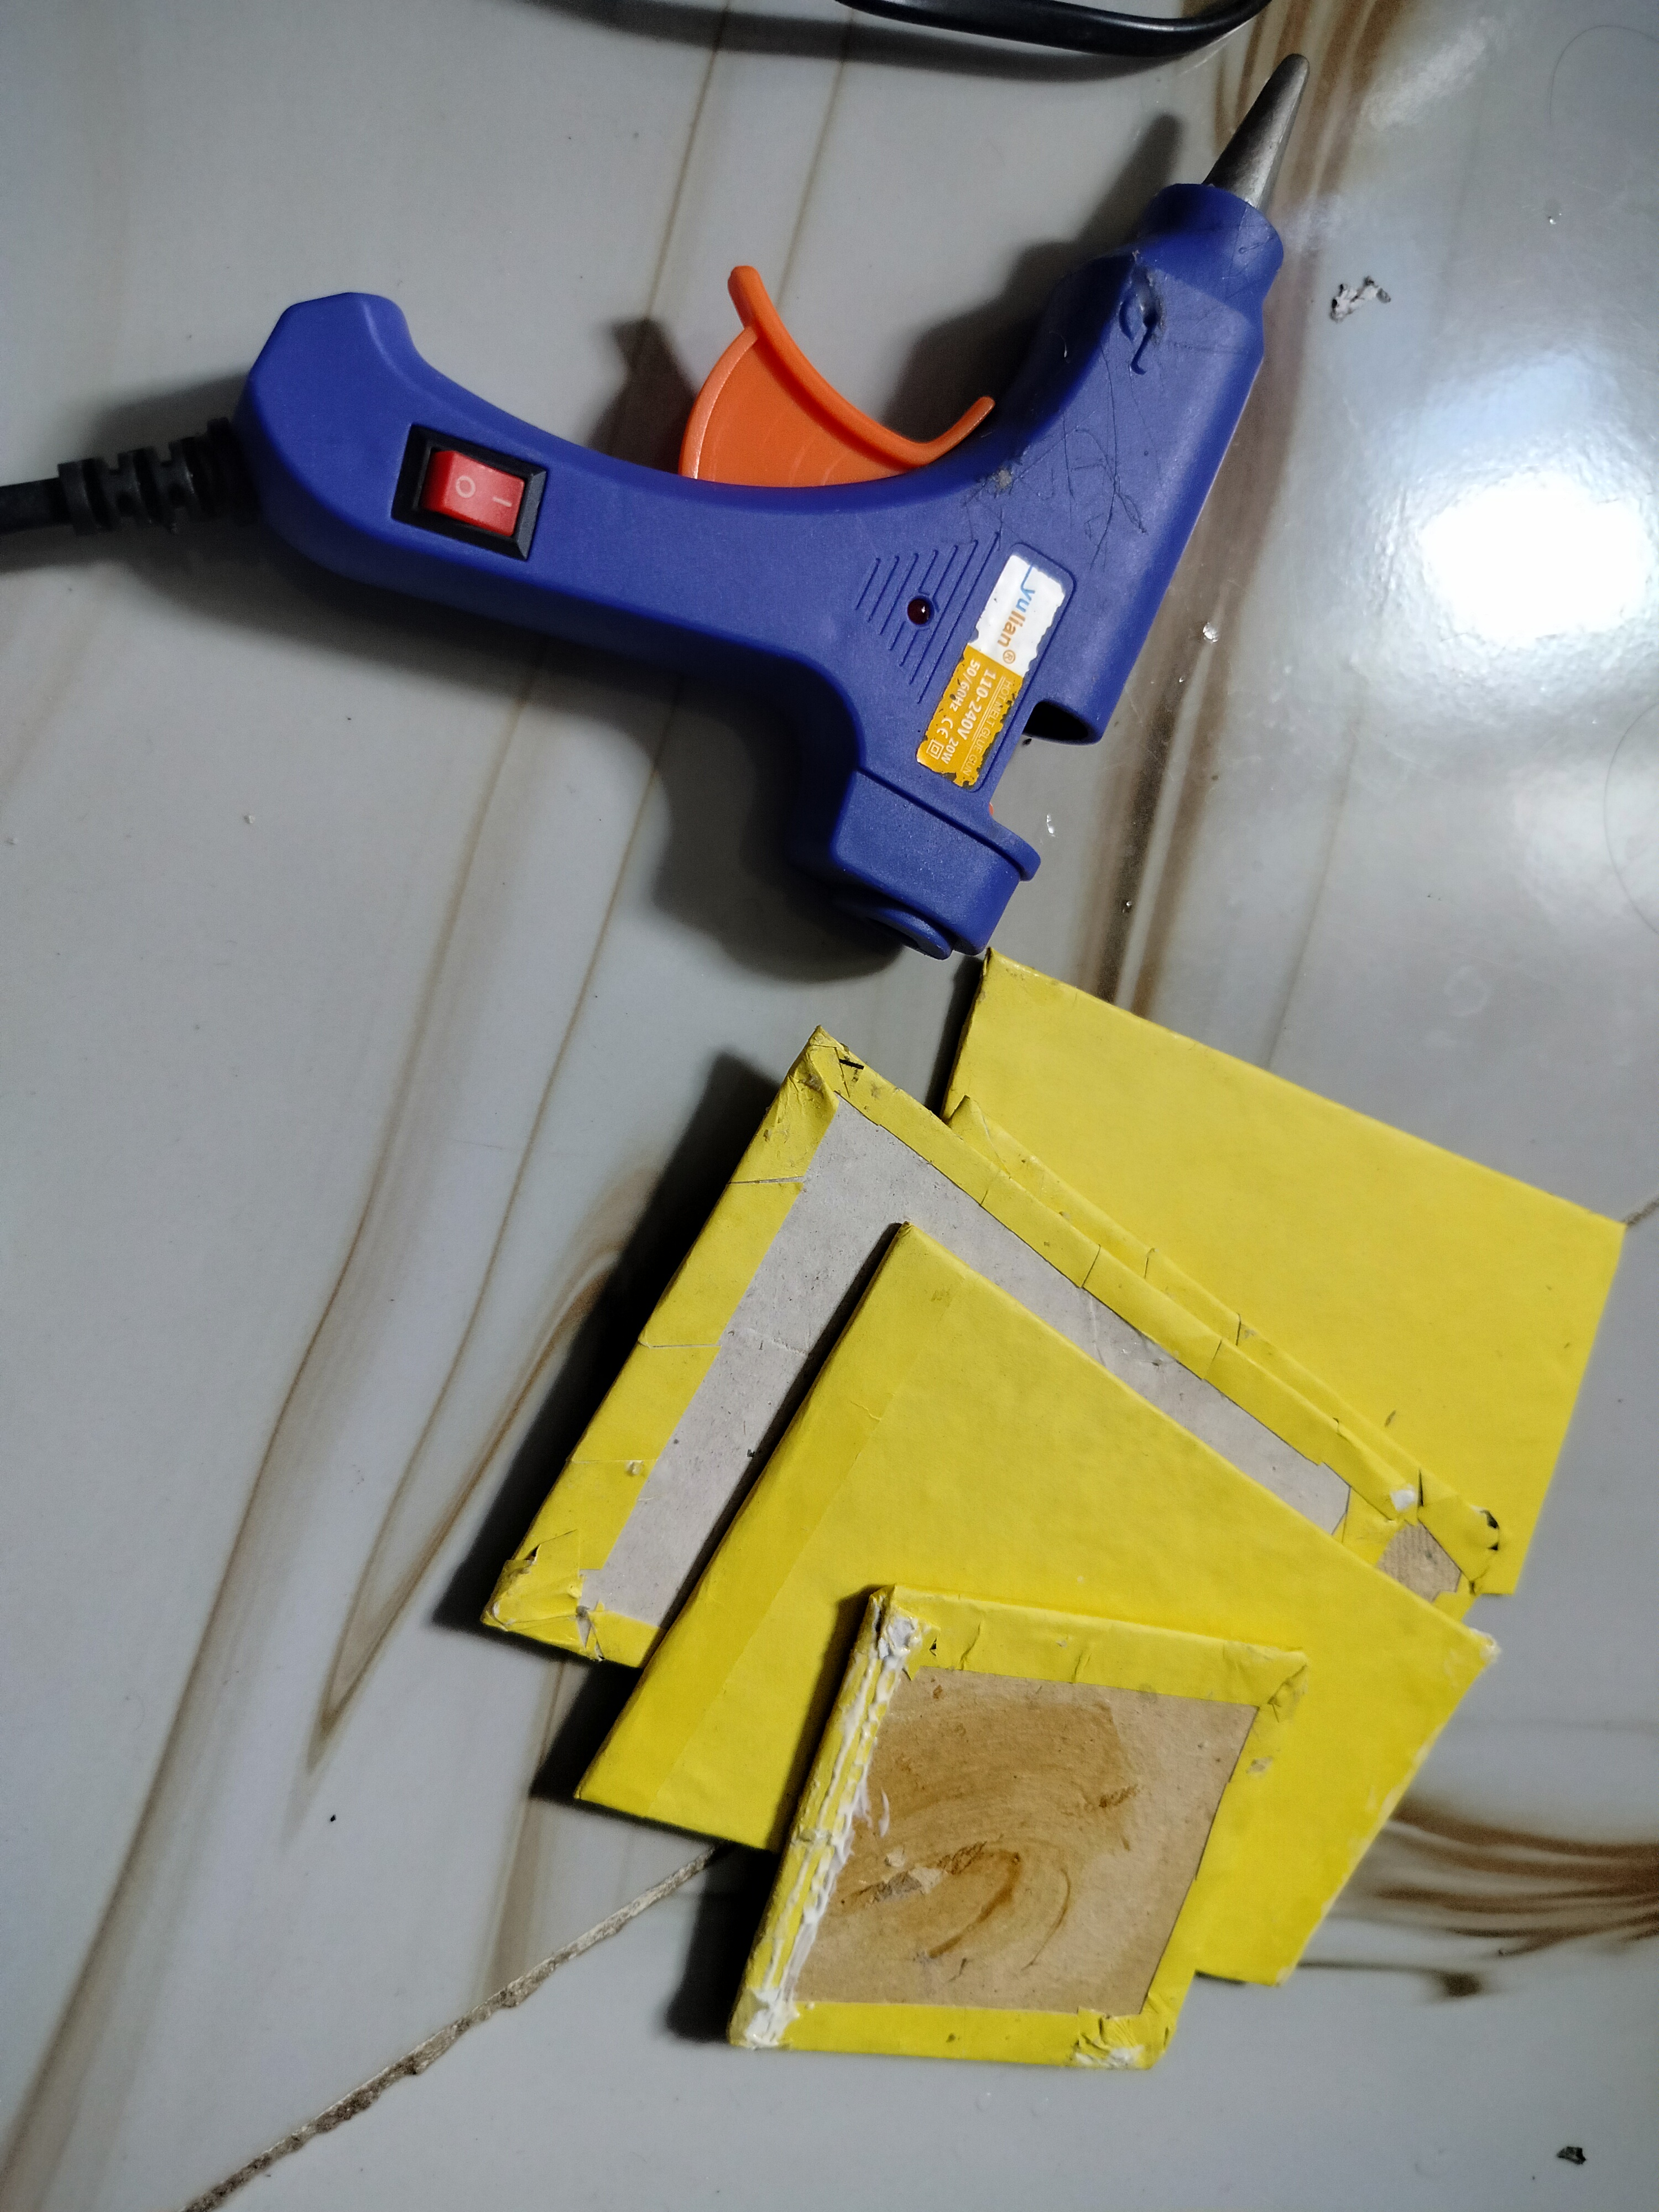
- Glue gun and glue stick.
Step 1: Design and Measurement.
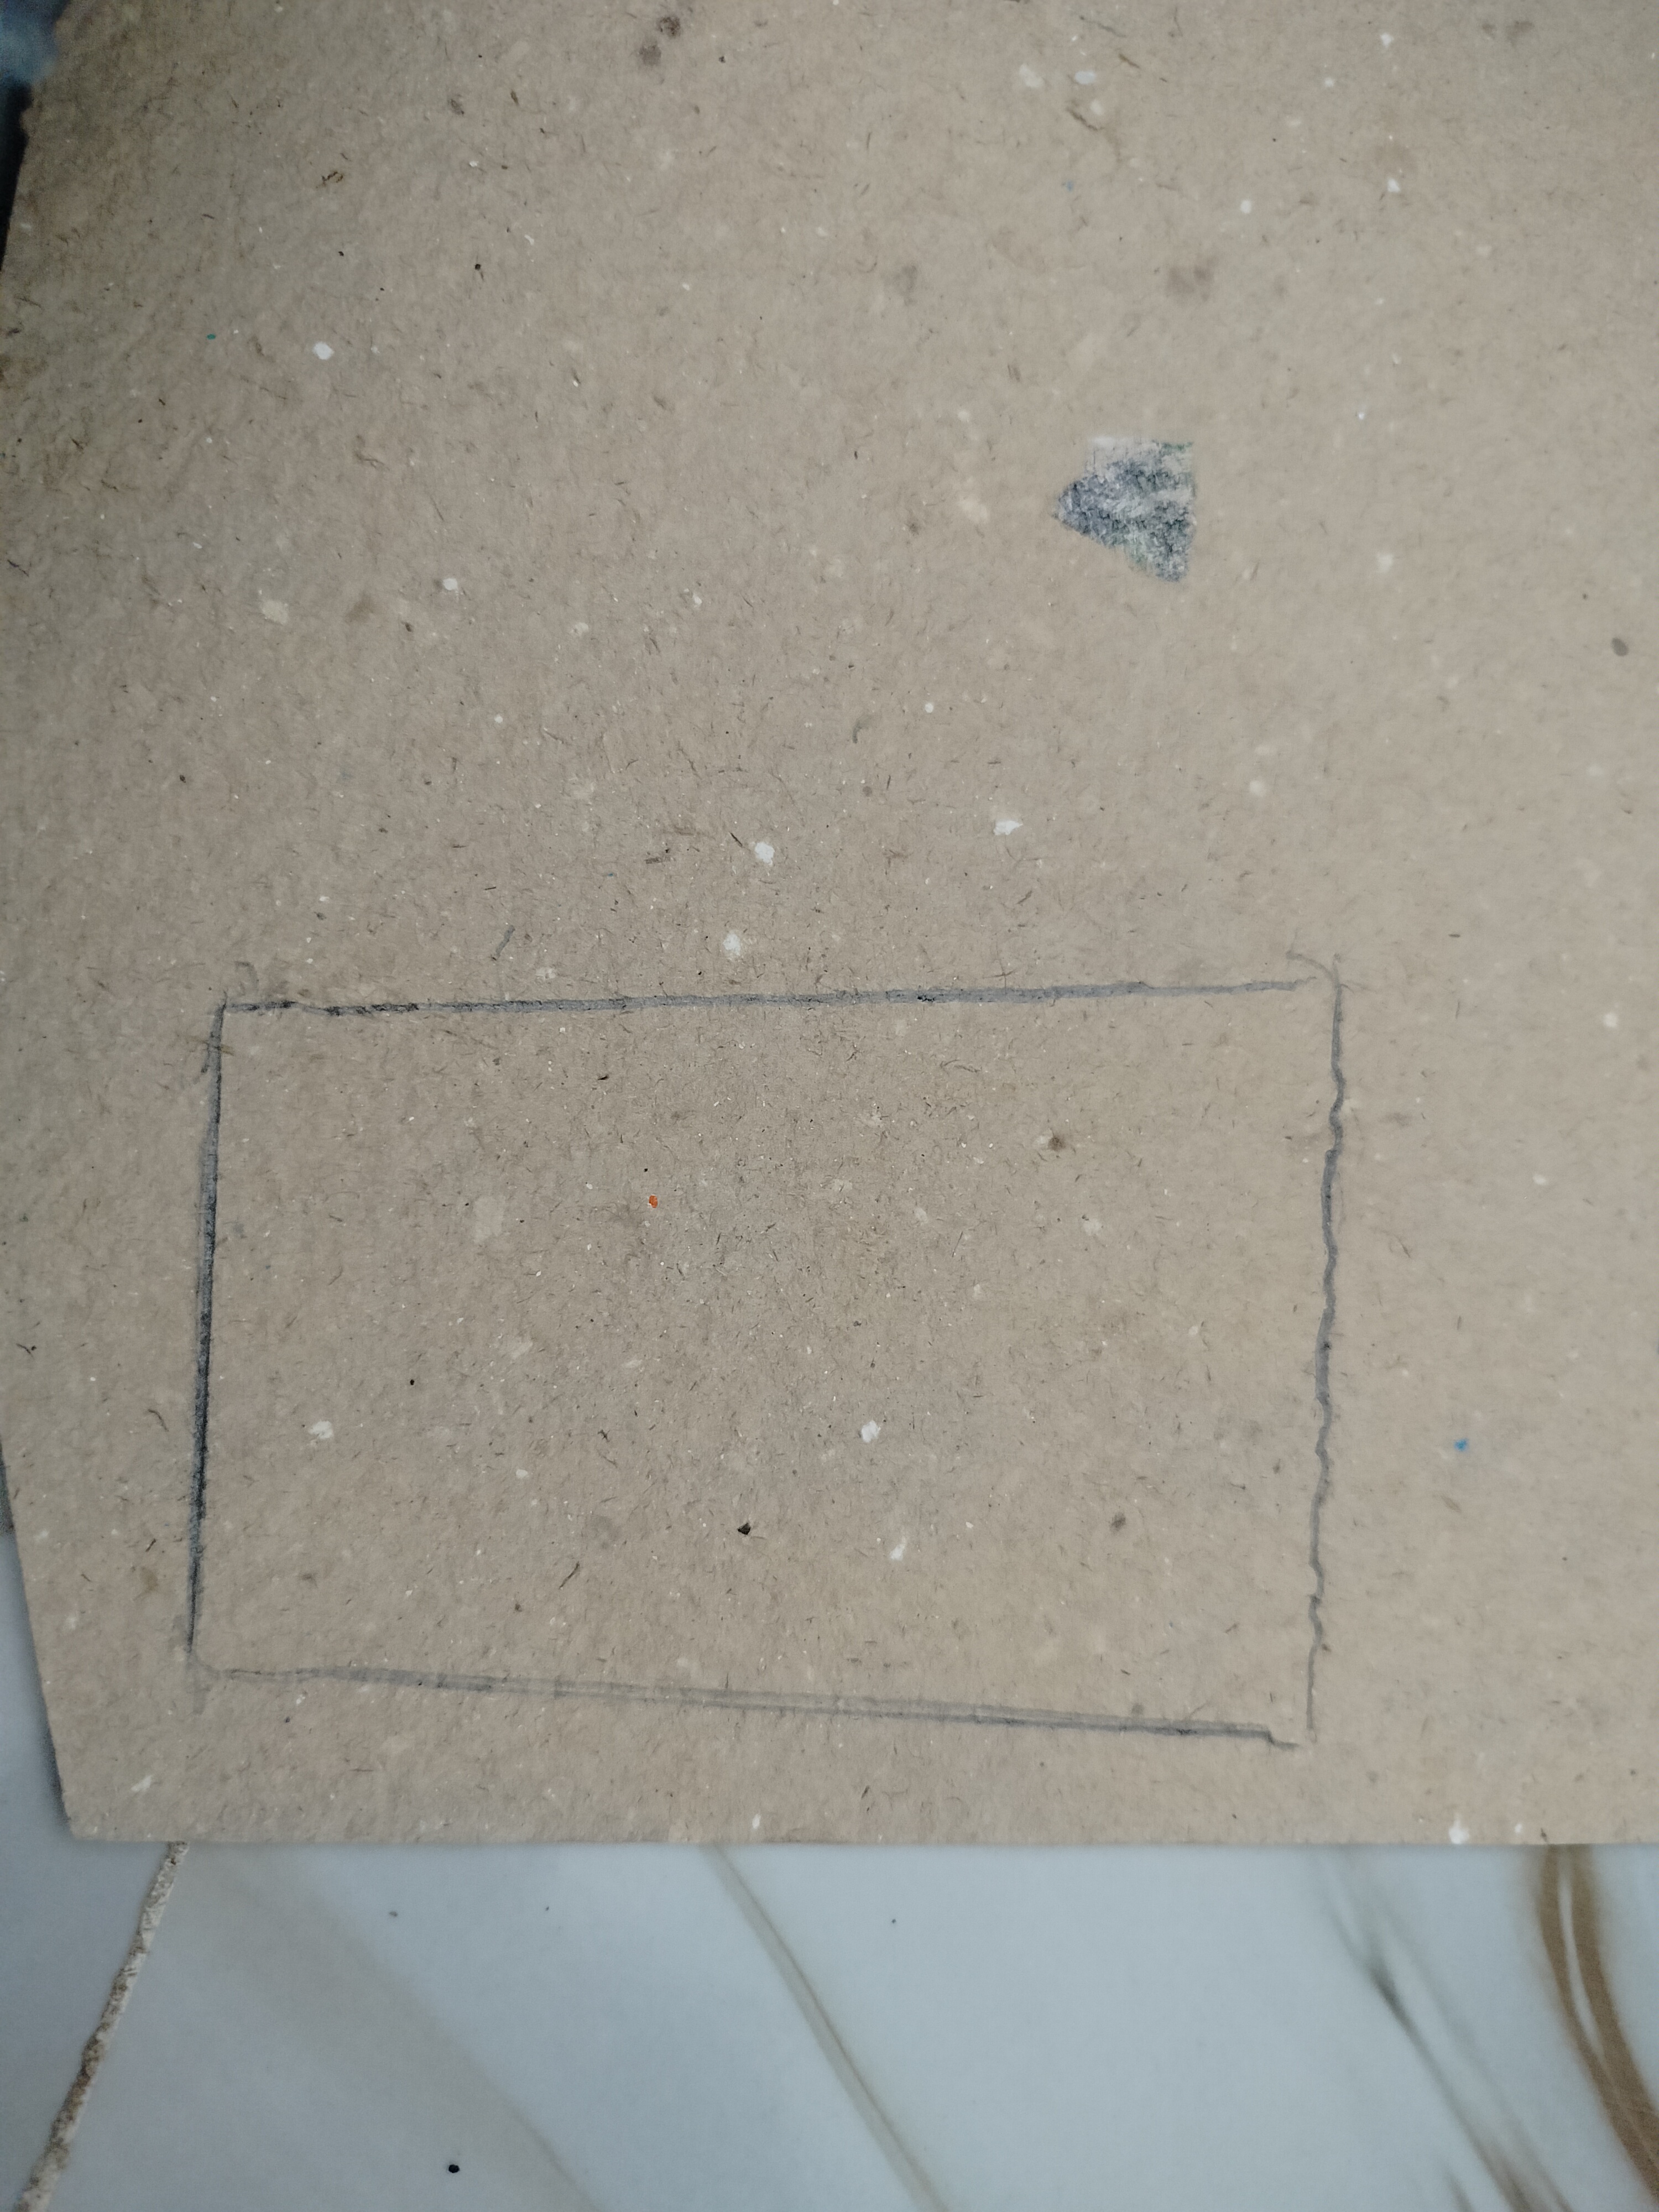
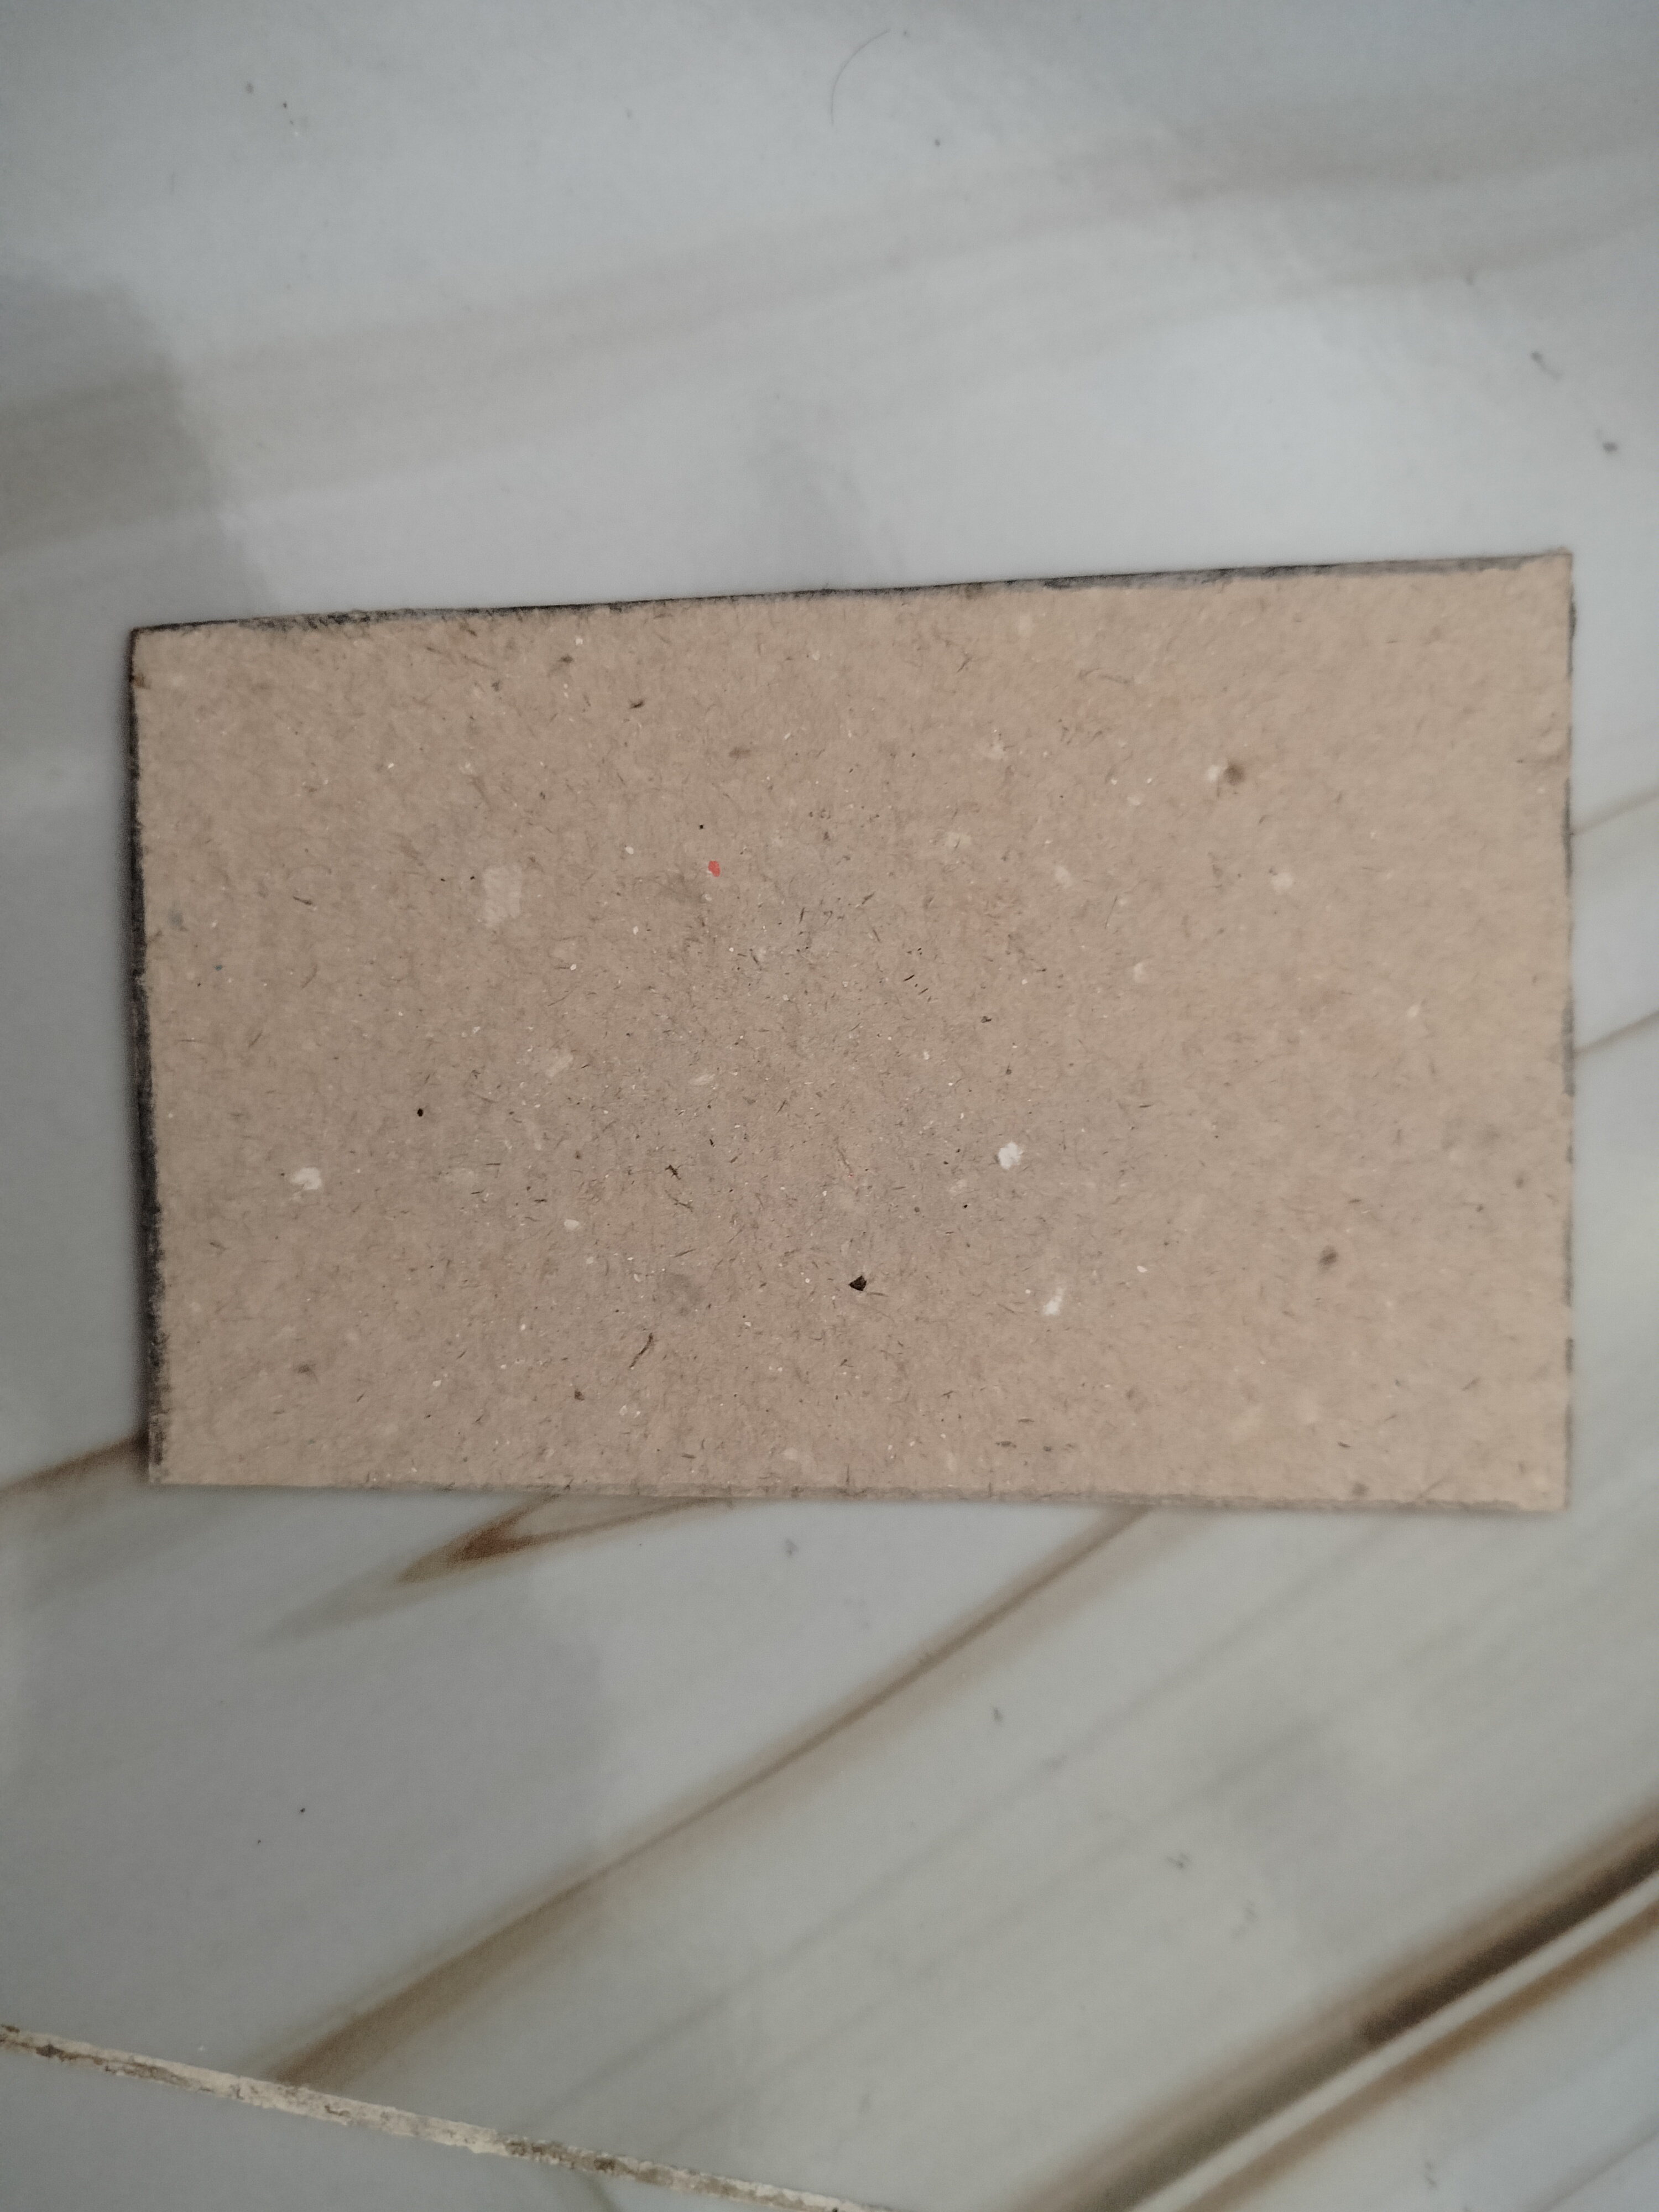
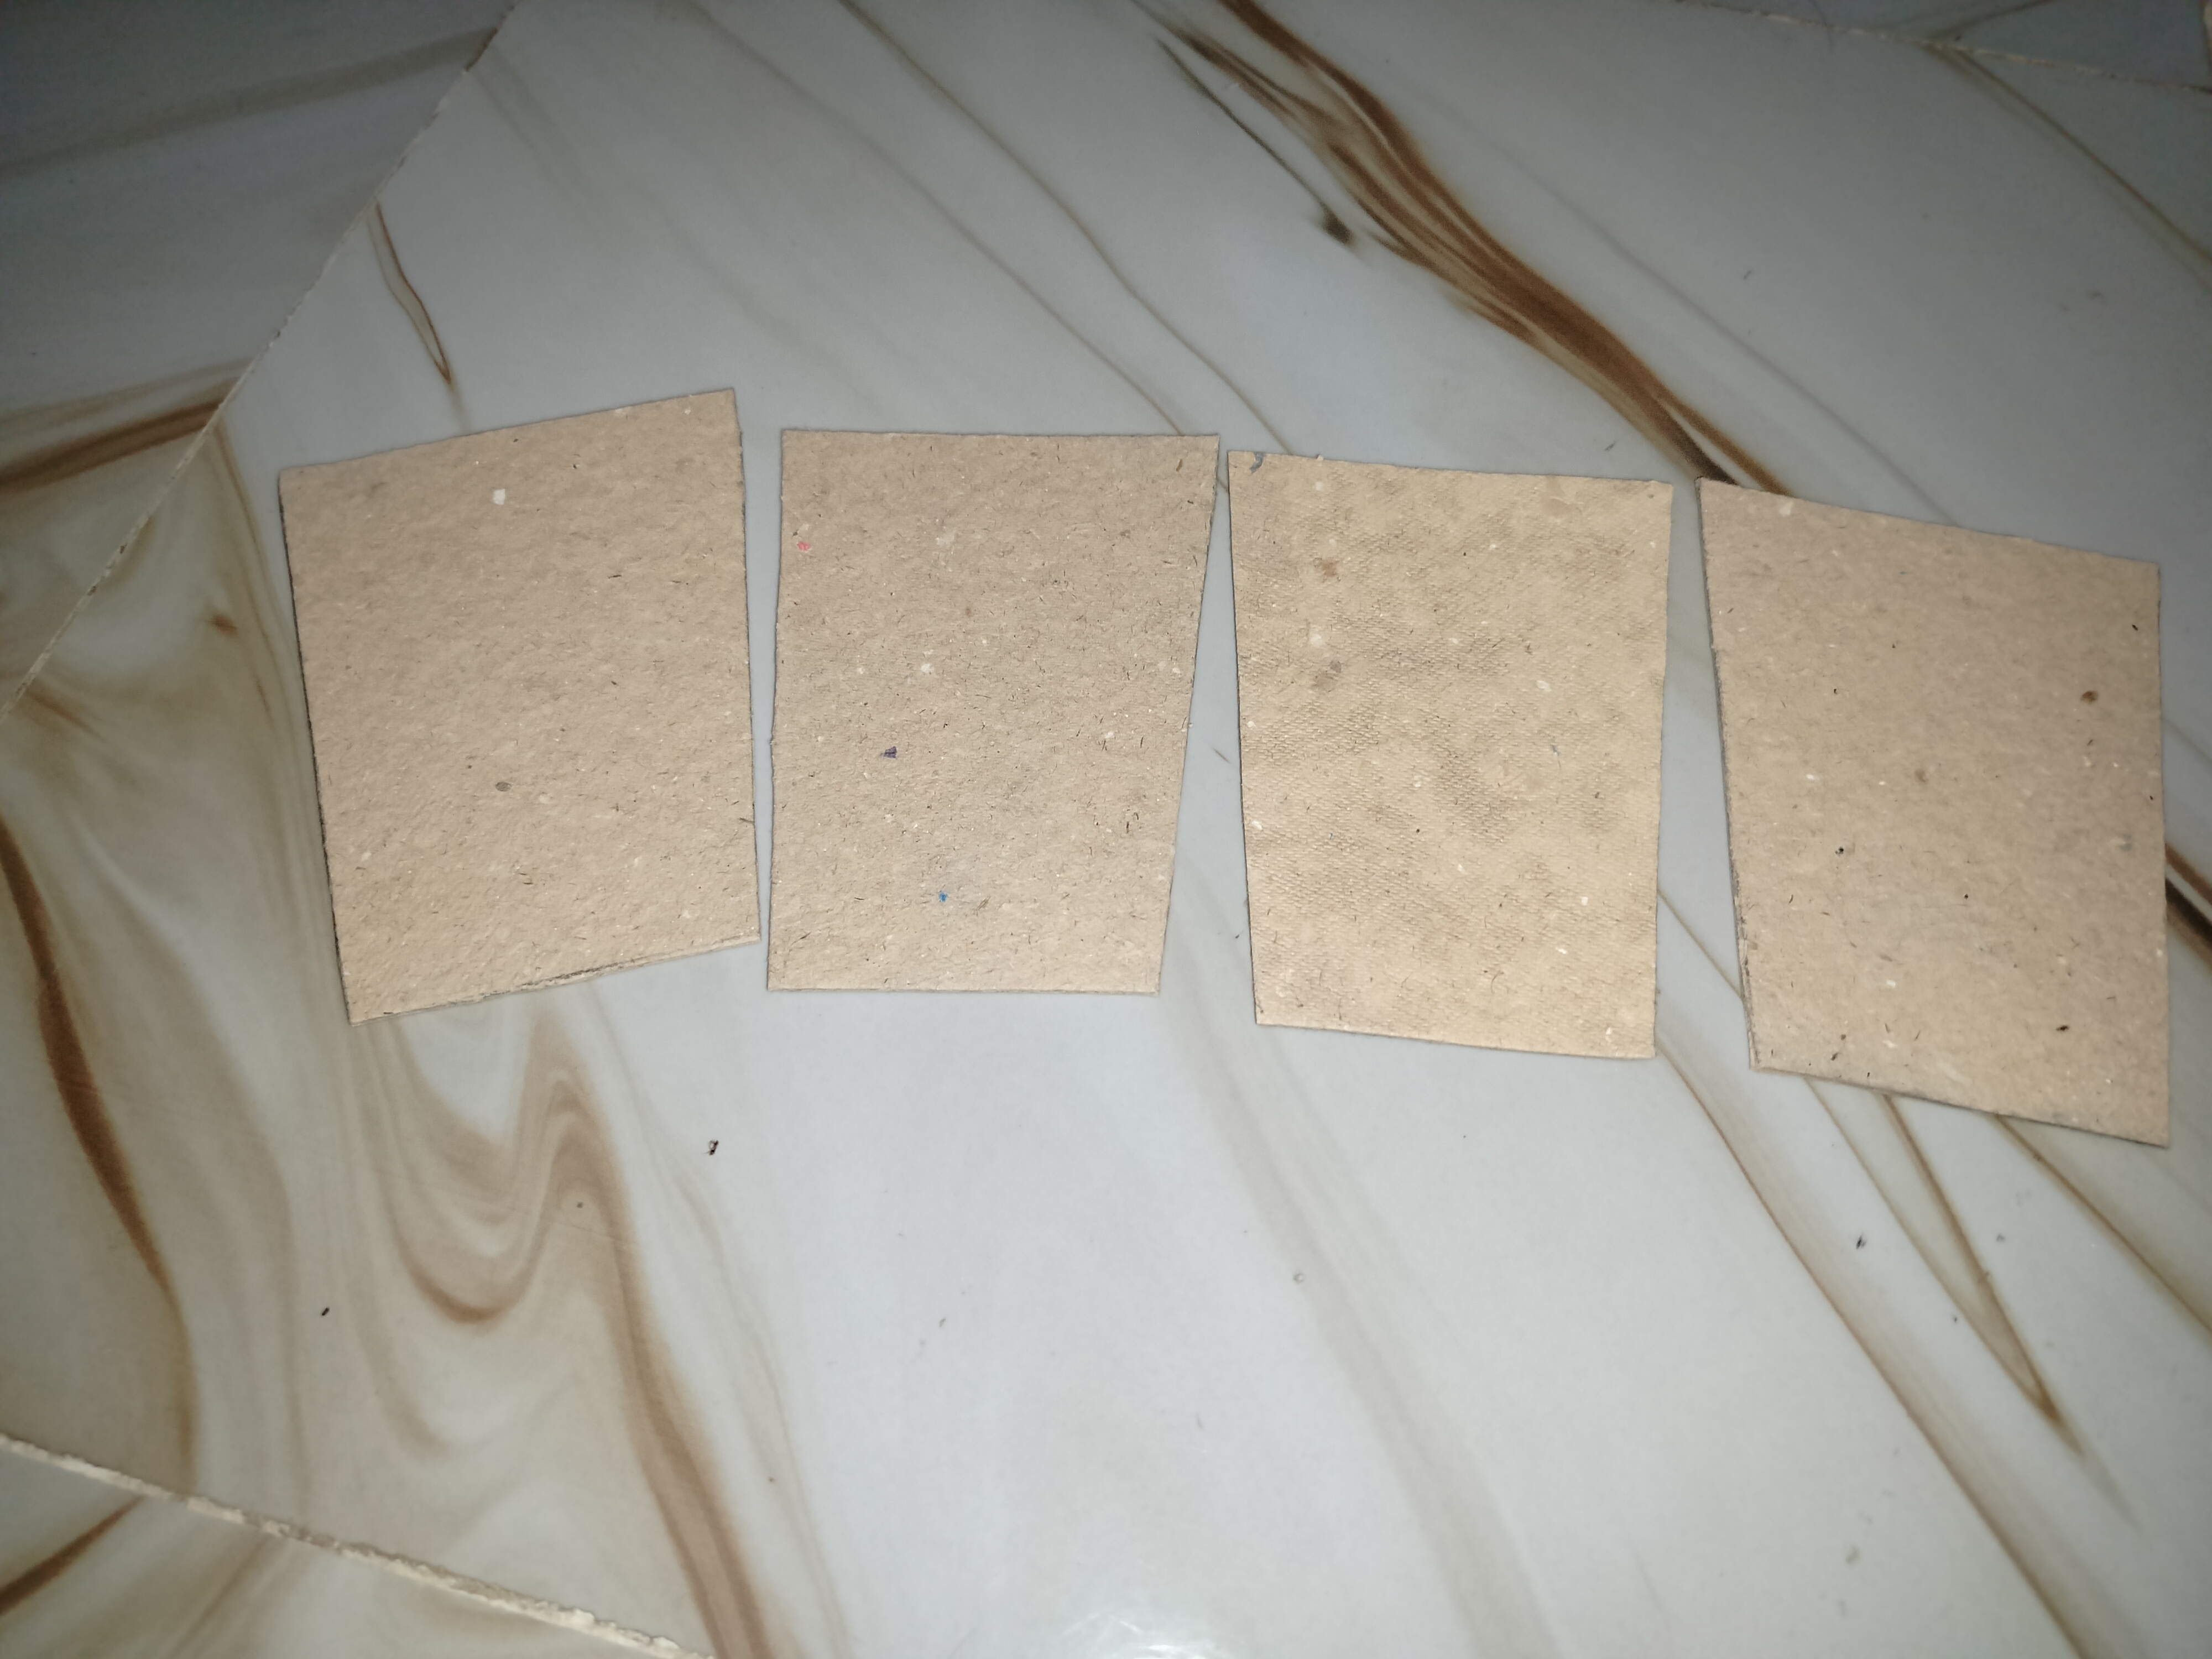
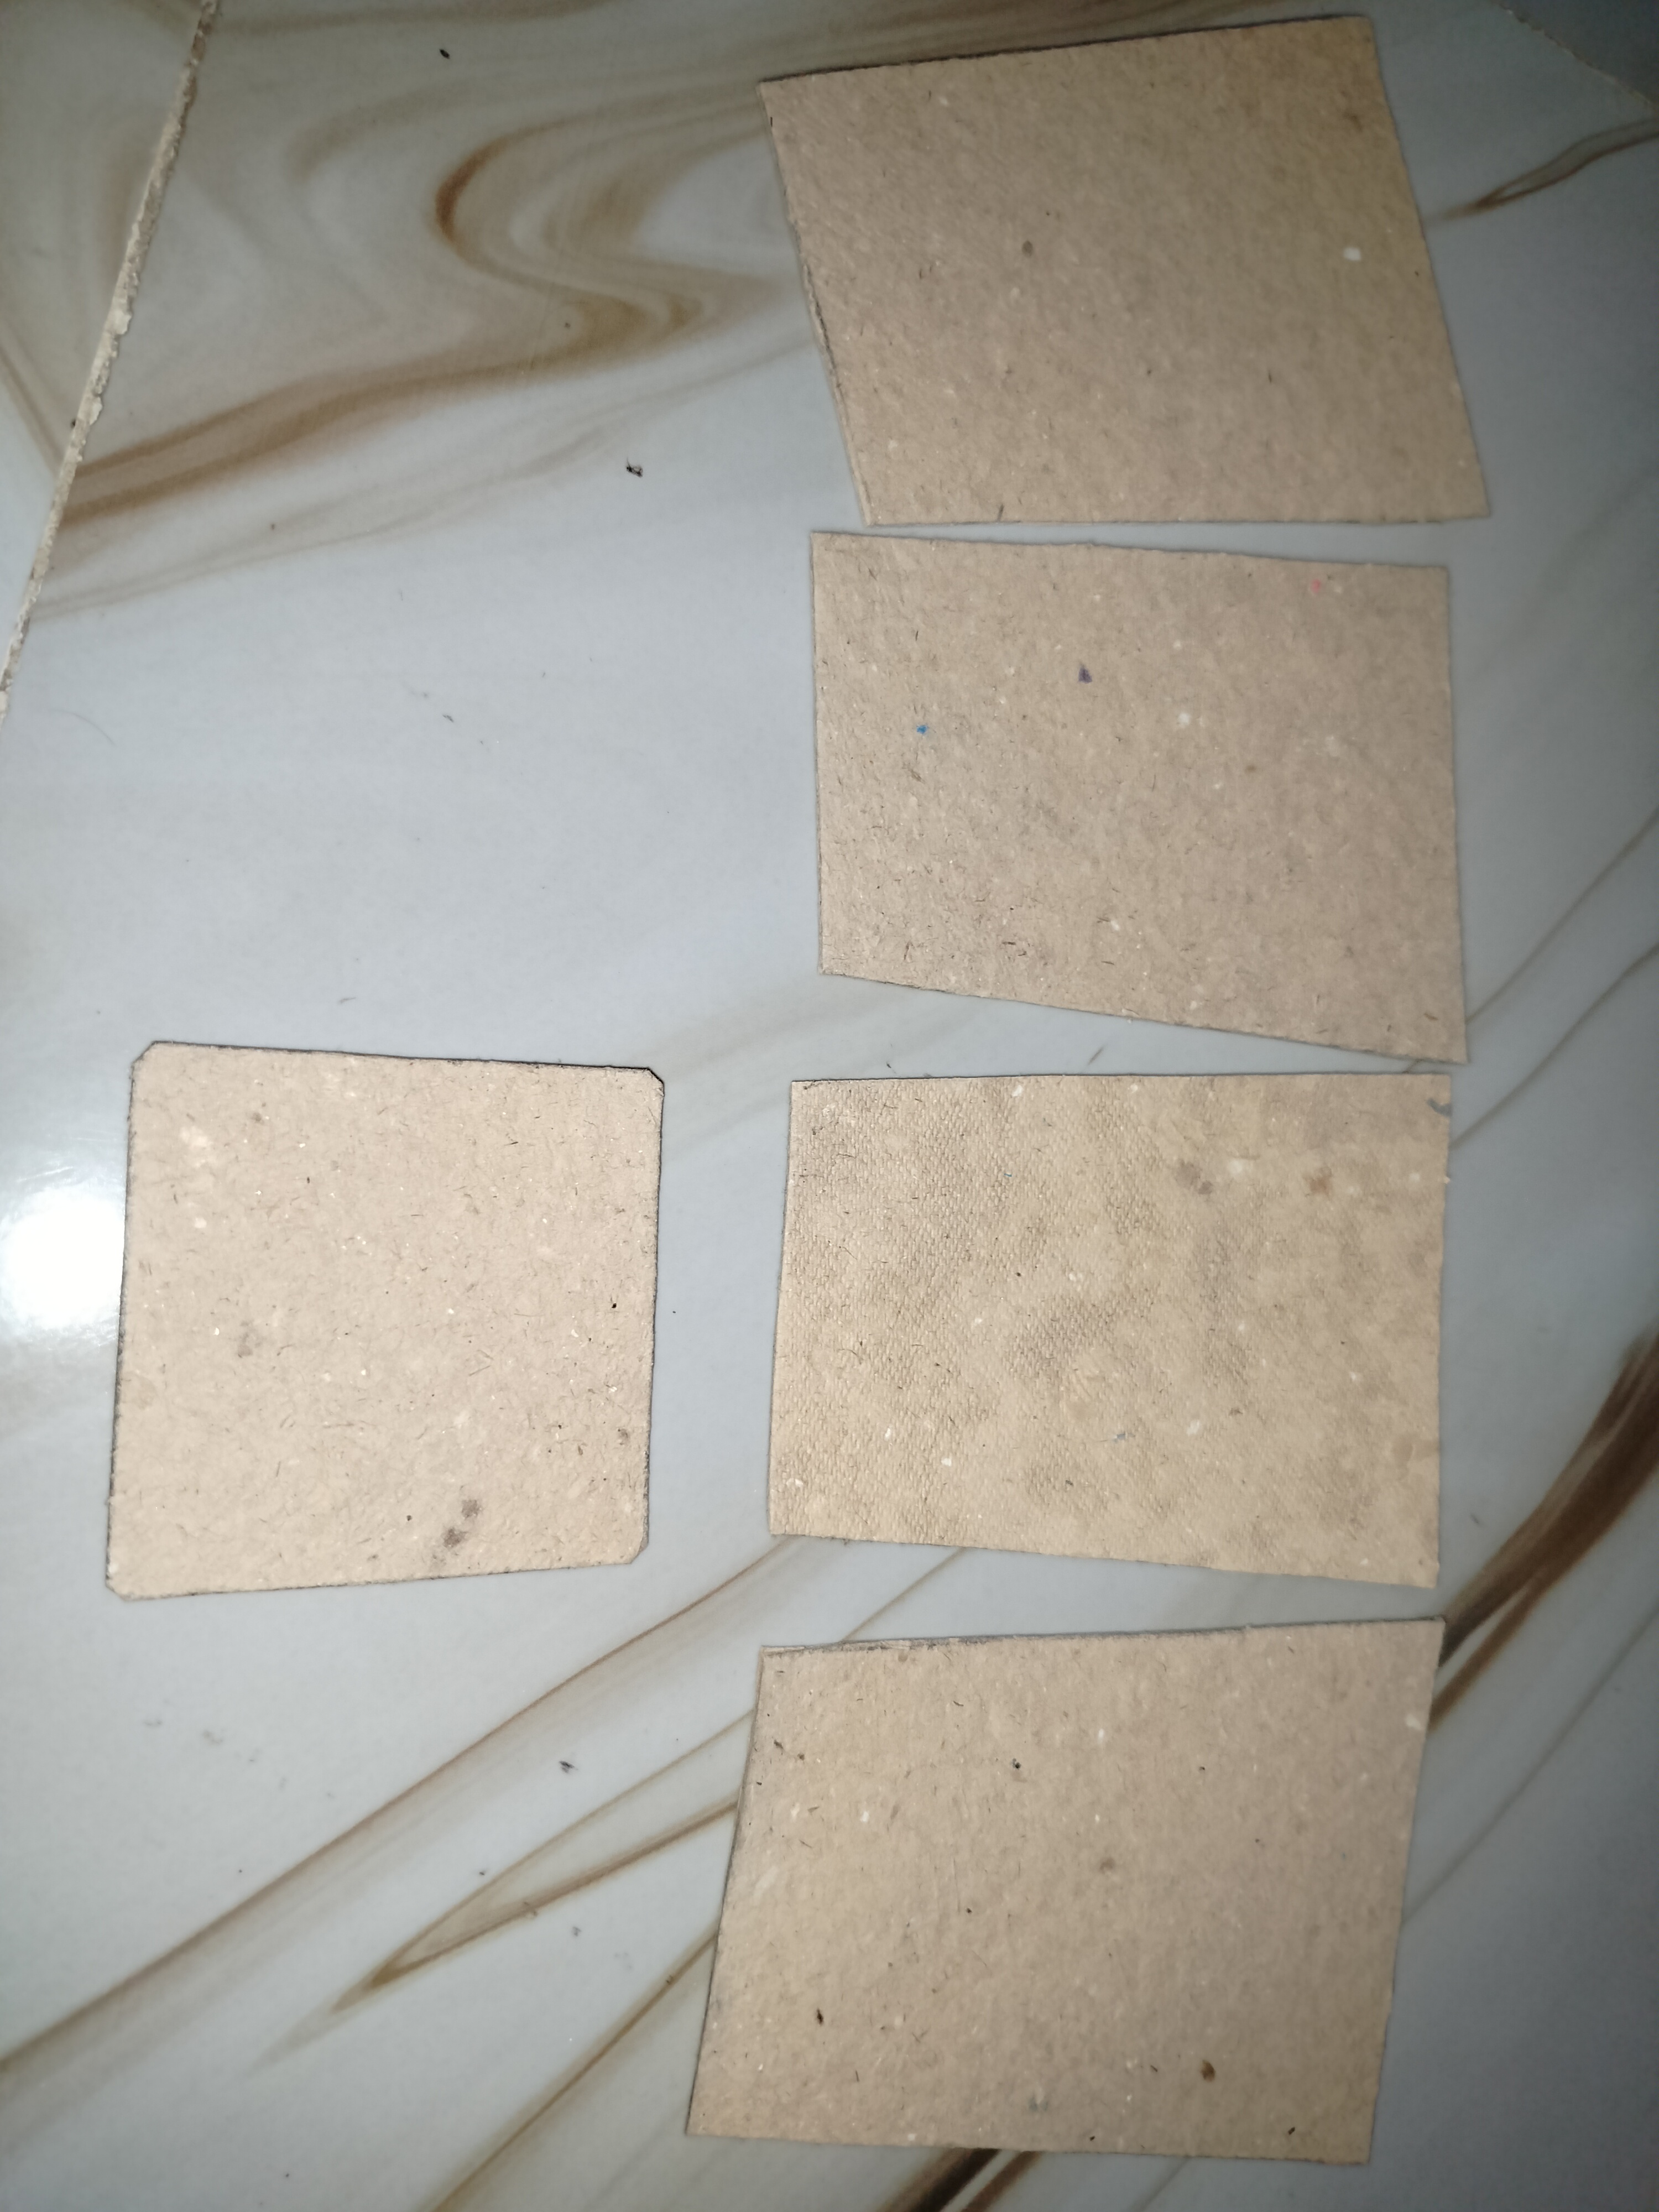
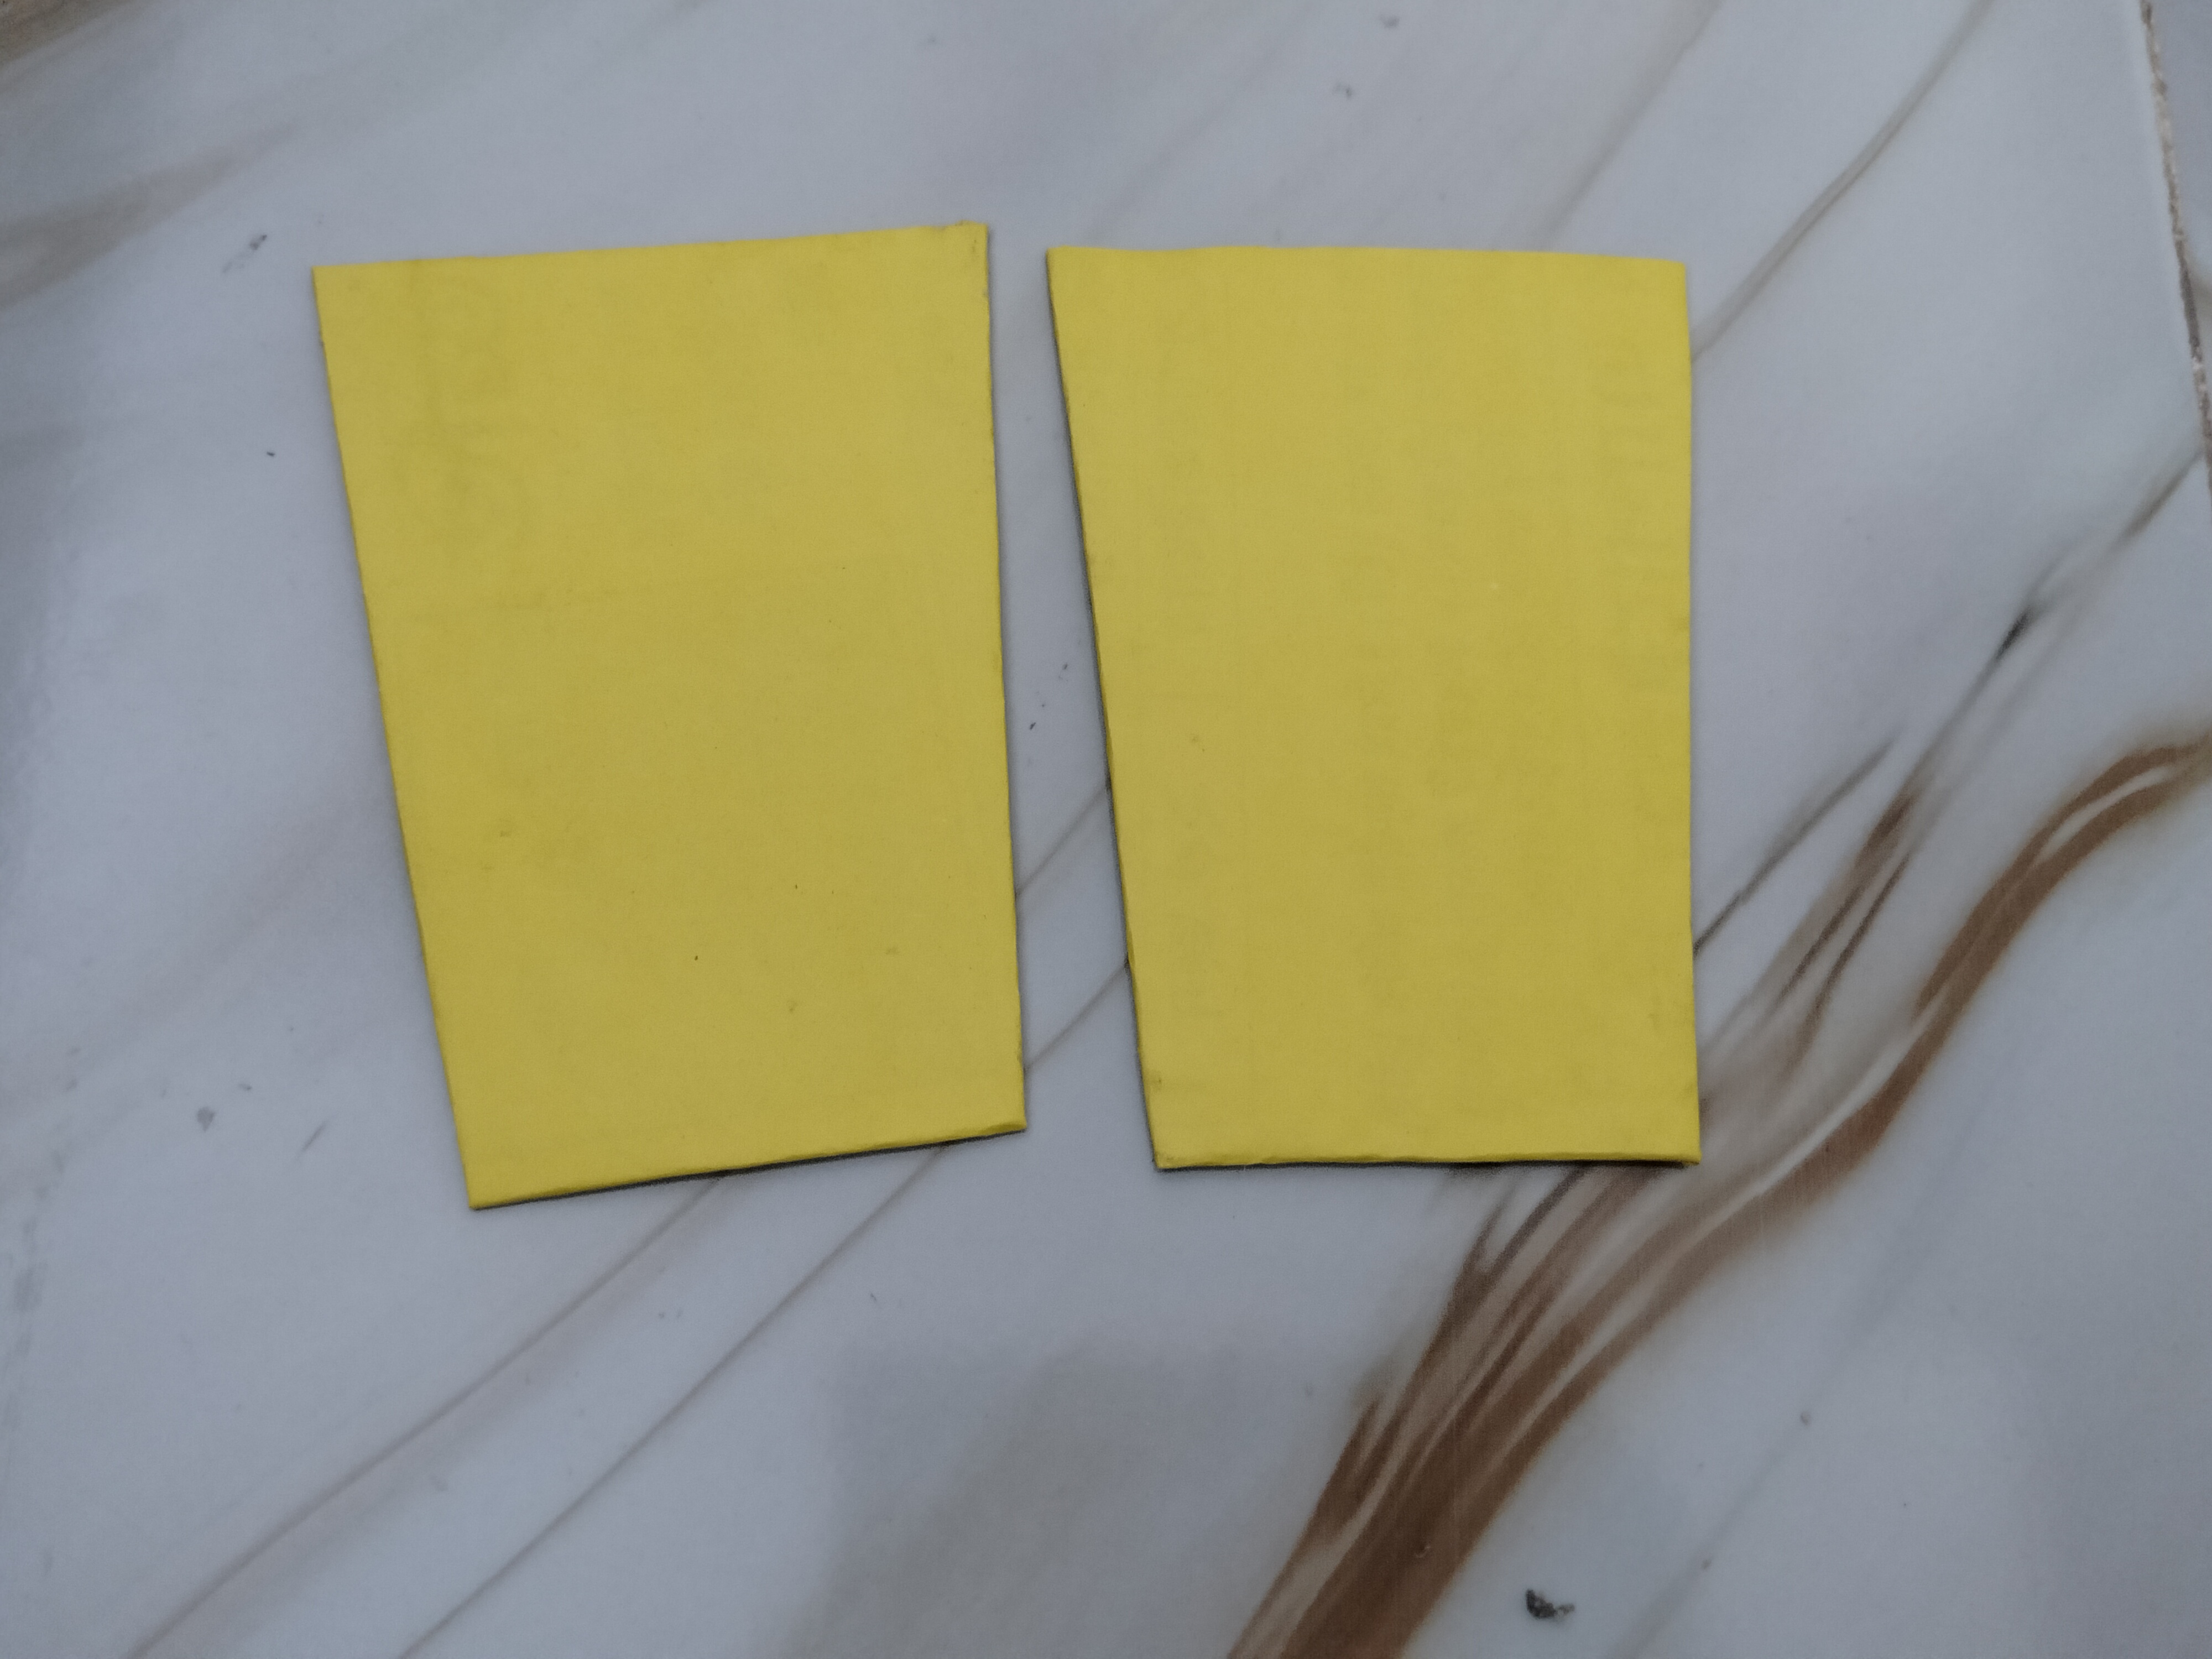
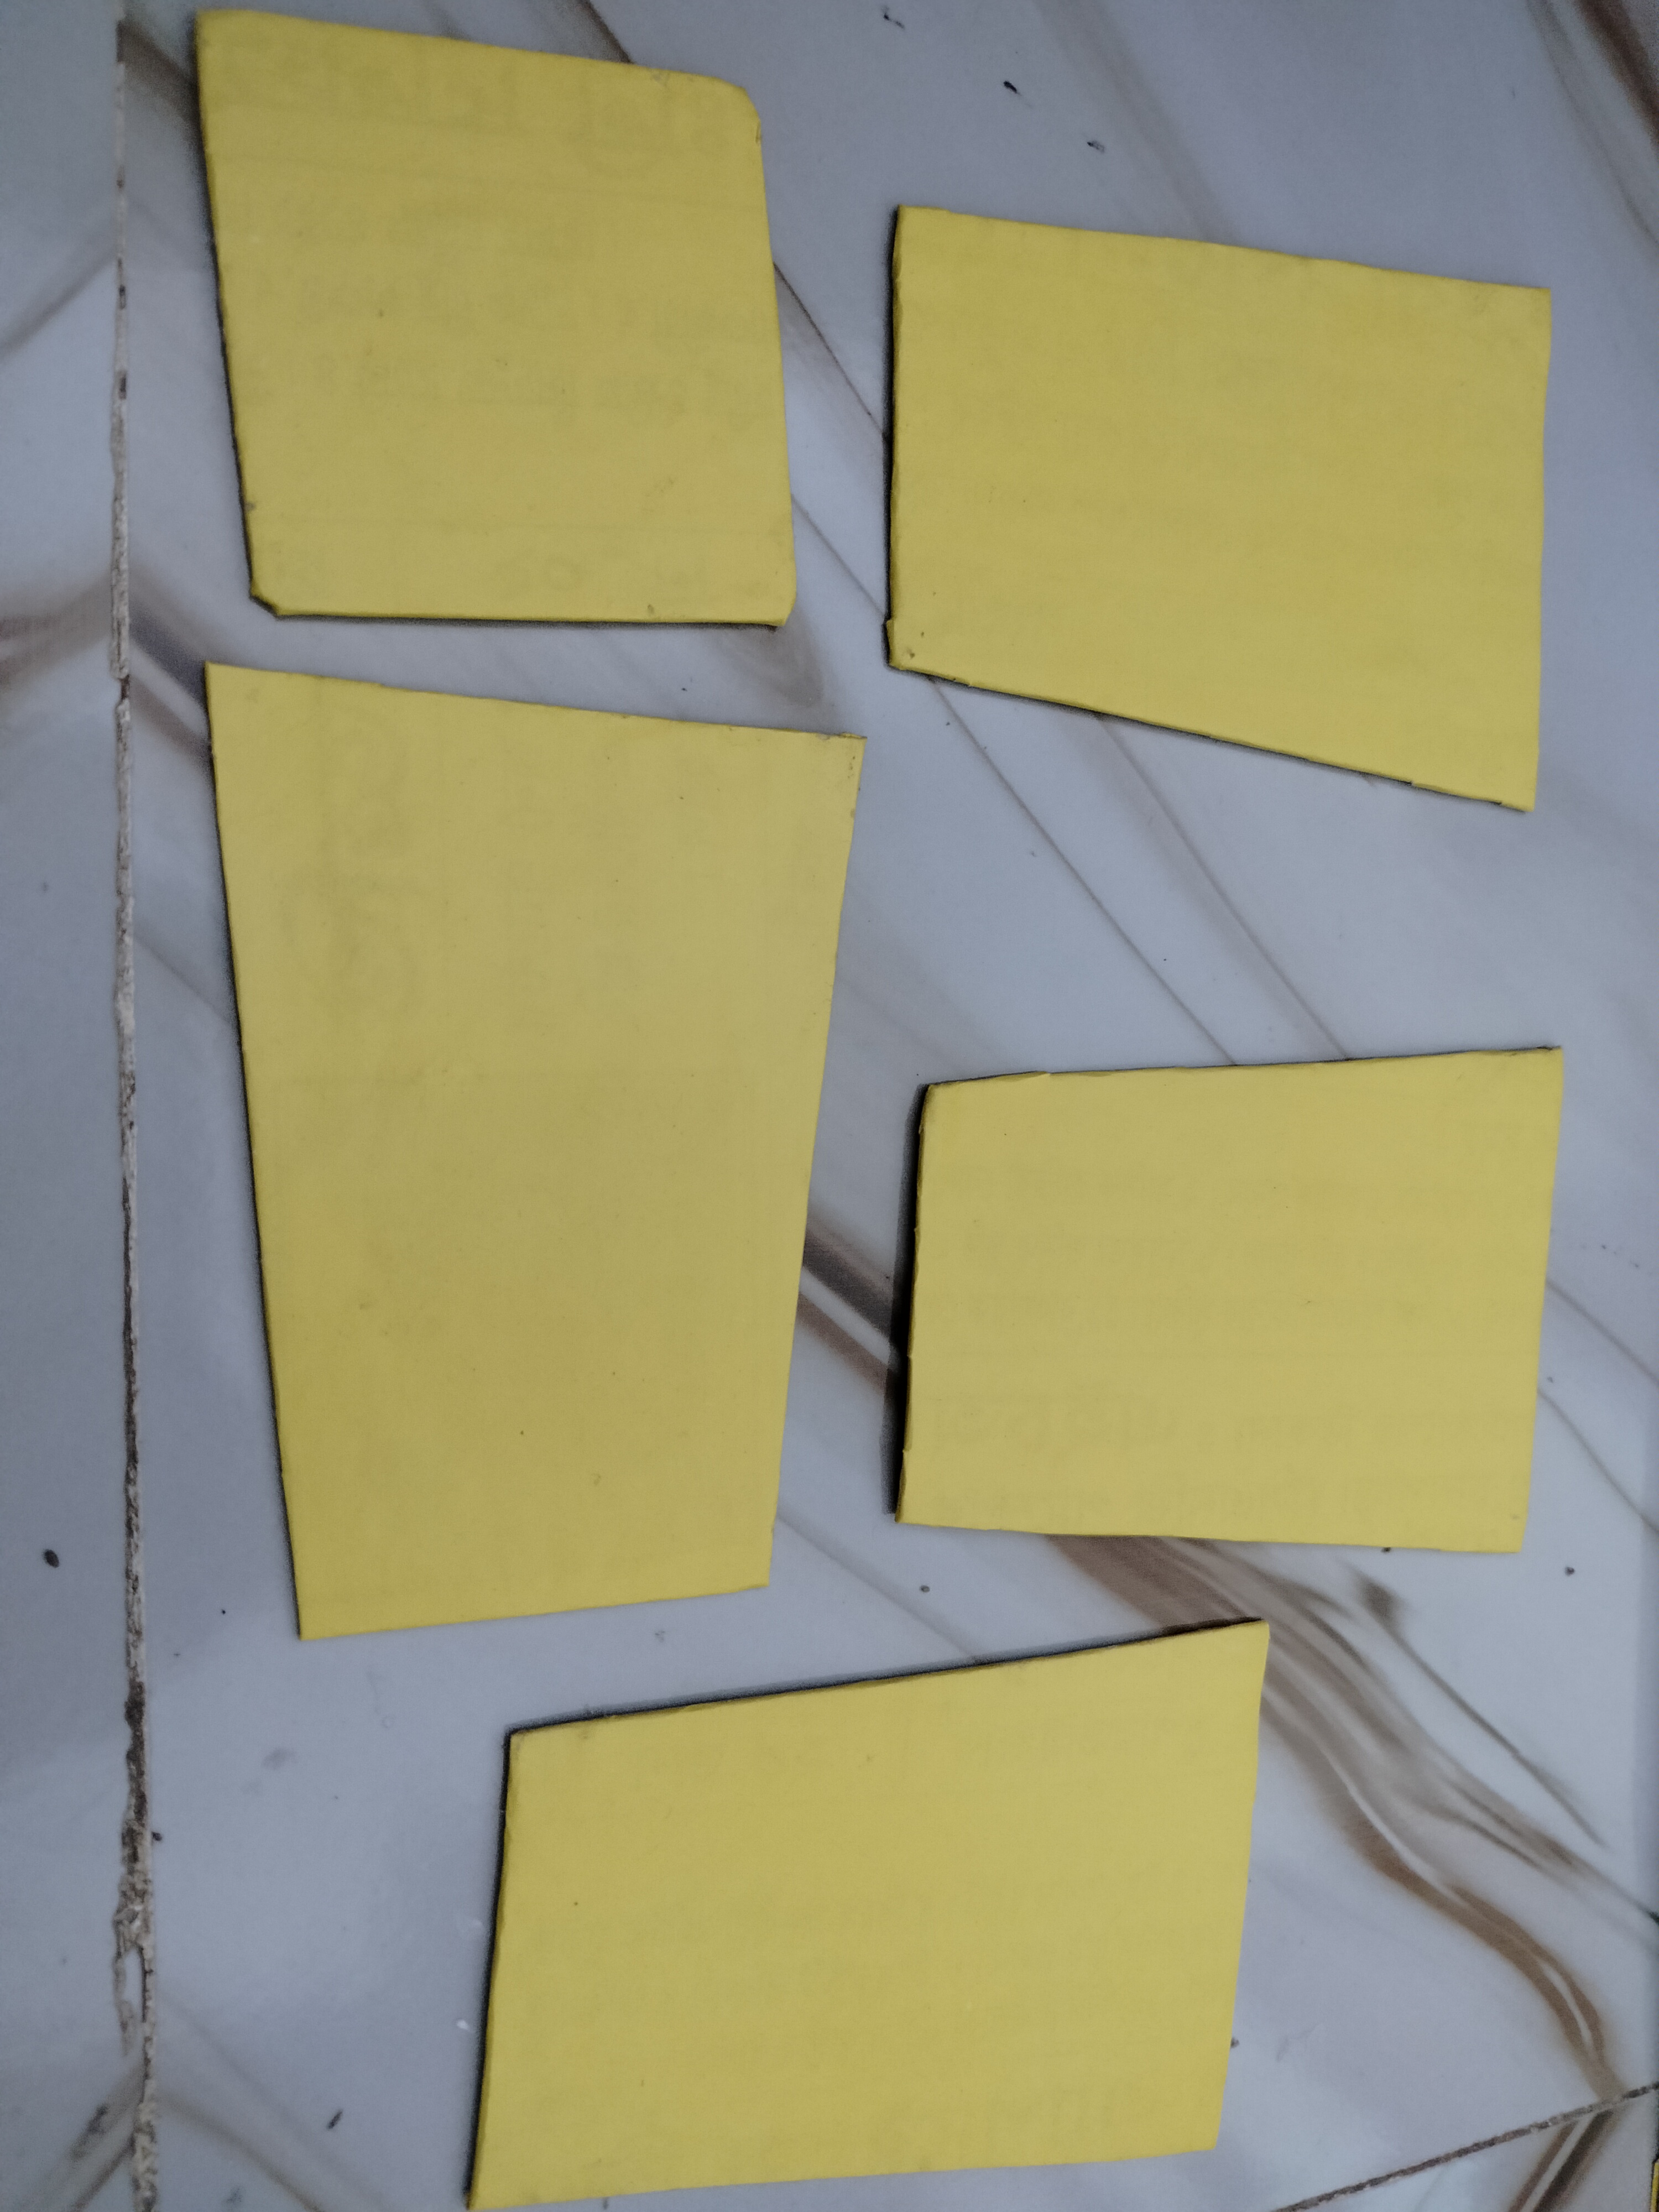
- First, I took a piece of cardboard and started measuring the box with a pencil and a scale. I chose a simple box design. First, I need to draw a rectangular or square section that will be the bottom or base of the box. Then I need to draw the dimensions of the walls around it. Accurate measurements are very important in this step, so that the box is even and balanced after assembly. According to the measurements, the cardboards need to be cut very carefully with scissors, following the marks drawn with a pencil. Here, a total of 5 pieces have been cut, one square piece for the bottom of the box and four trapezoid-shaped pieces for the four walls. While cutting the pieces, care must be taken that the edges of each piece are smooth.
Step 2: Measurement is underway.
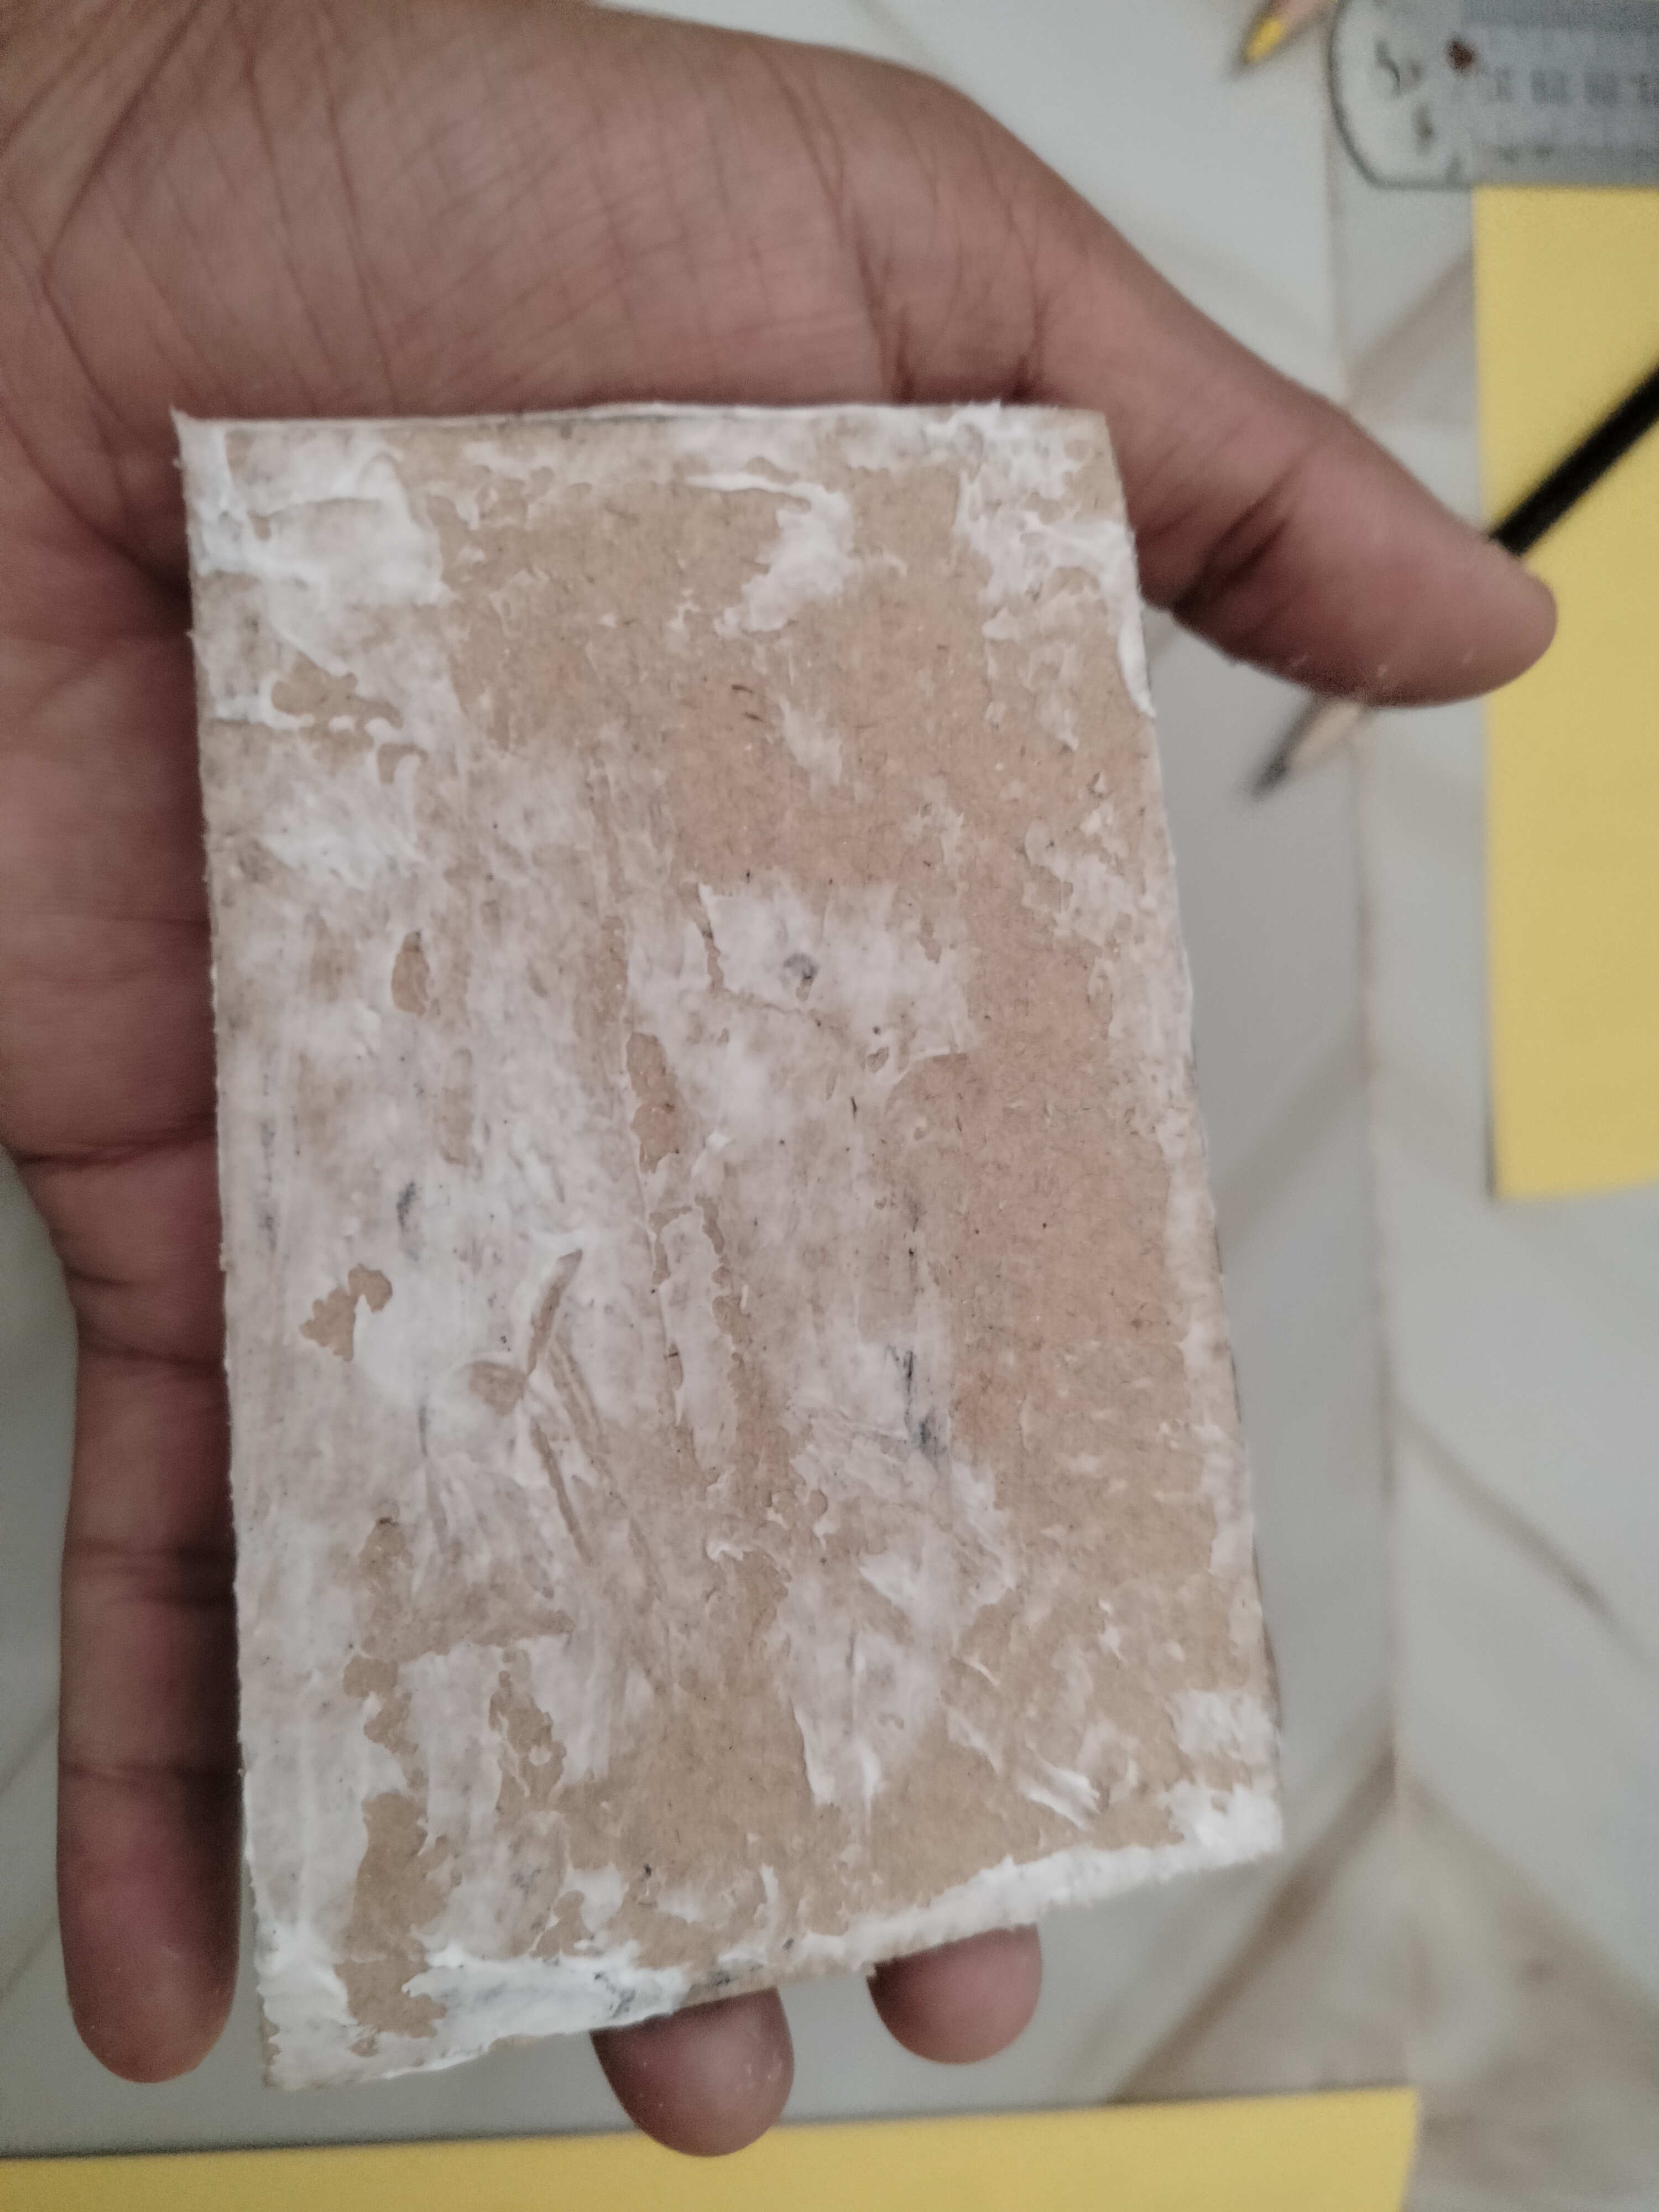
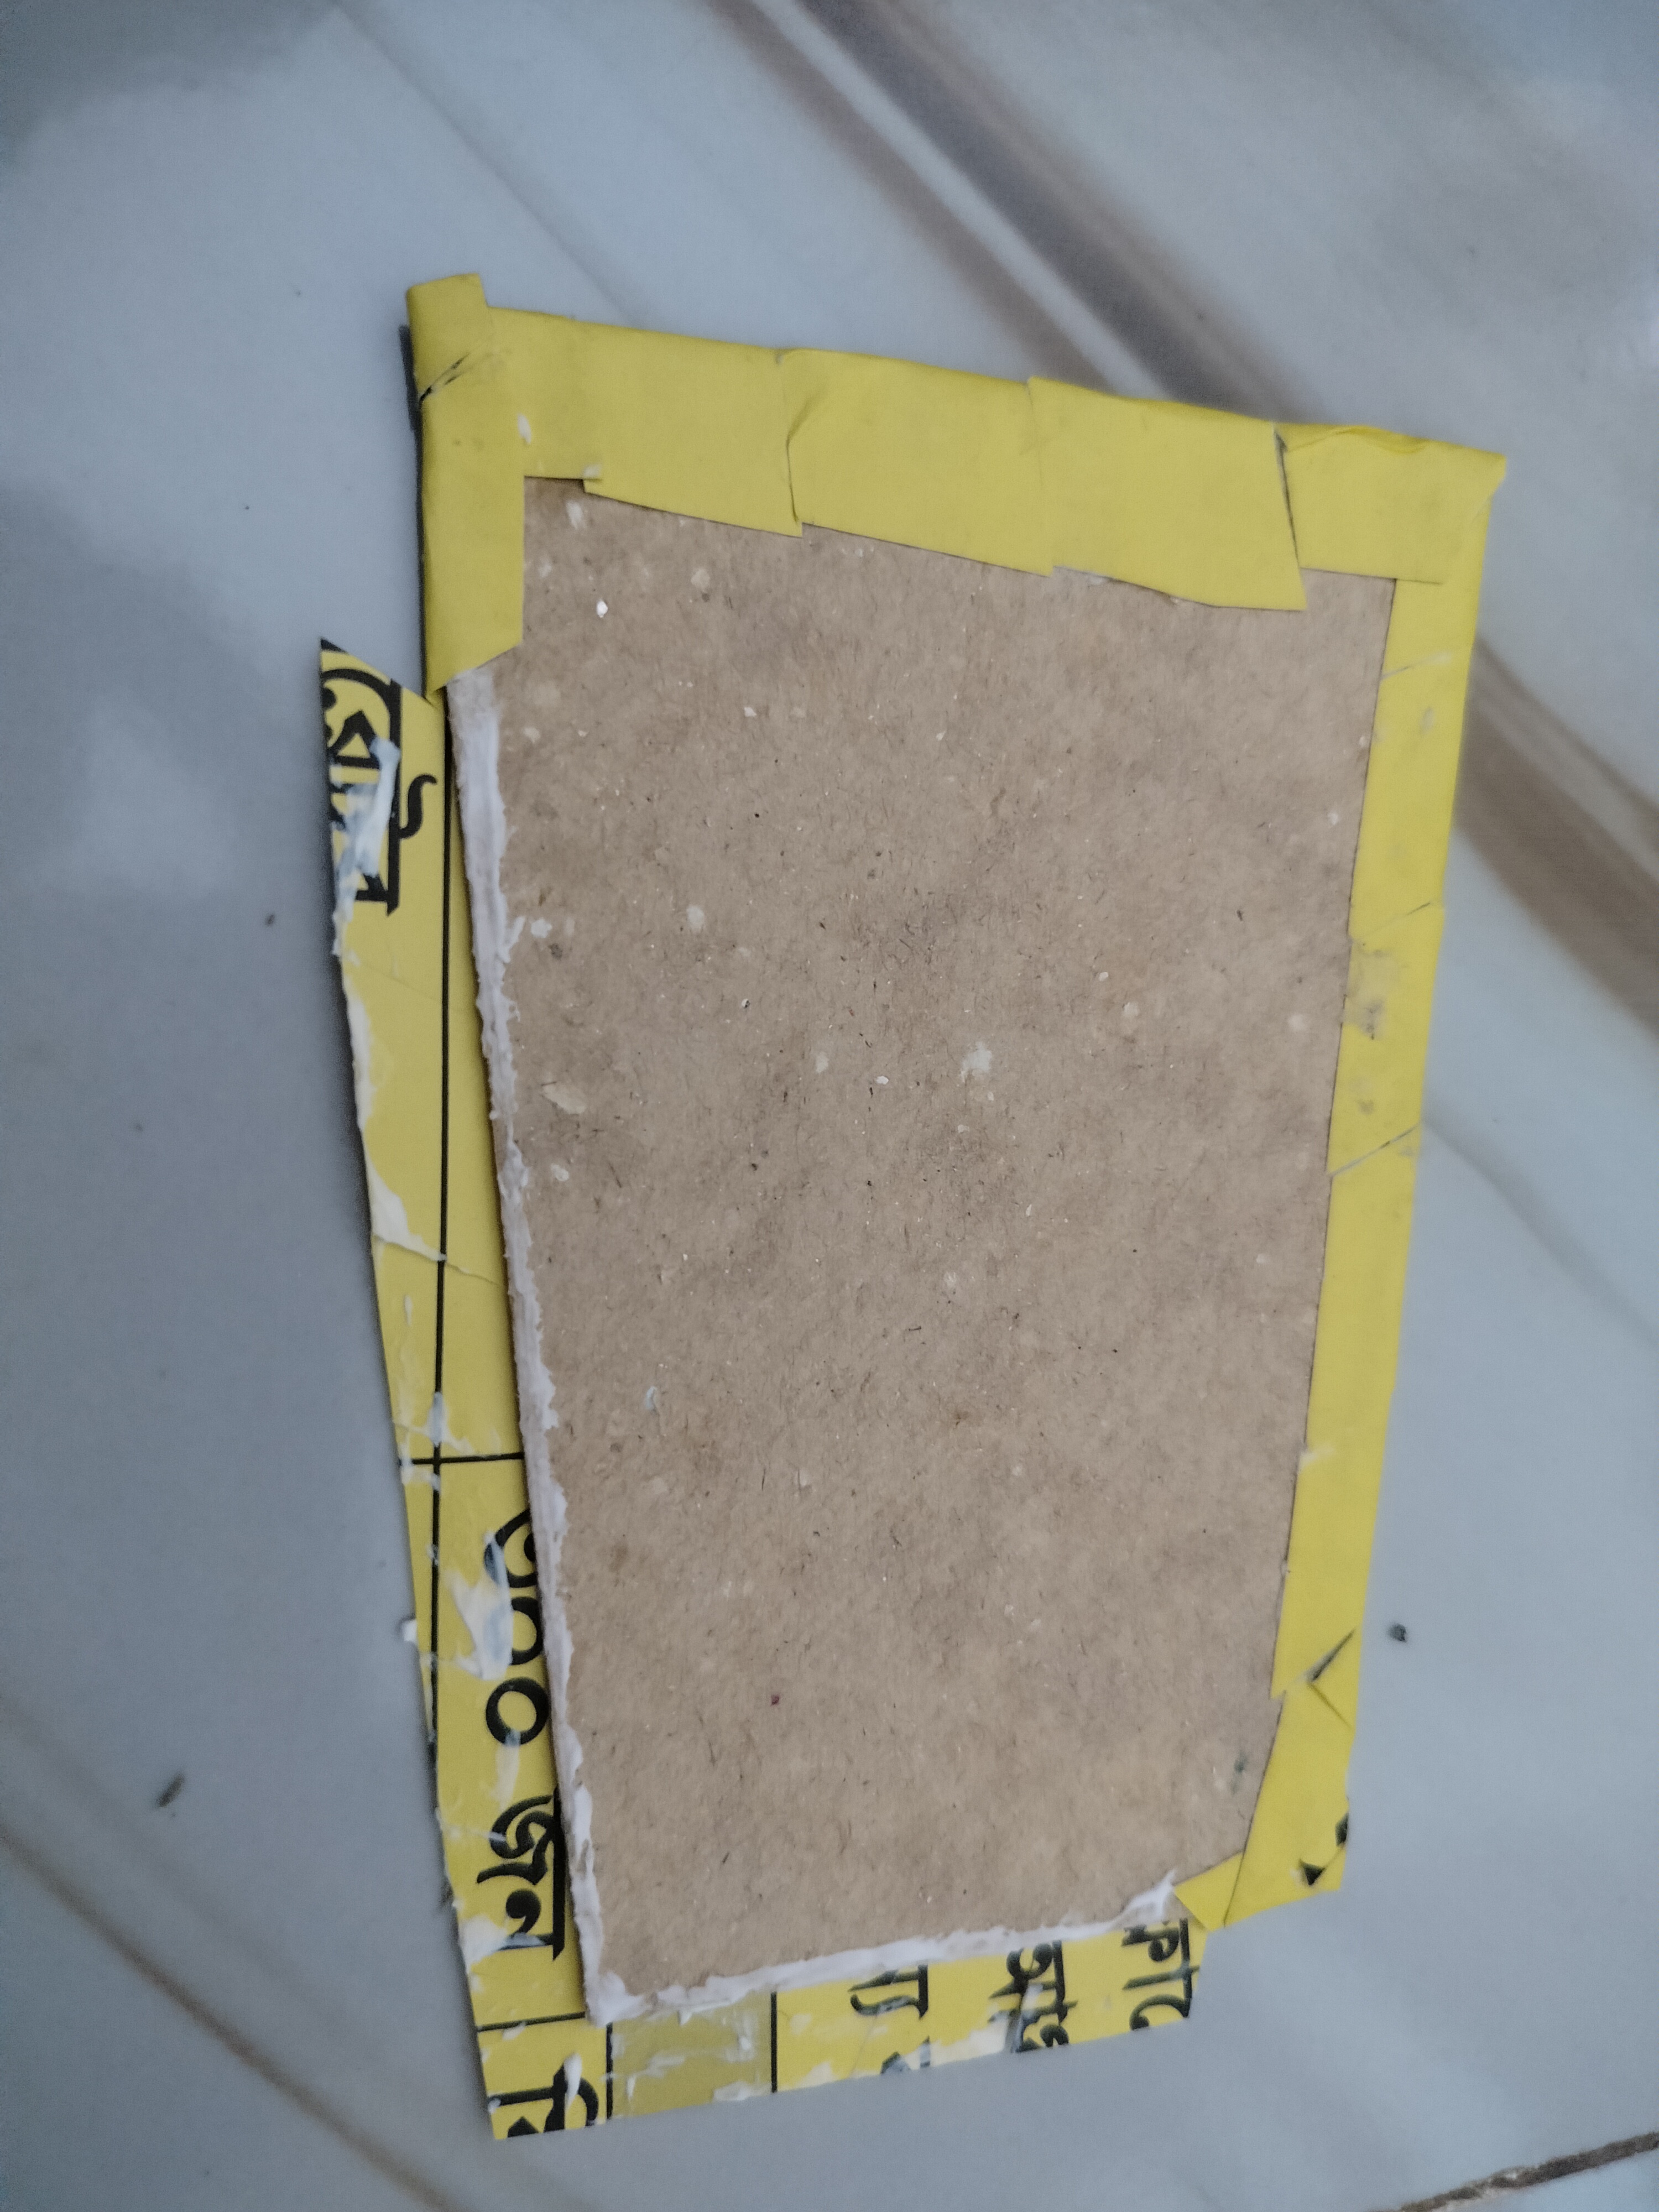
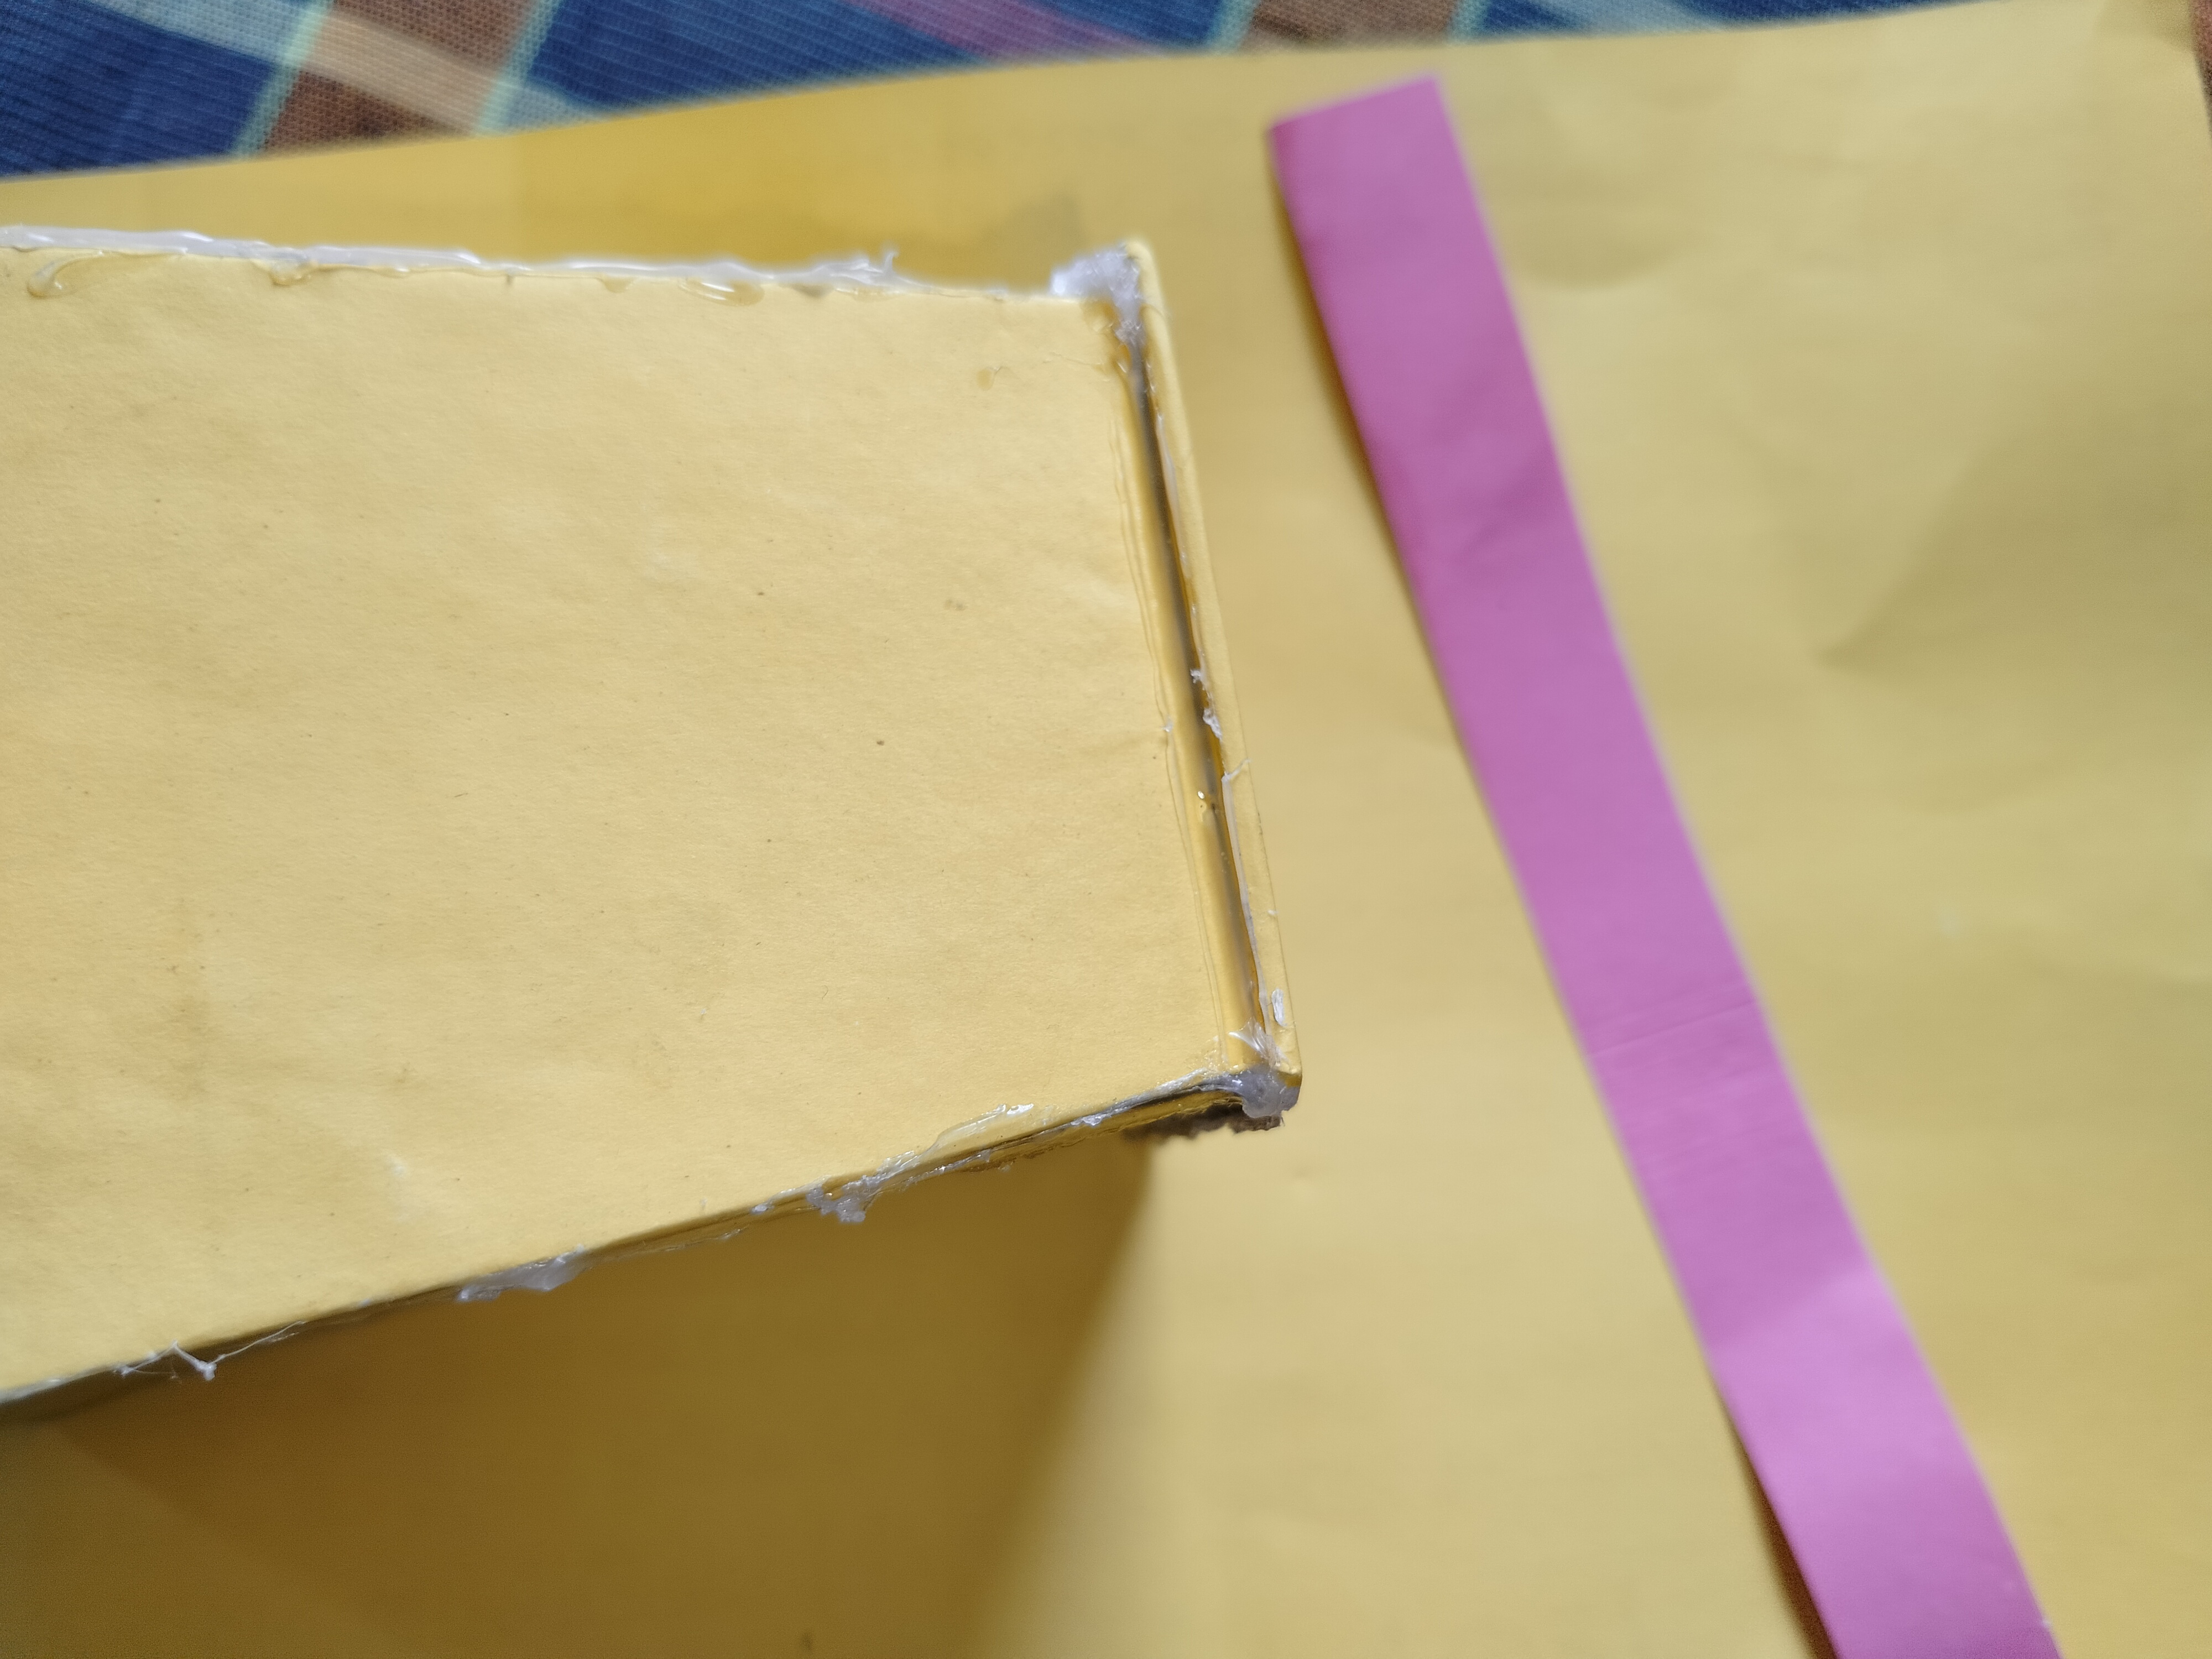
- Now to make the cut cardboard pieces more attractive, I am wrapping them with yellow colored paper. First, white glue is spread well on a piece of cardboard. Then the yellow paper is wrapped so that the color of the cardboard is covered. After all the cardboard pieces are wrapped nicely with yellow paper, it is time to assemble them.
Step 3: Preparing for assembly.
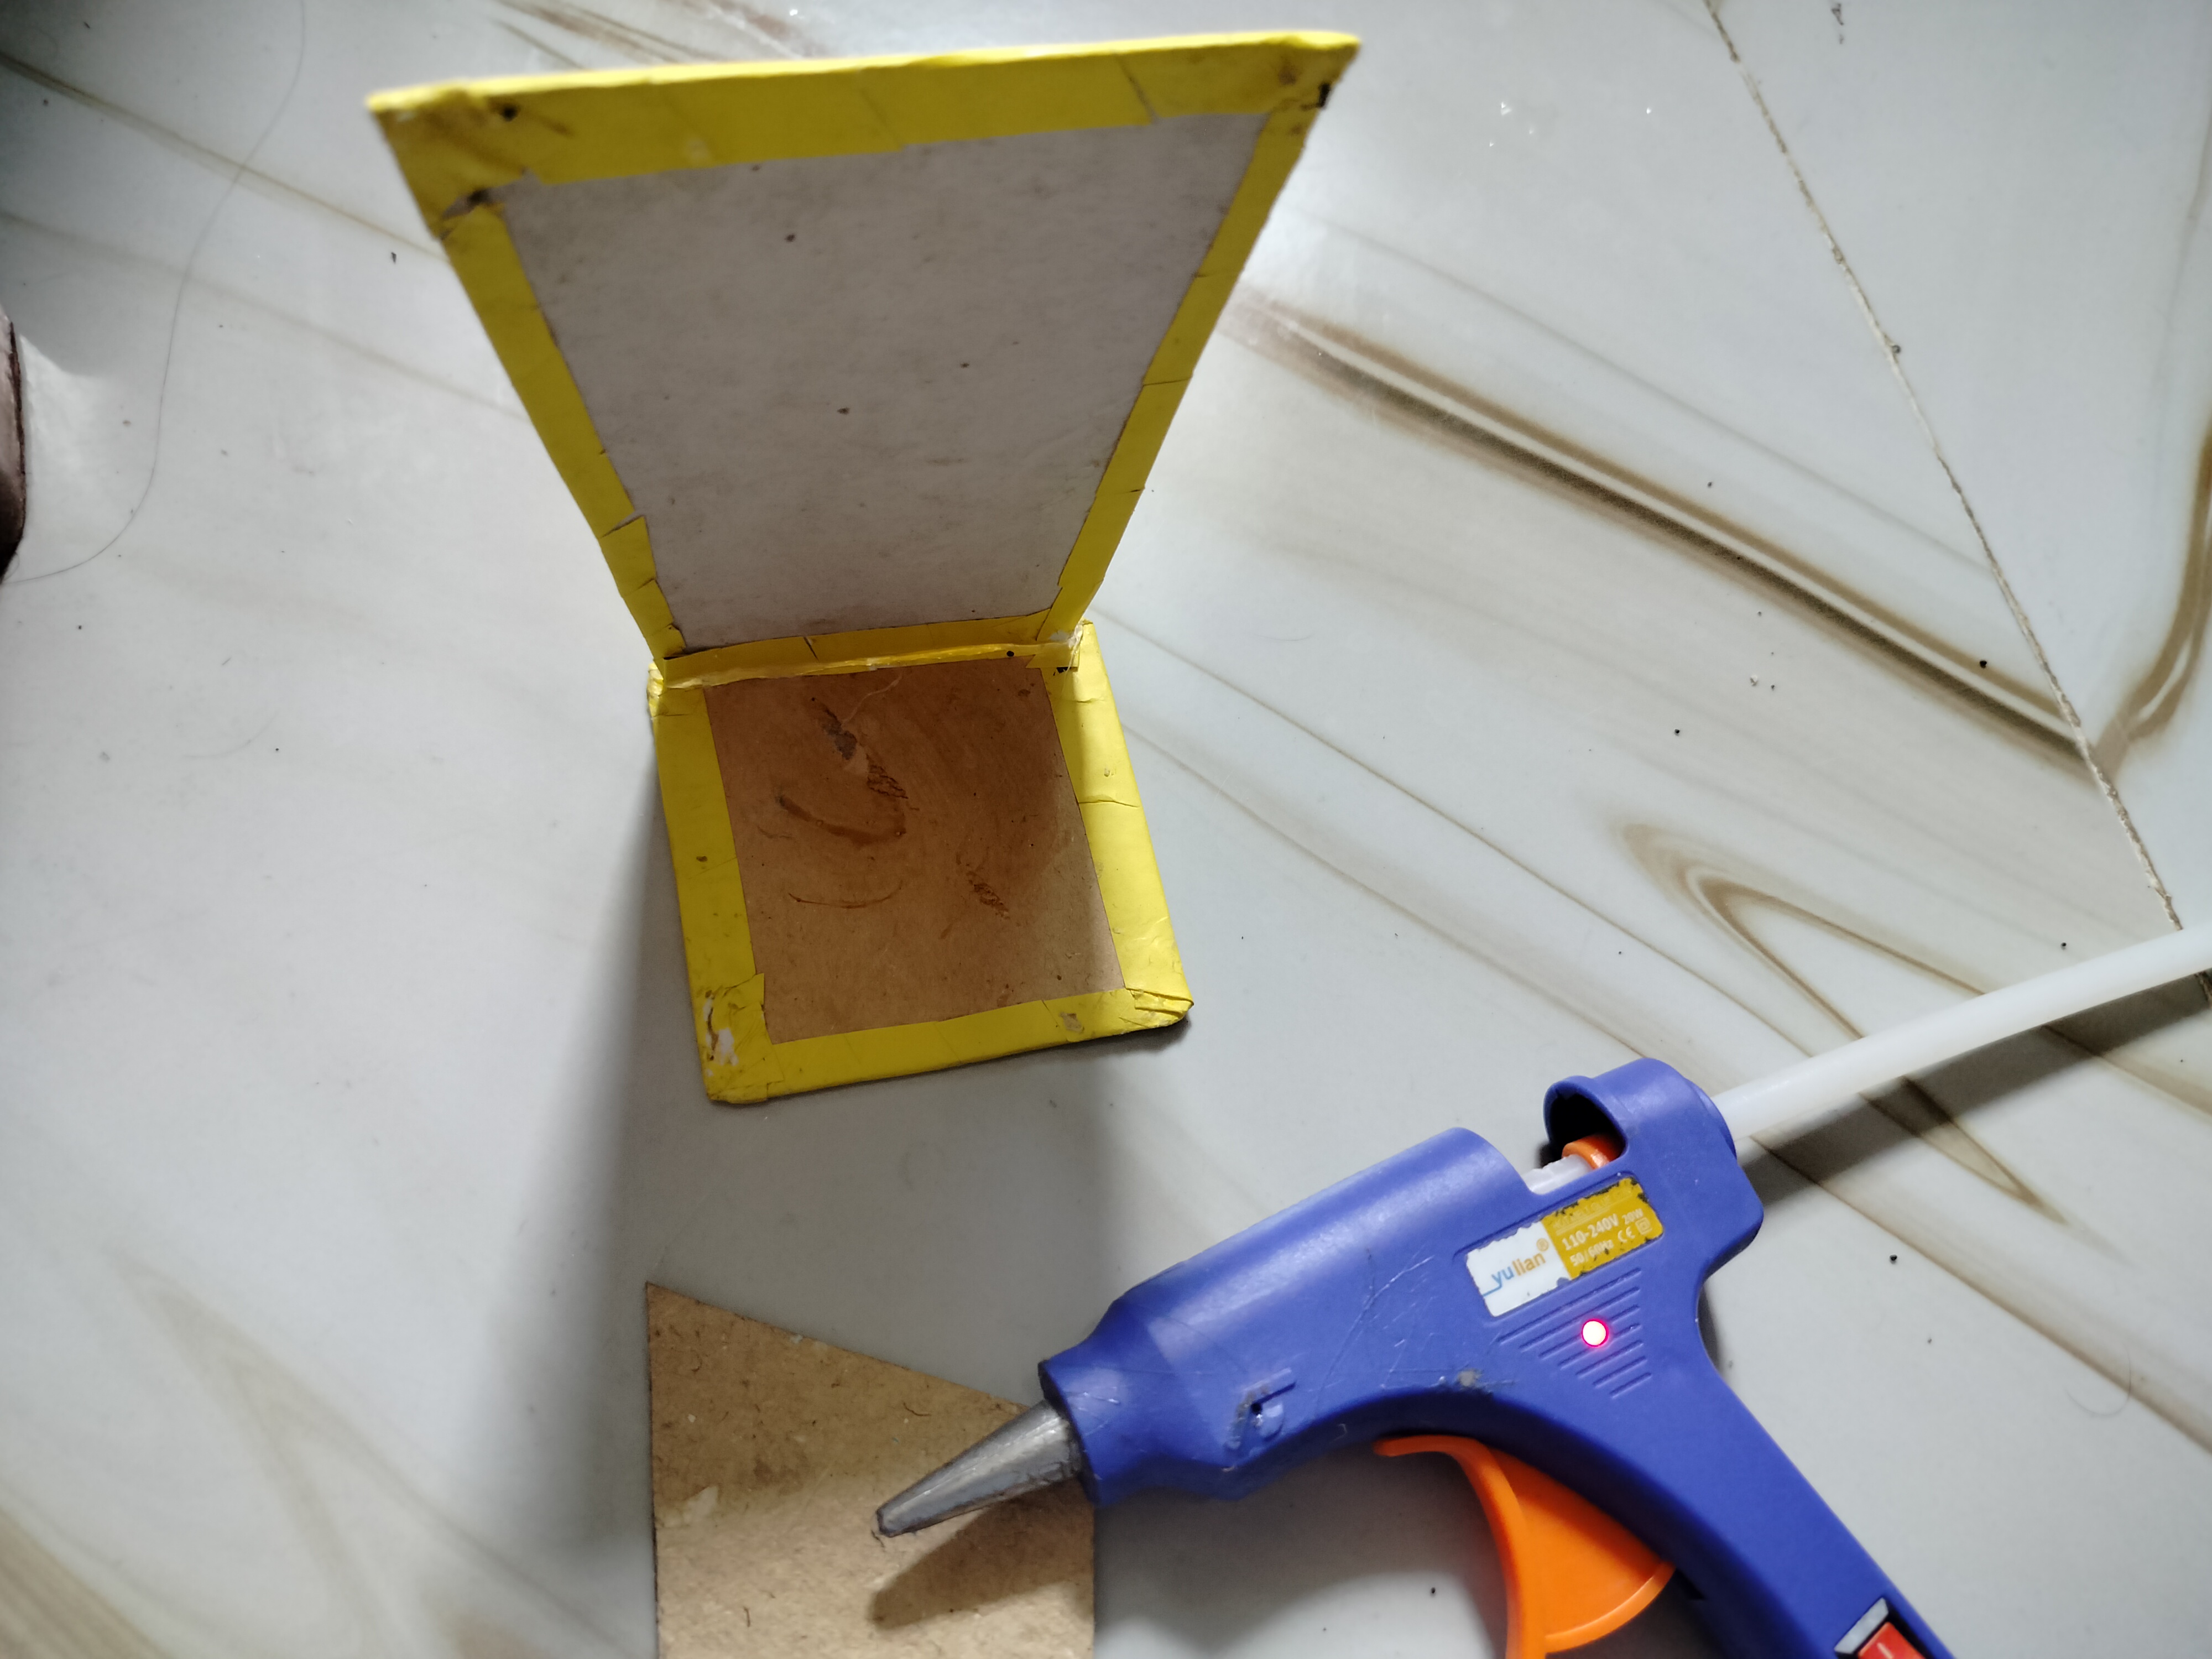
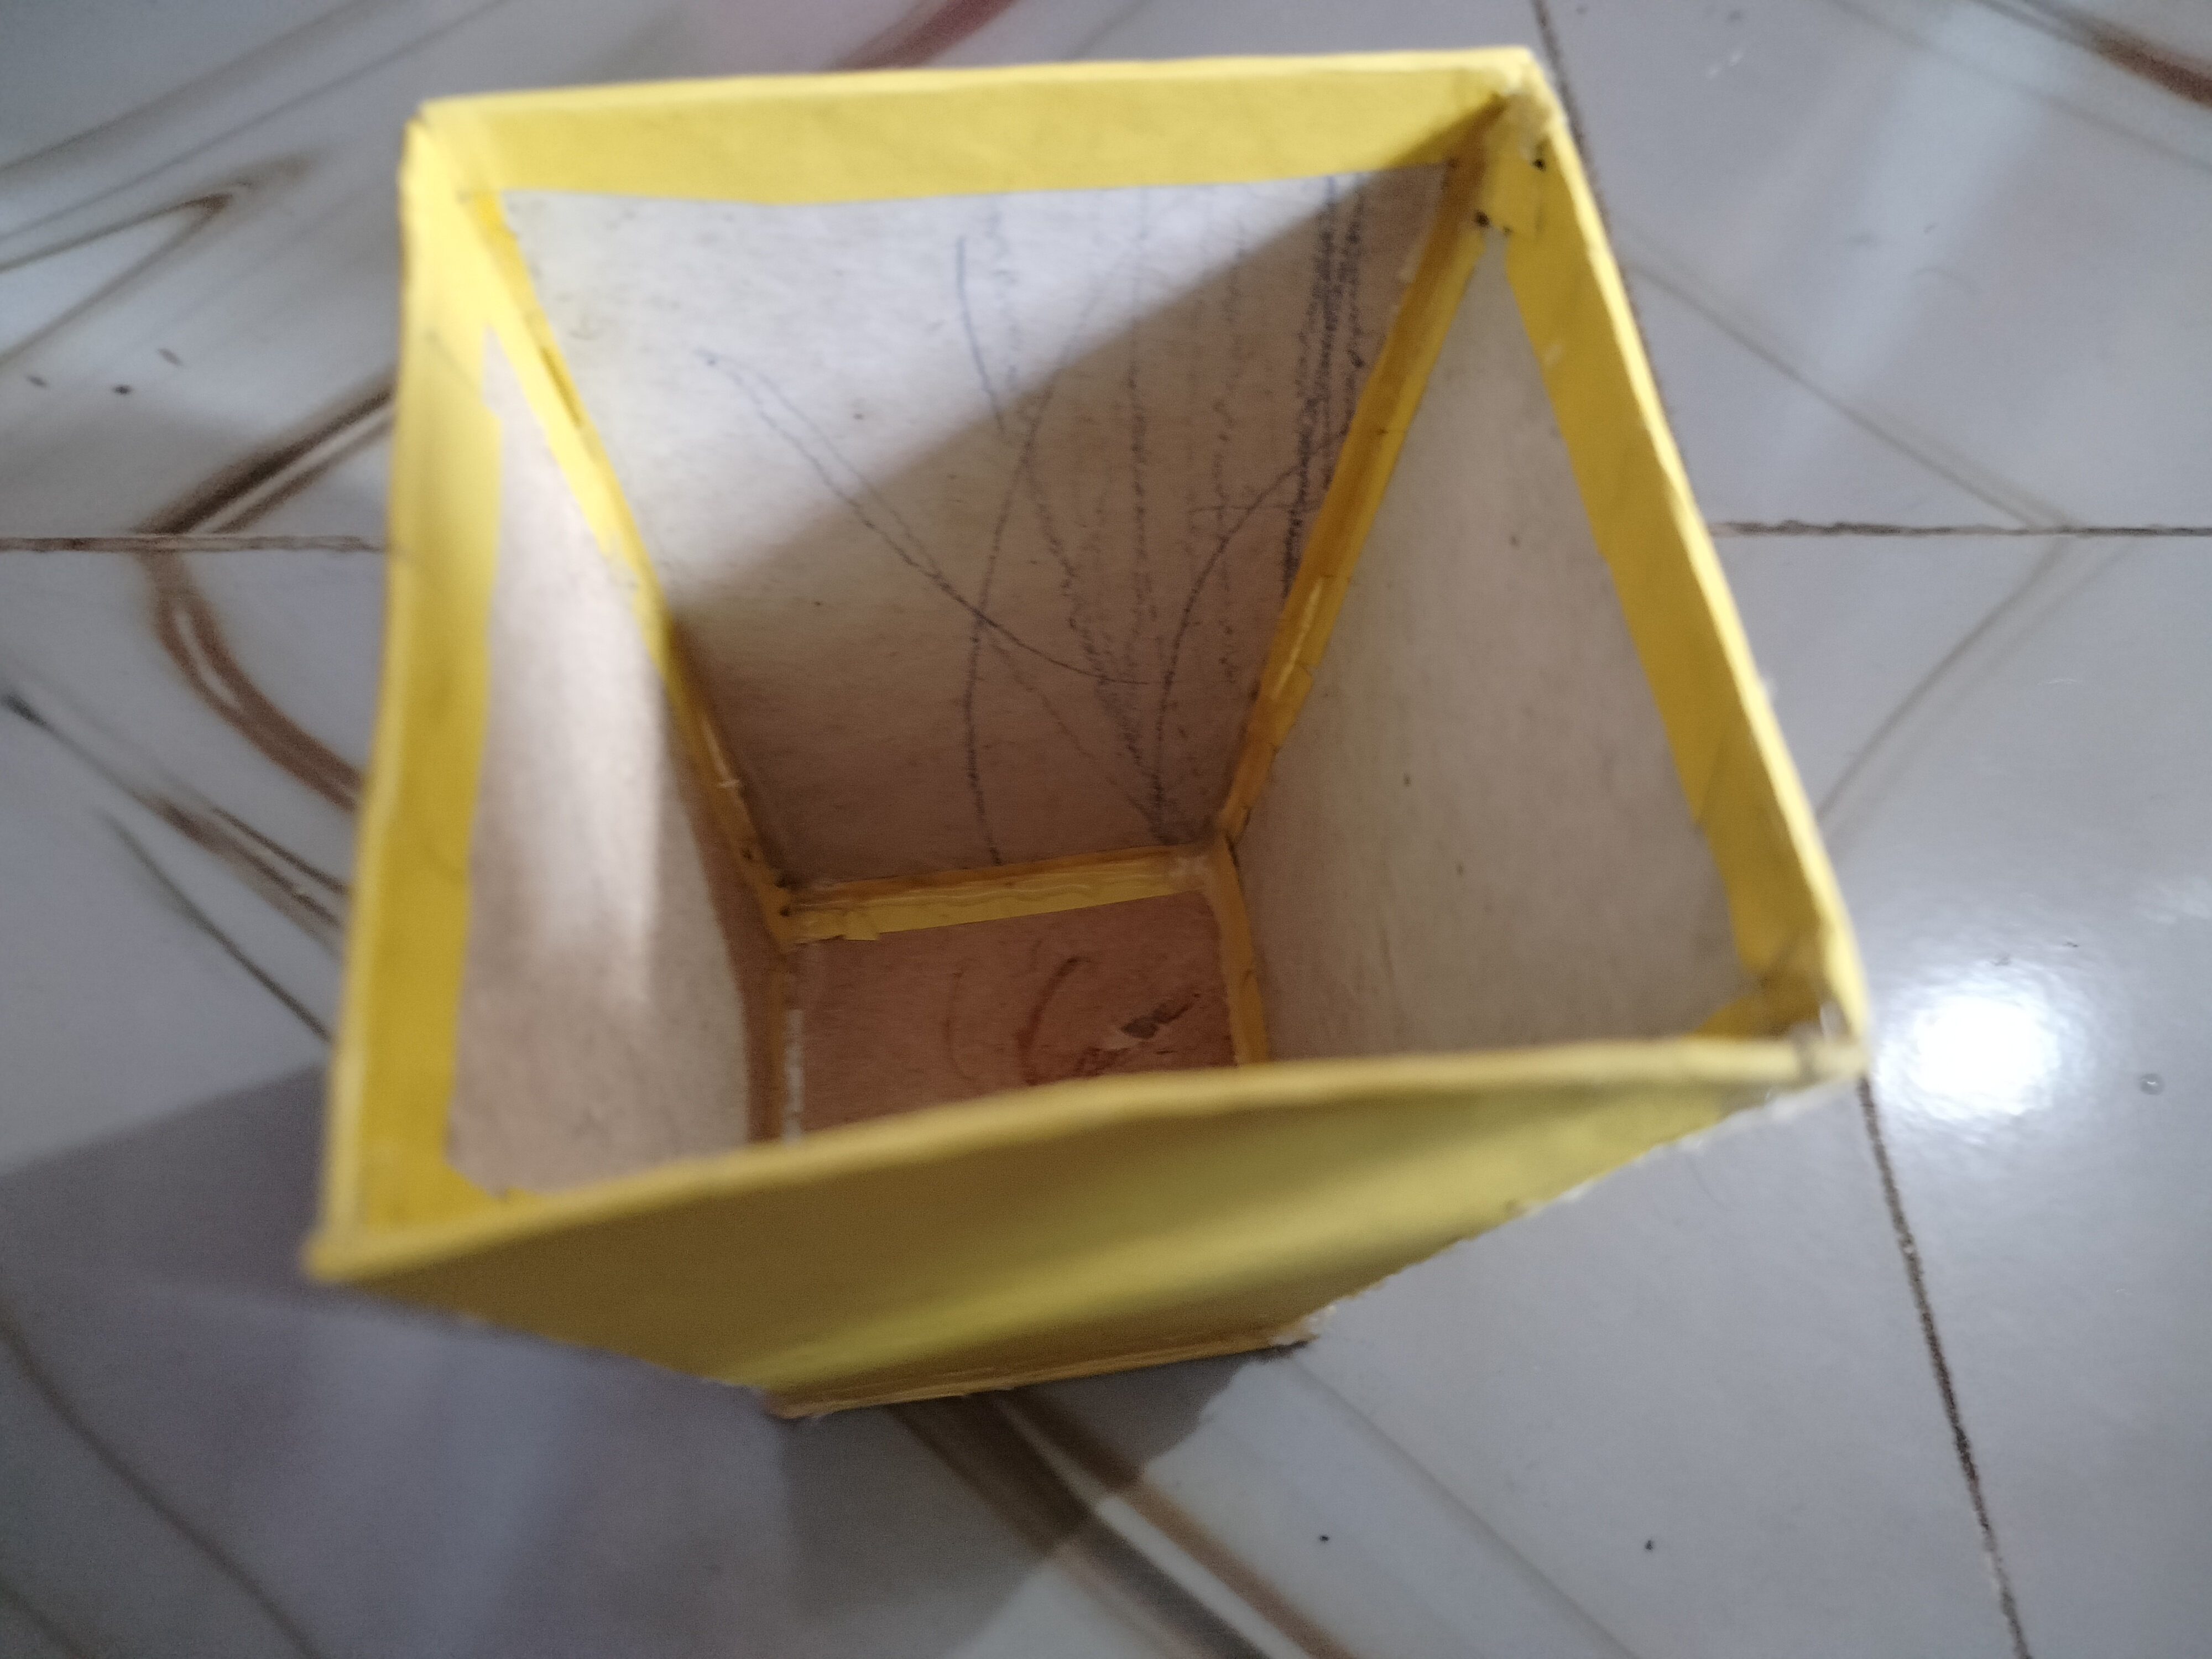
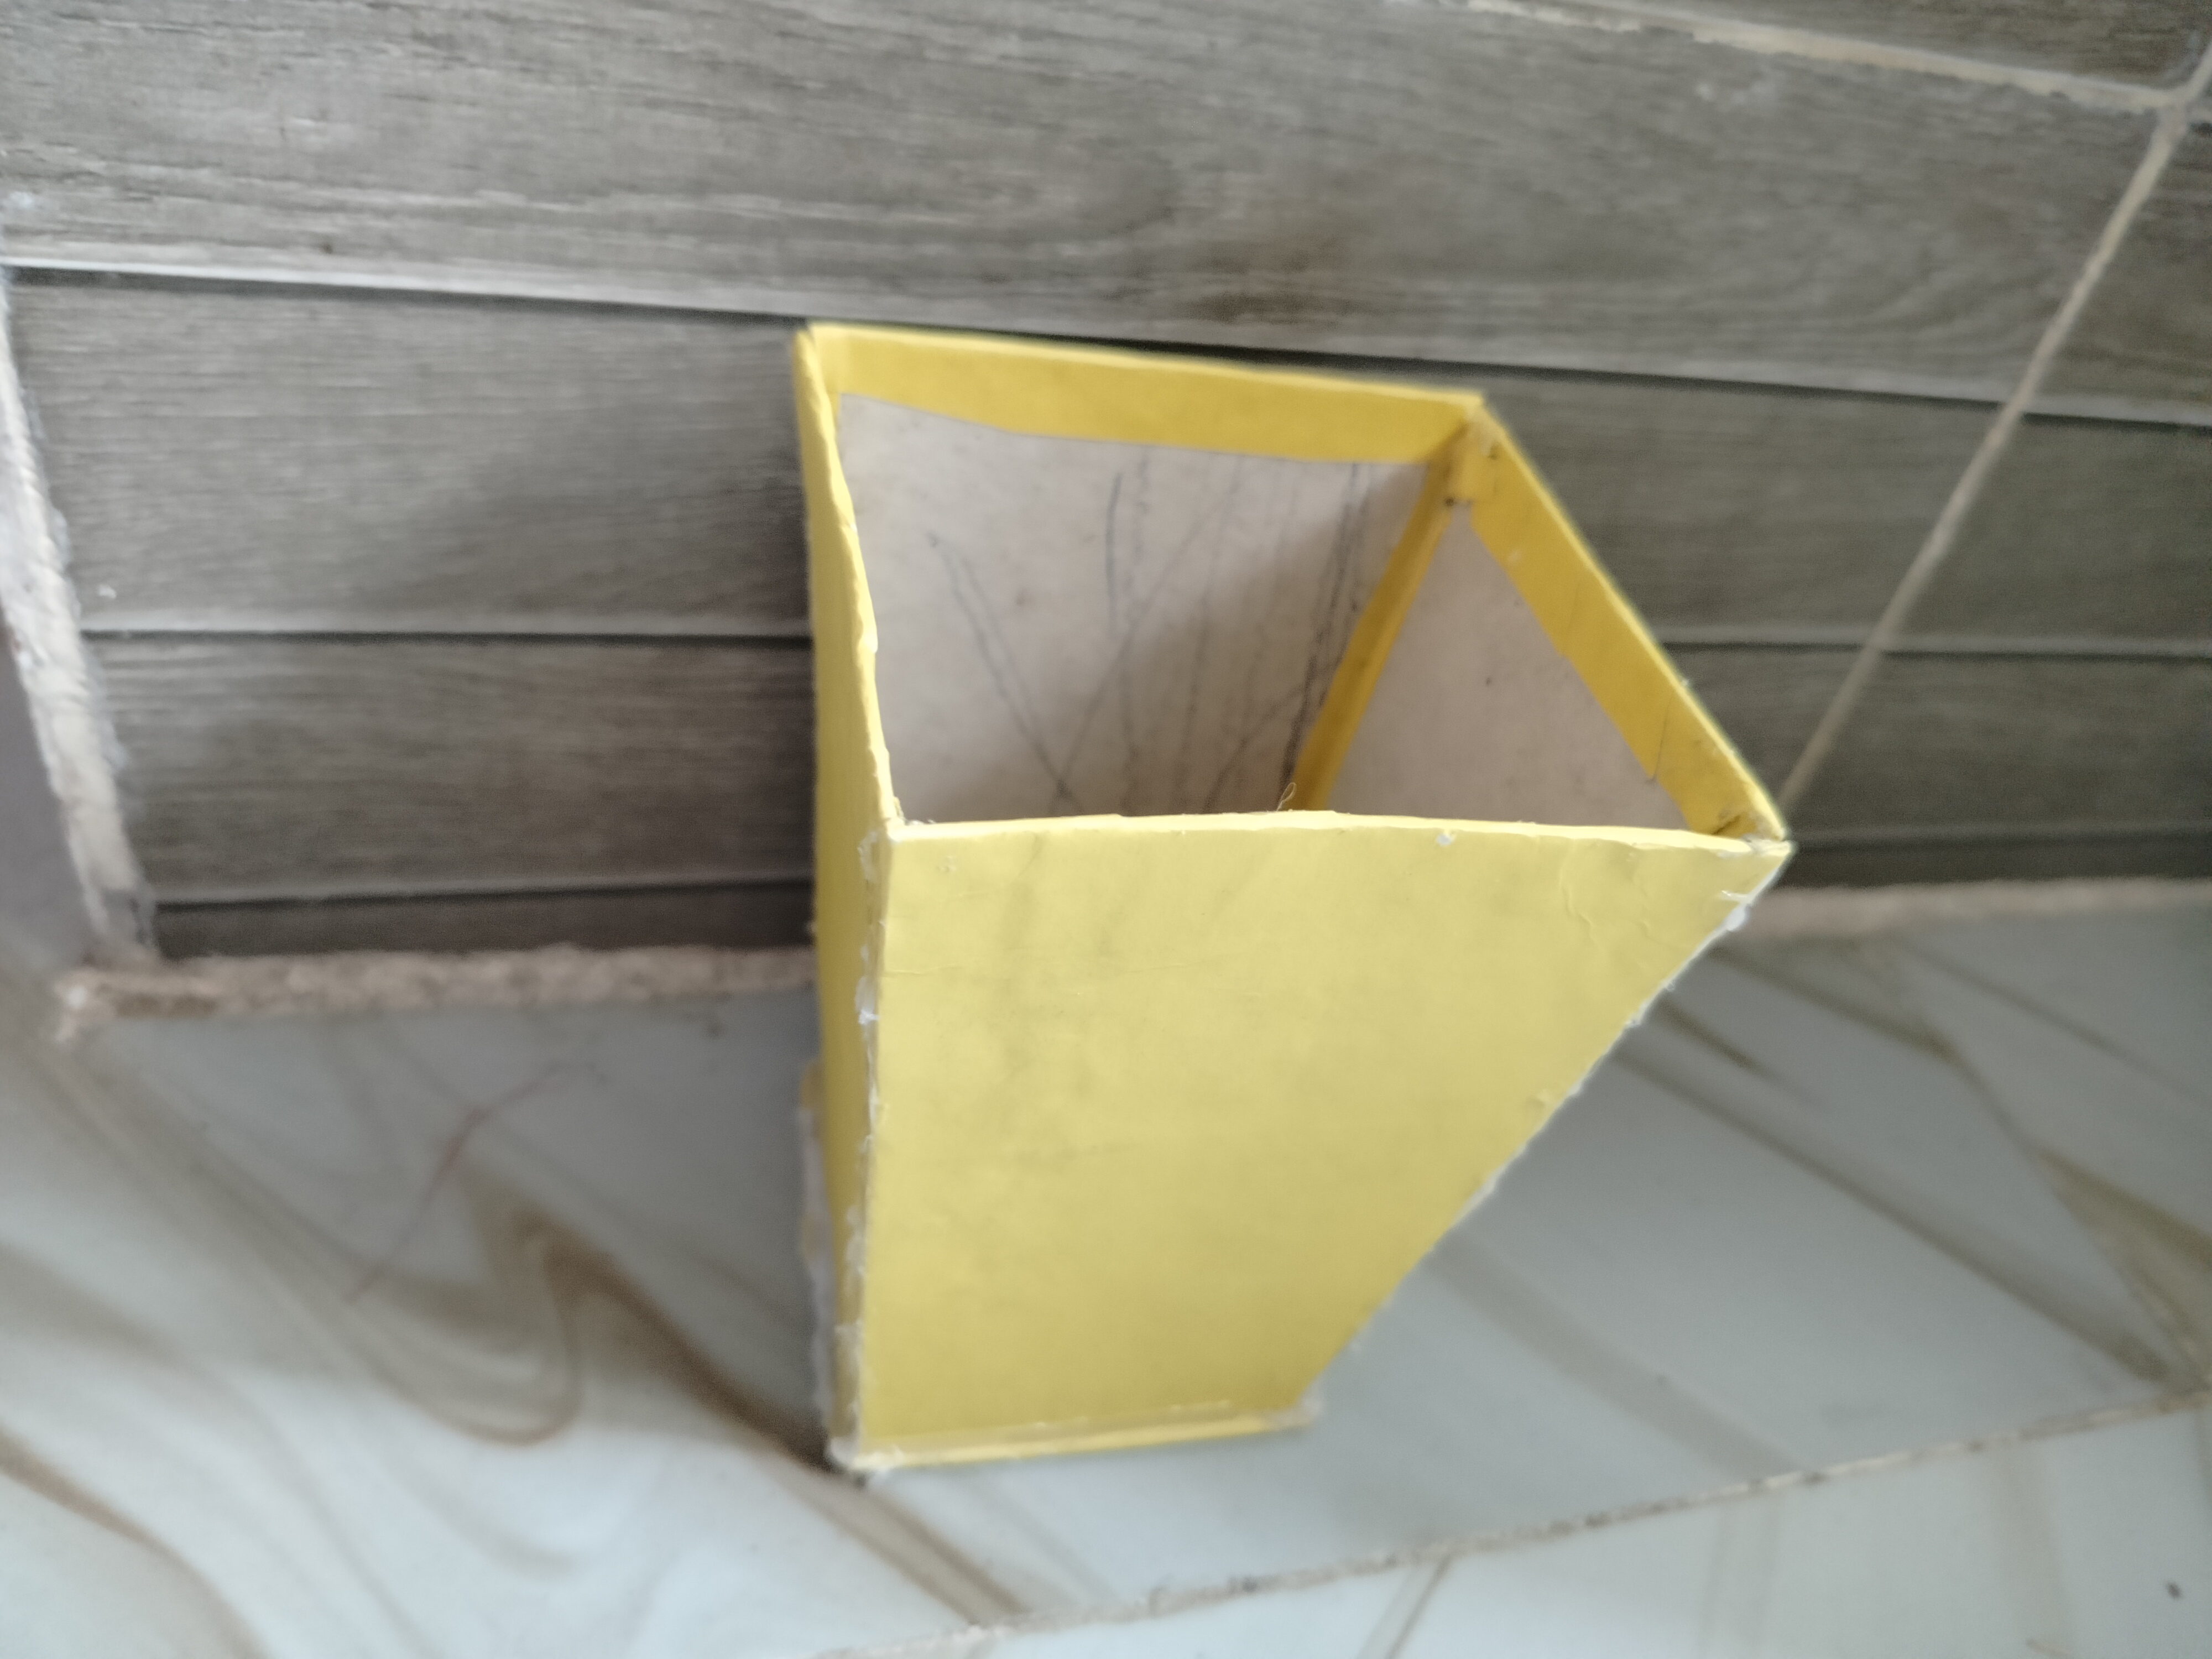
- The cardboard pieces were then joined together one by one by heating the glue gun. First, the bottom, the side walls, and then the sides were glued together to form the entire box. The glue gun made the joints very strong.
Step 4: Box Border and Finishing.
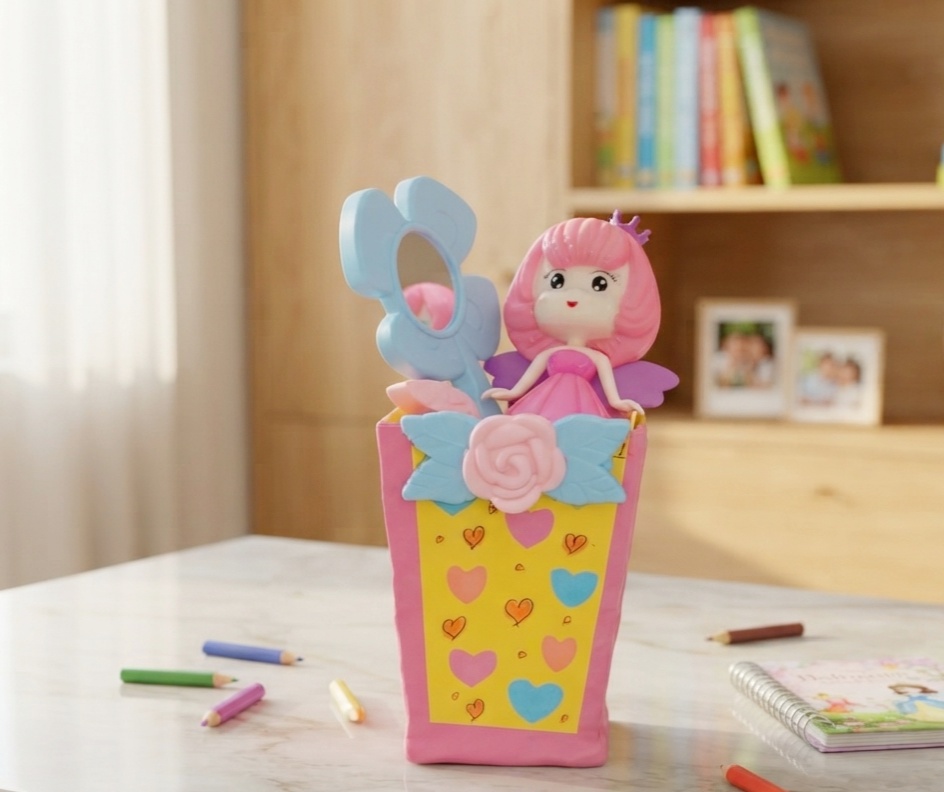
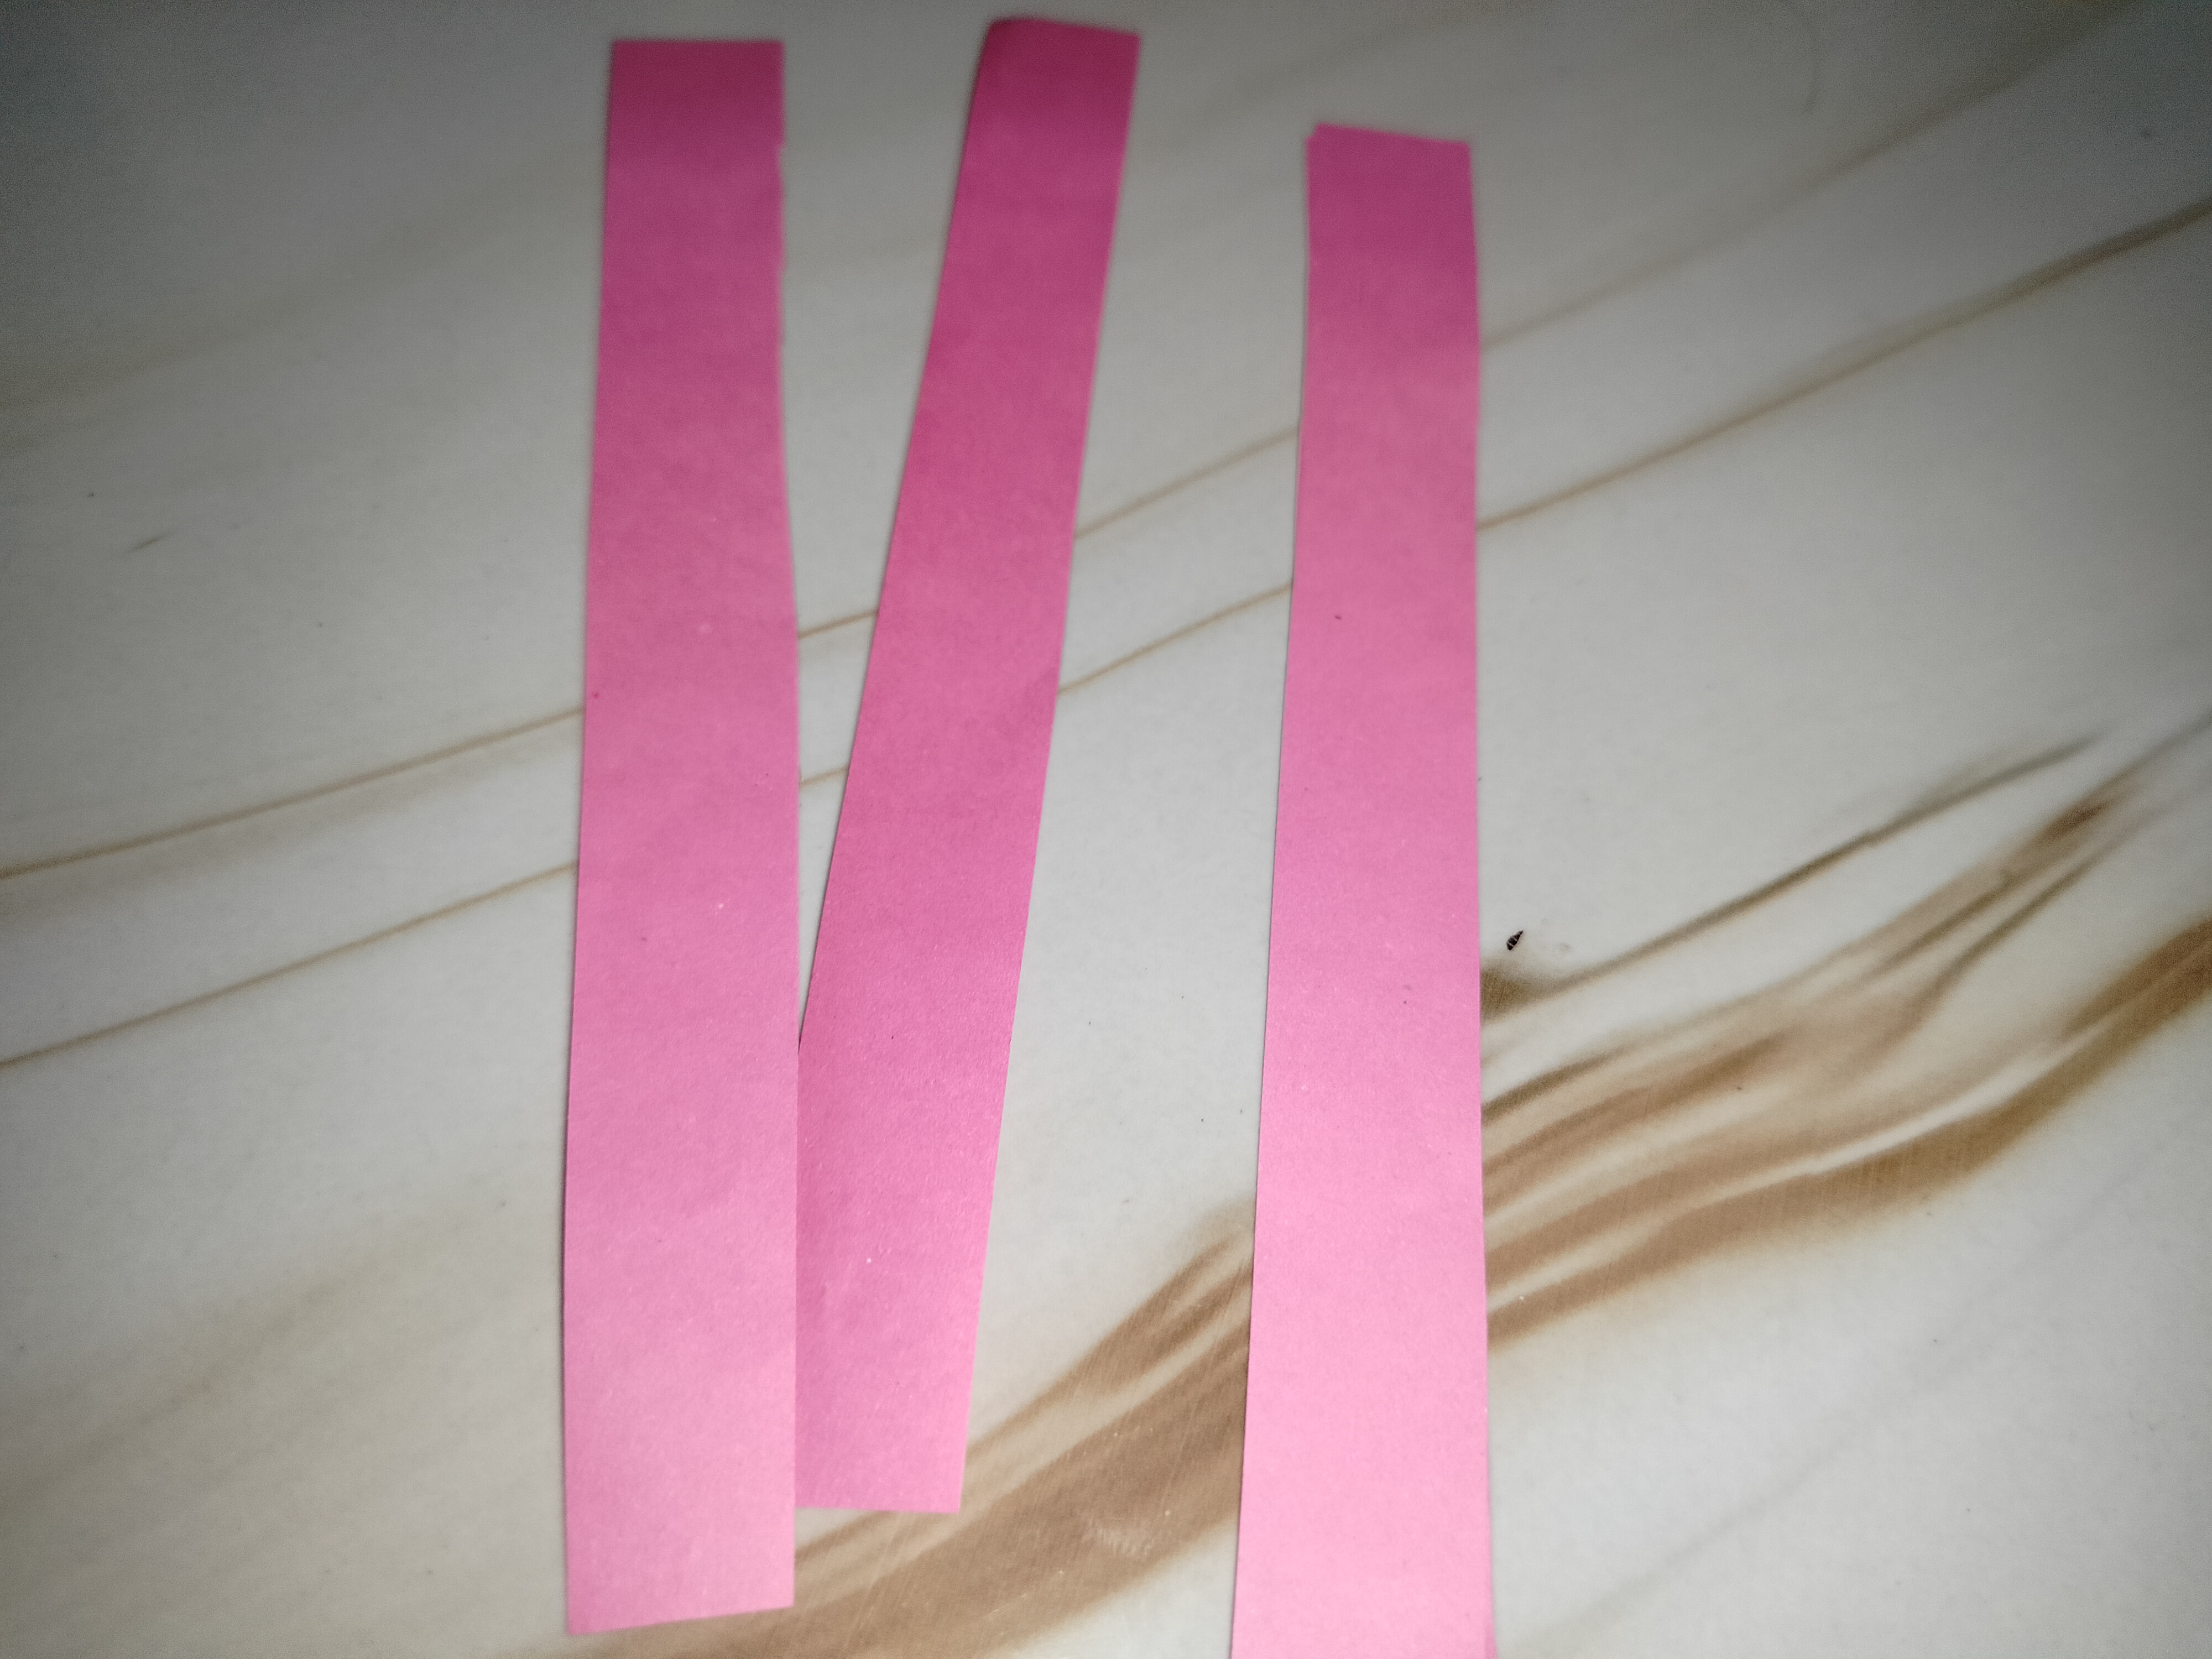
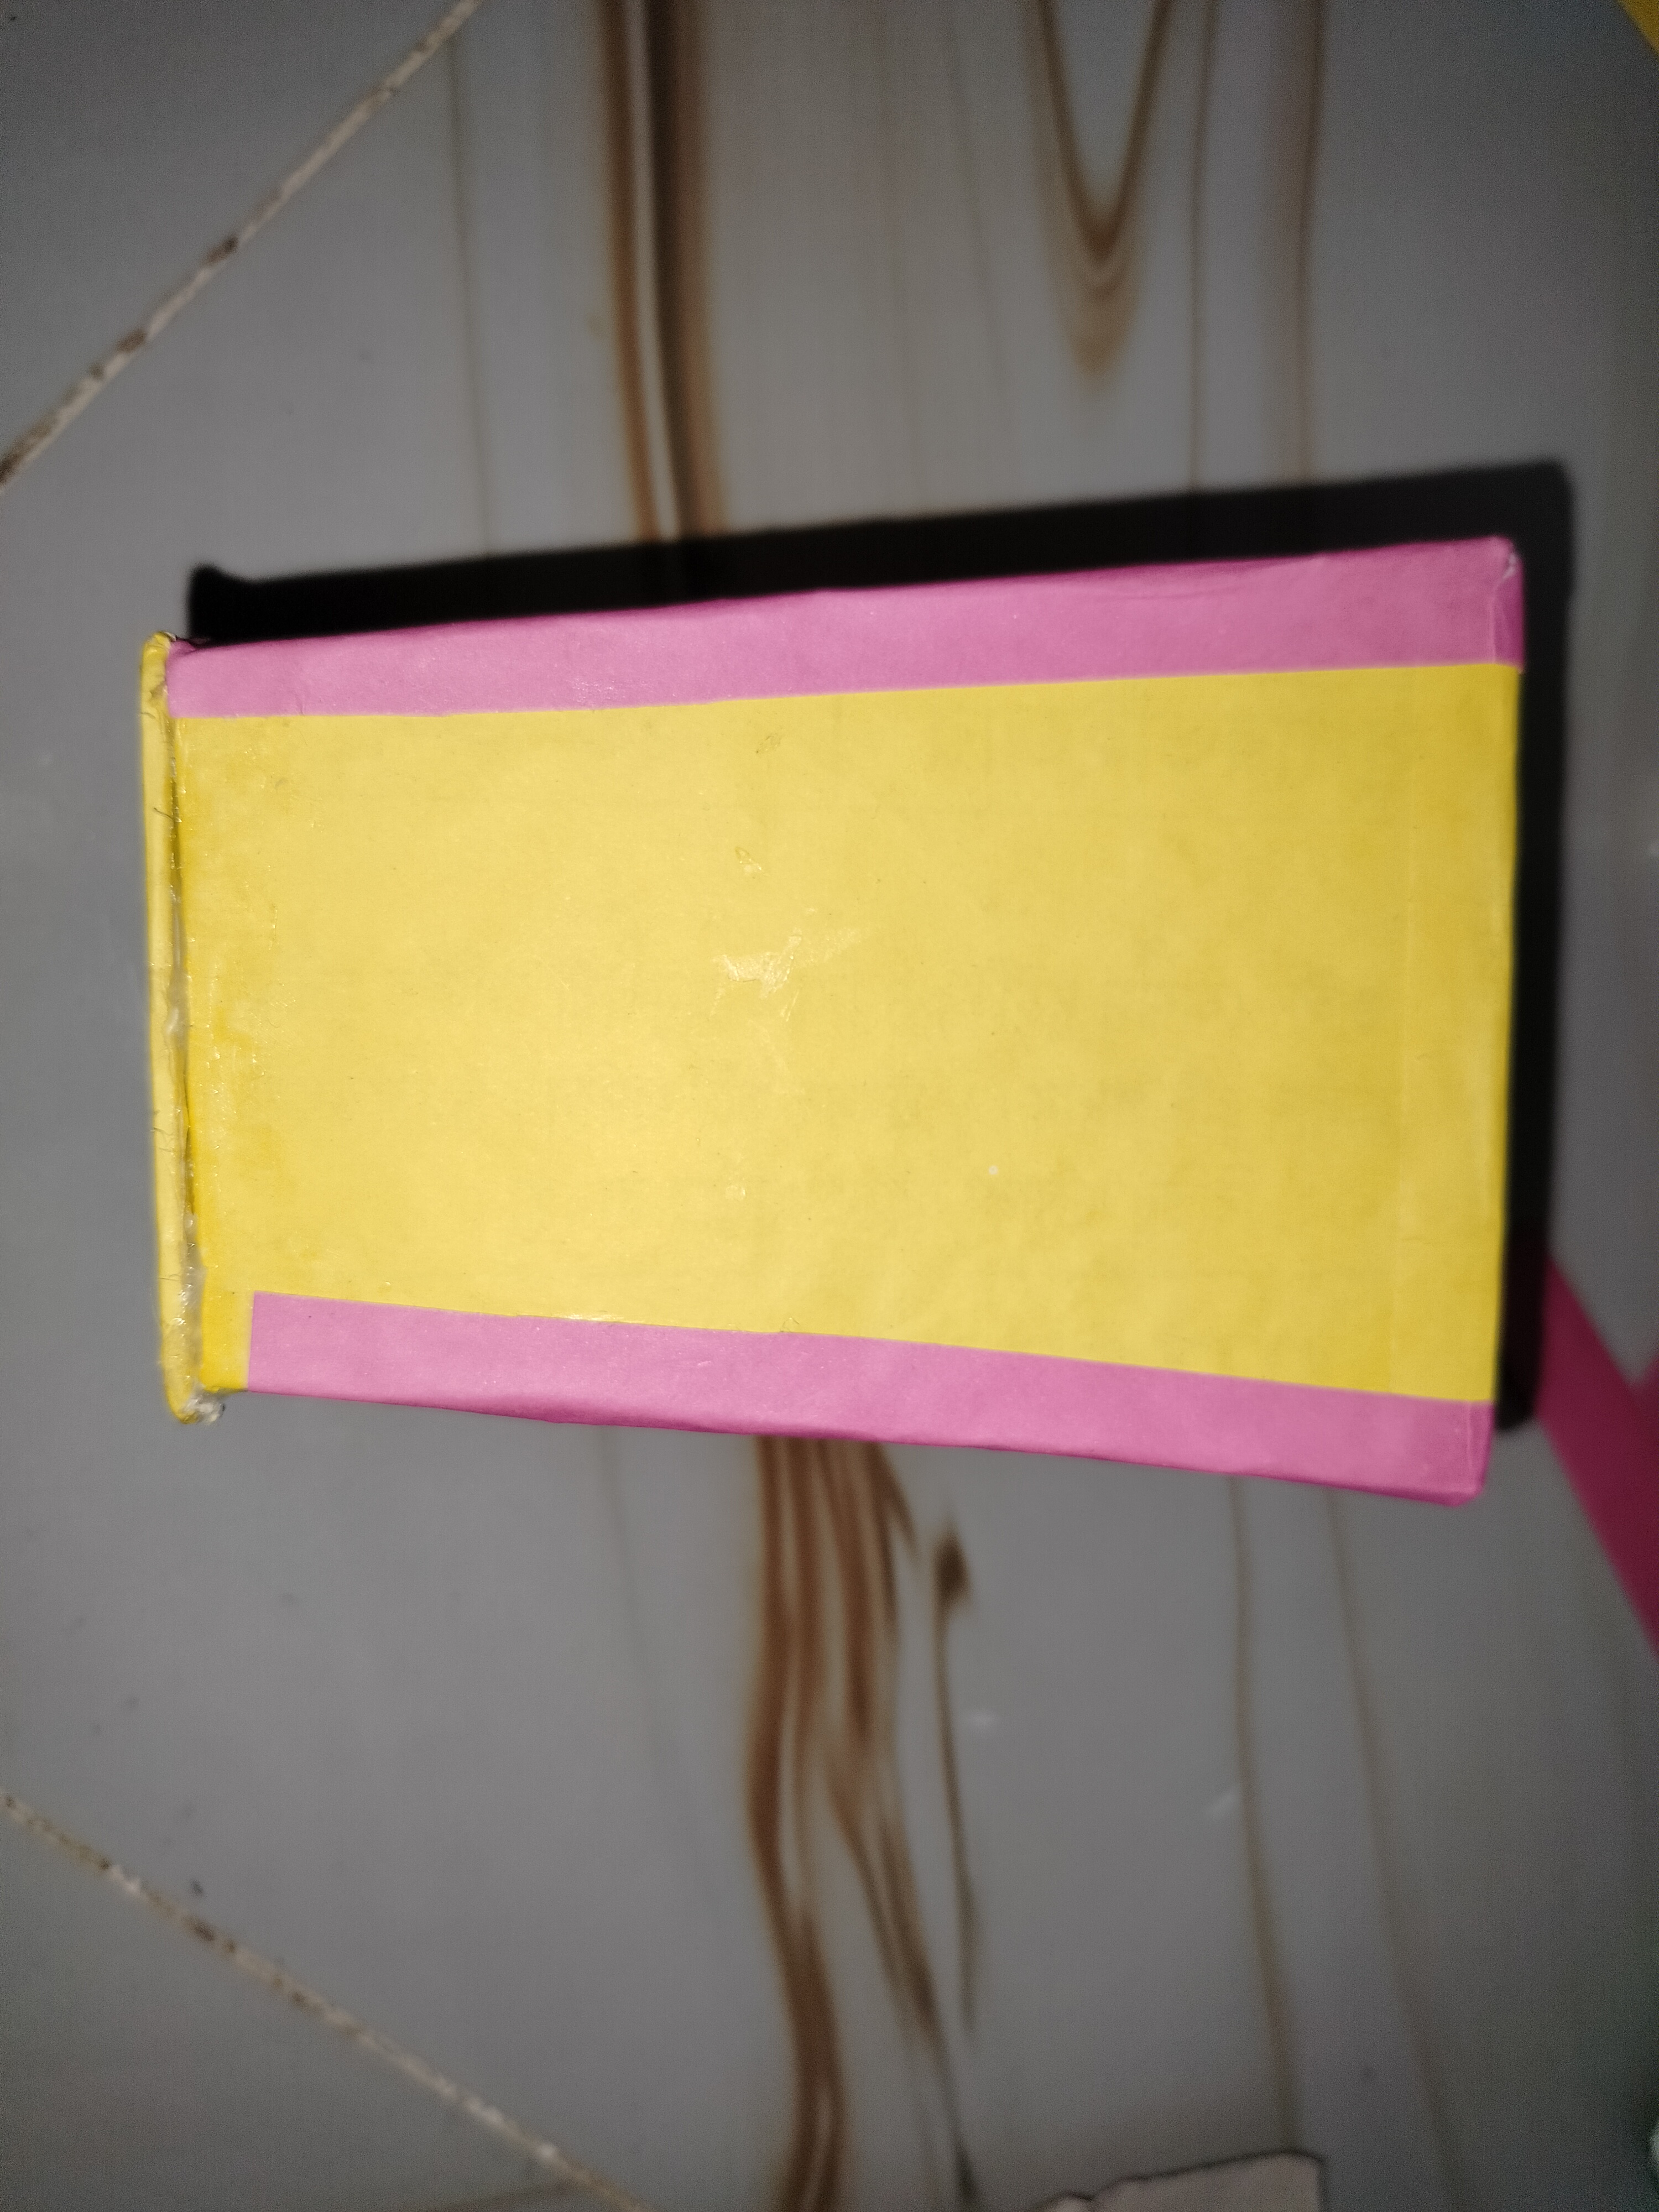
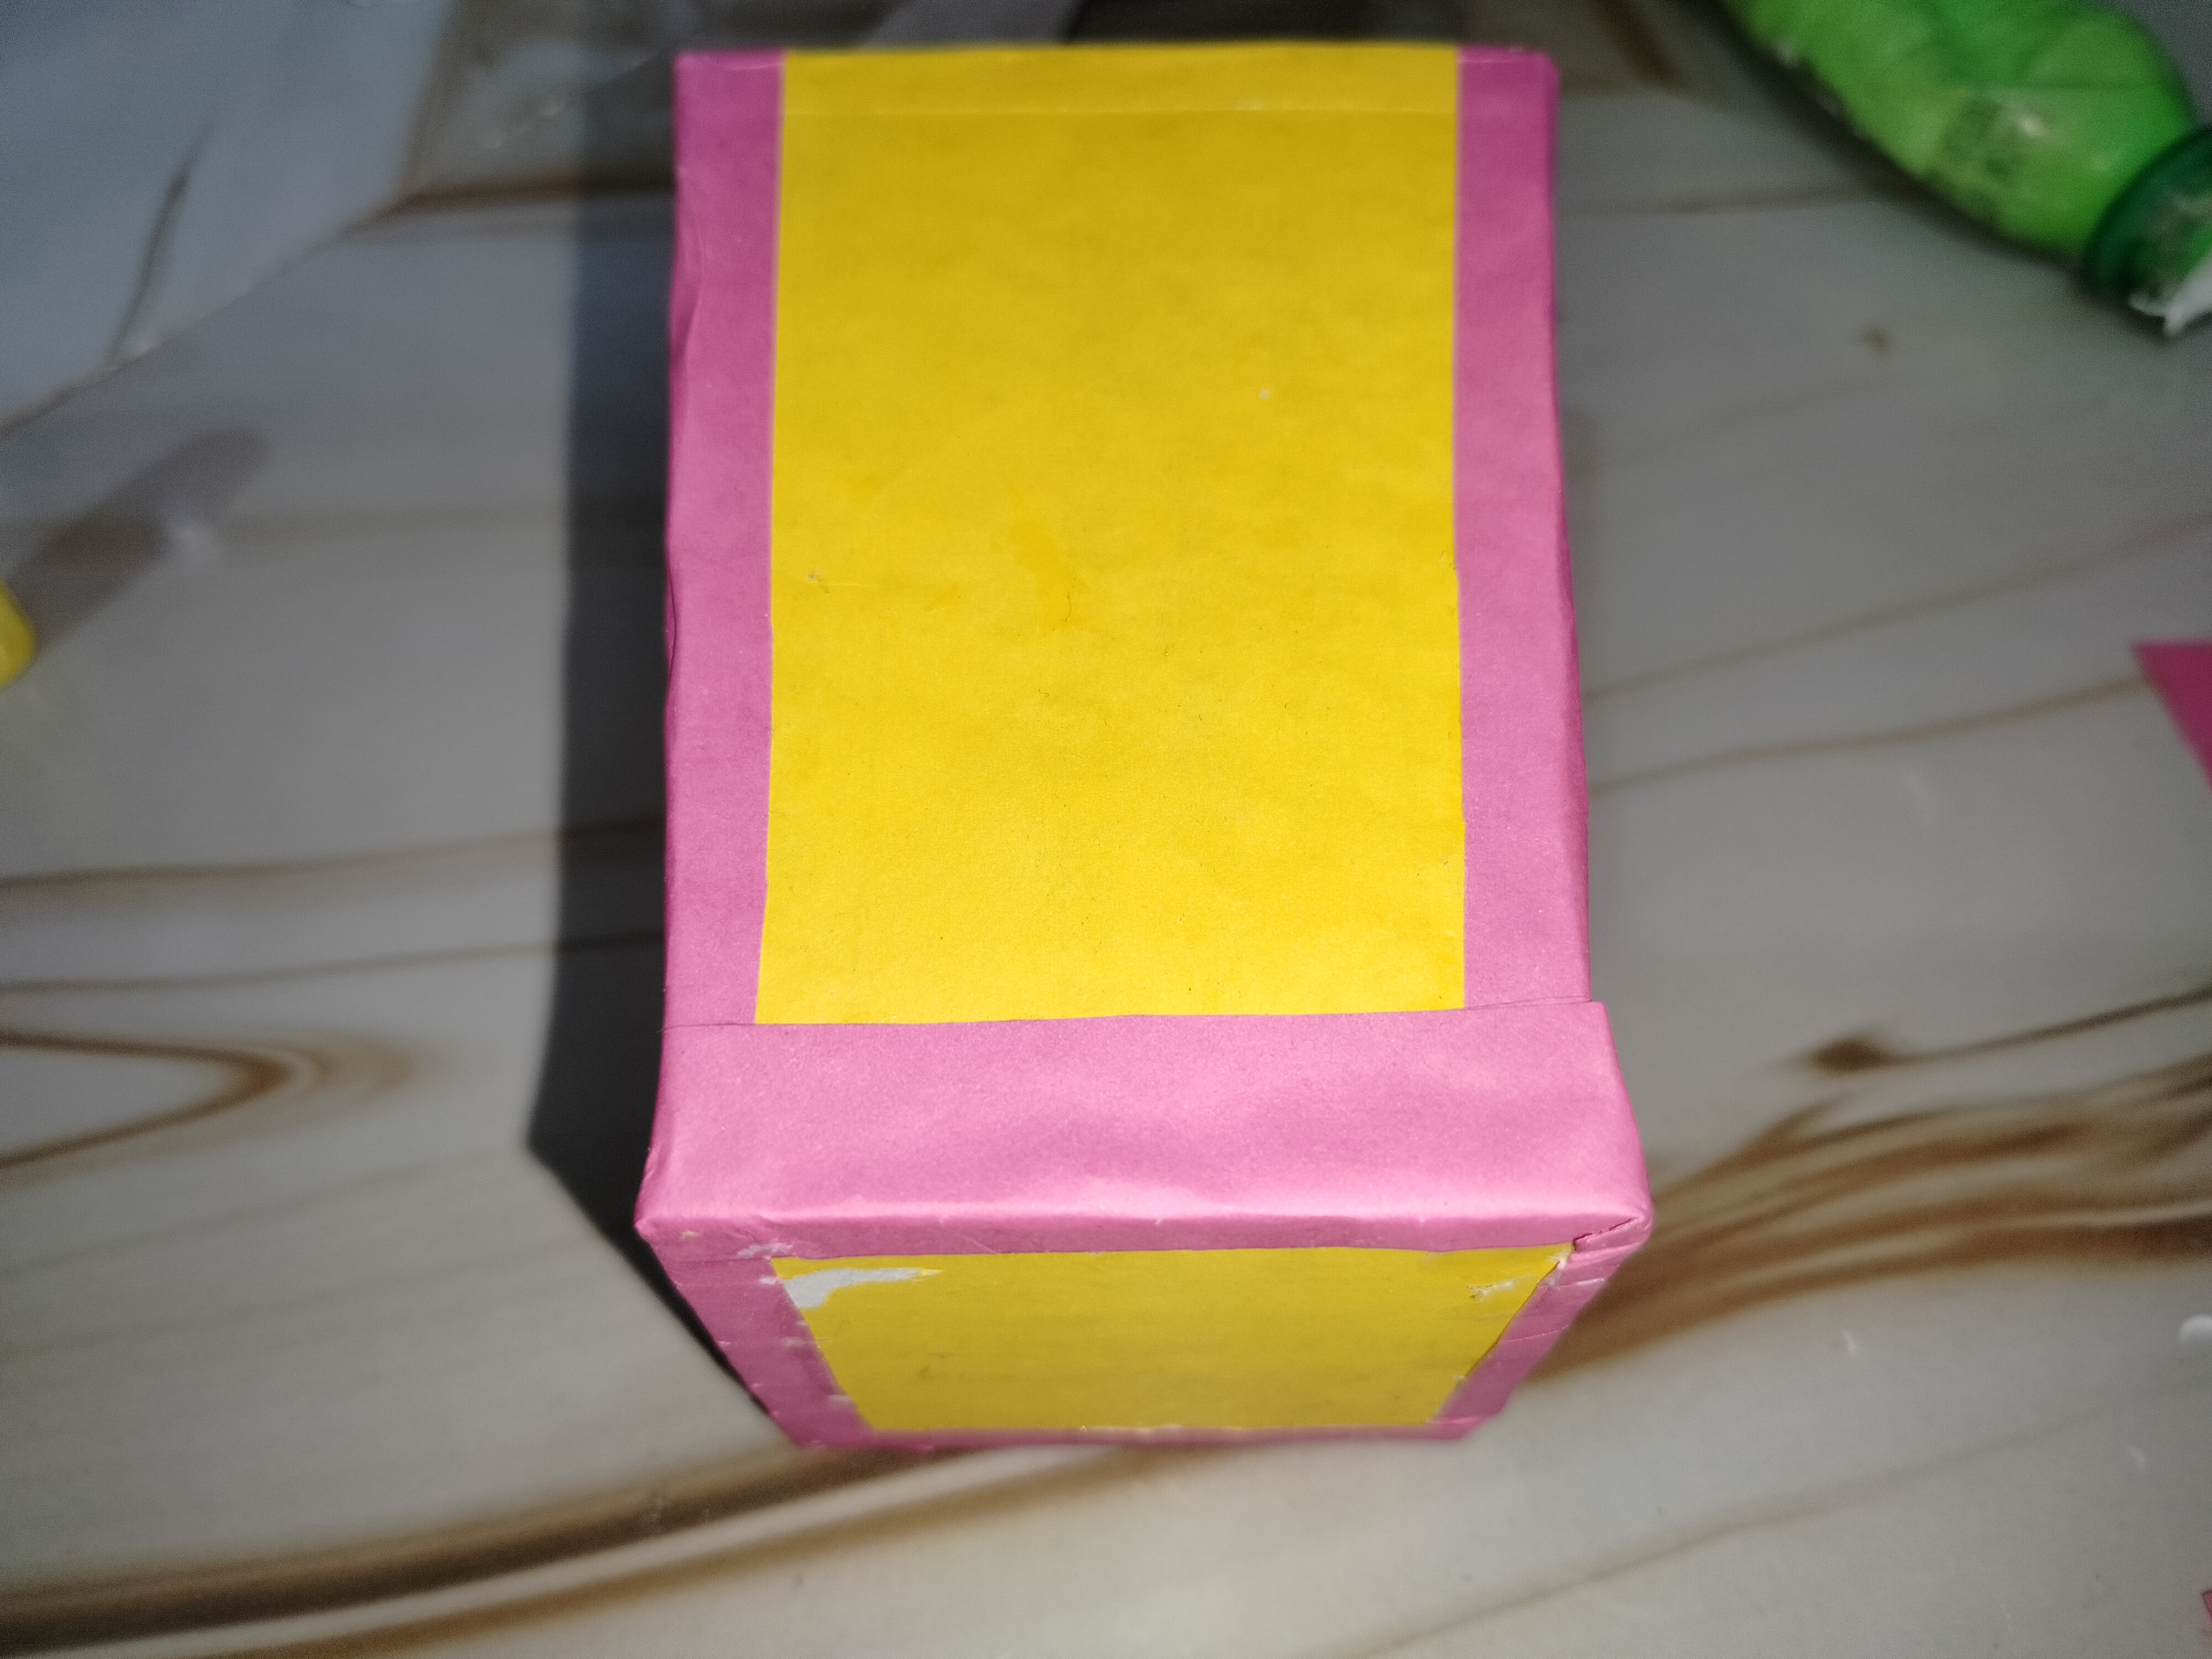
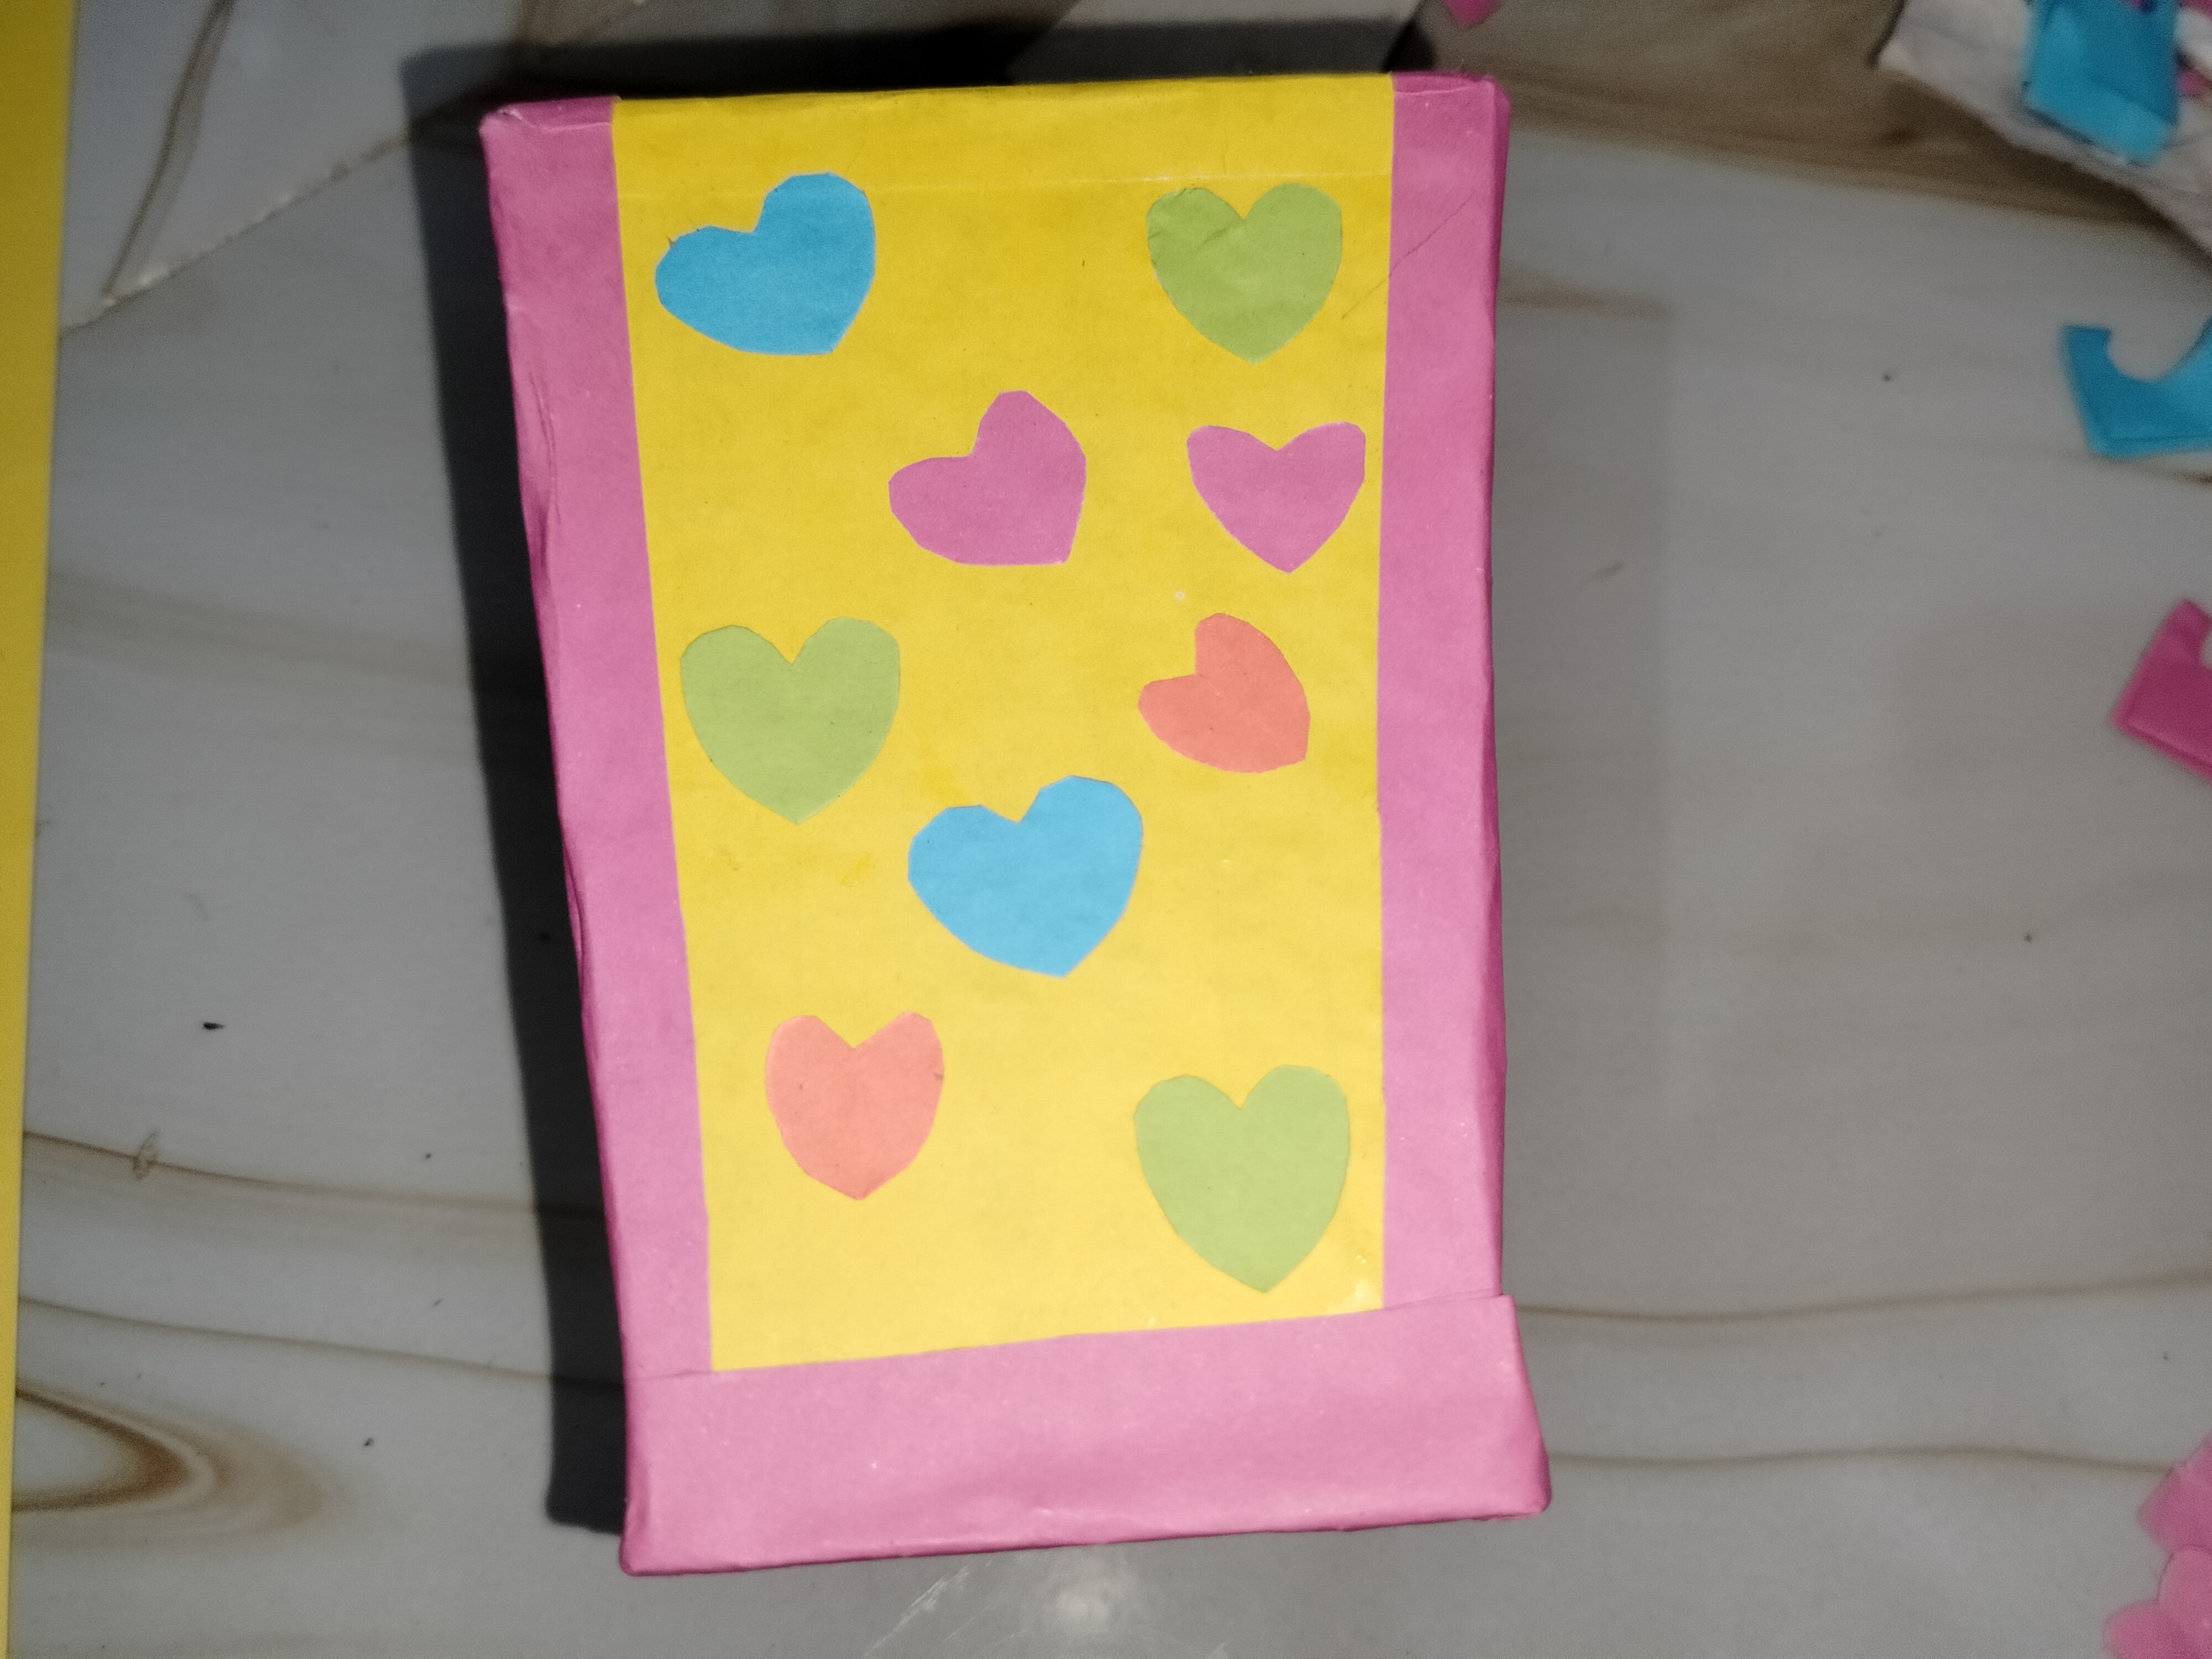
- To make the box more attractive and neat, the edges or borders were wrapped with pink paper. This created a beautiful combination of yellow and pink.
Step 5: Design and painting.
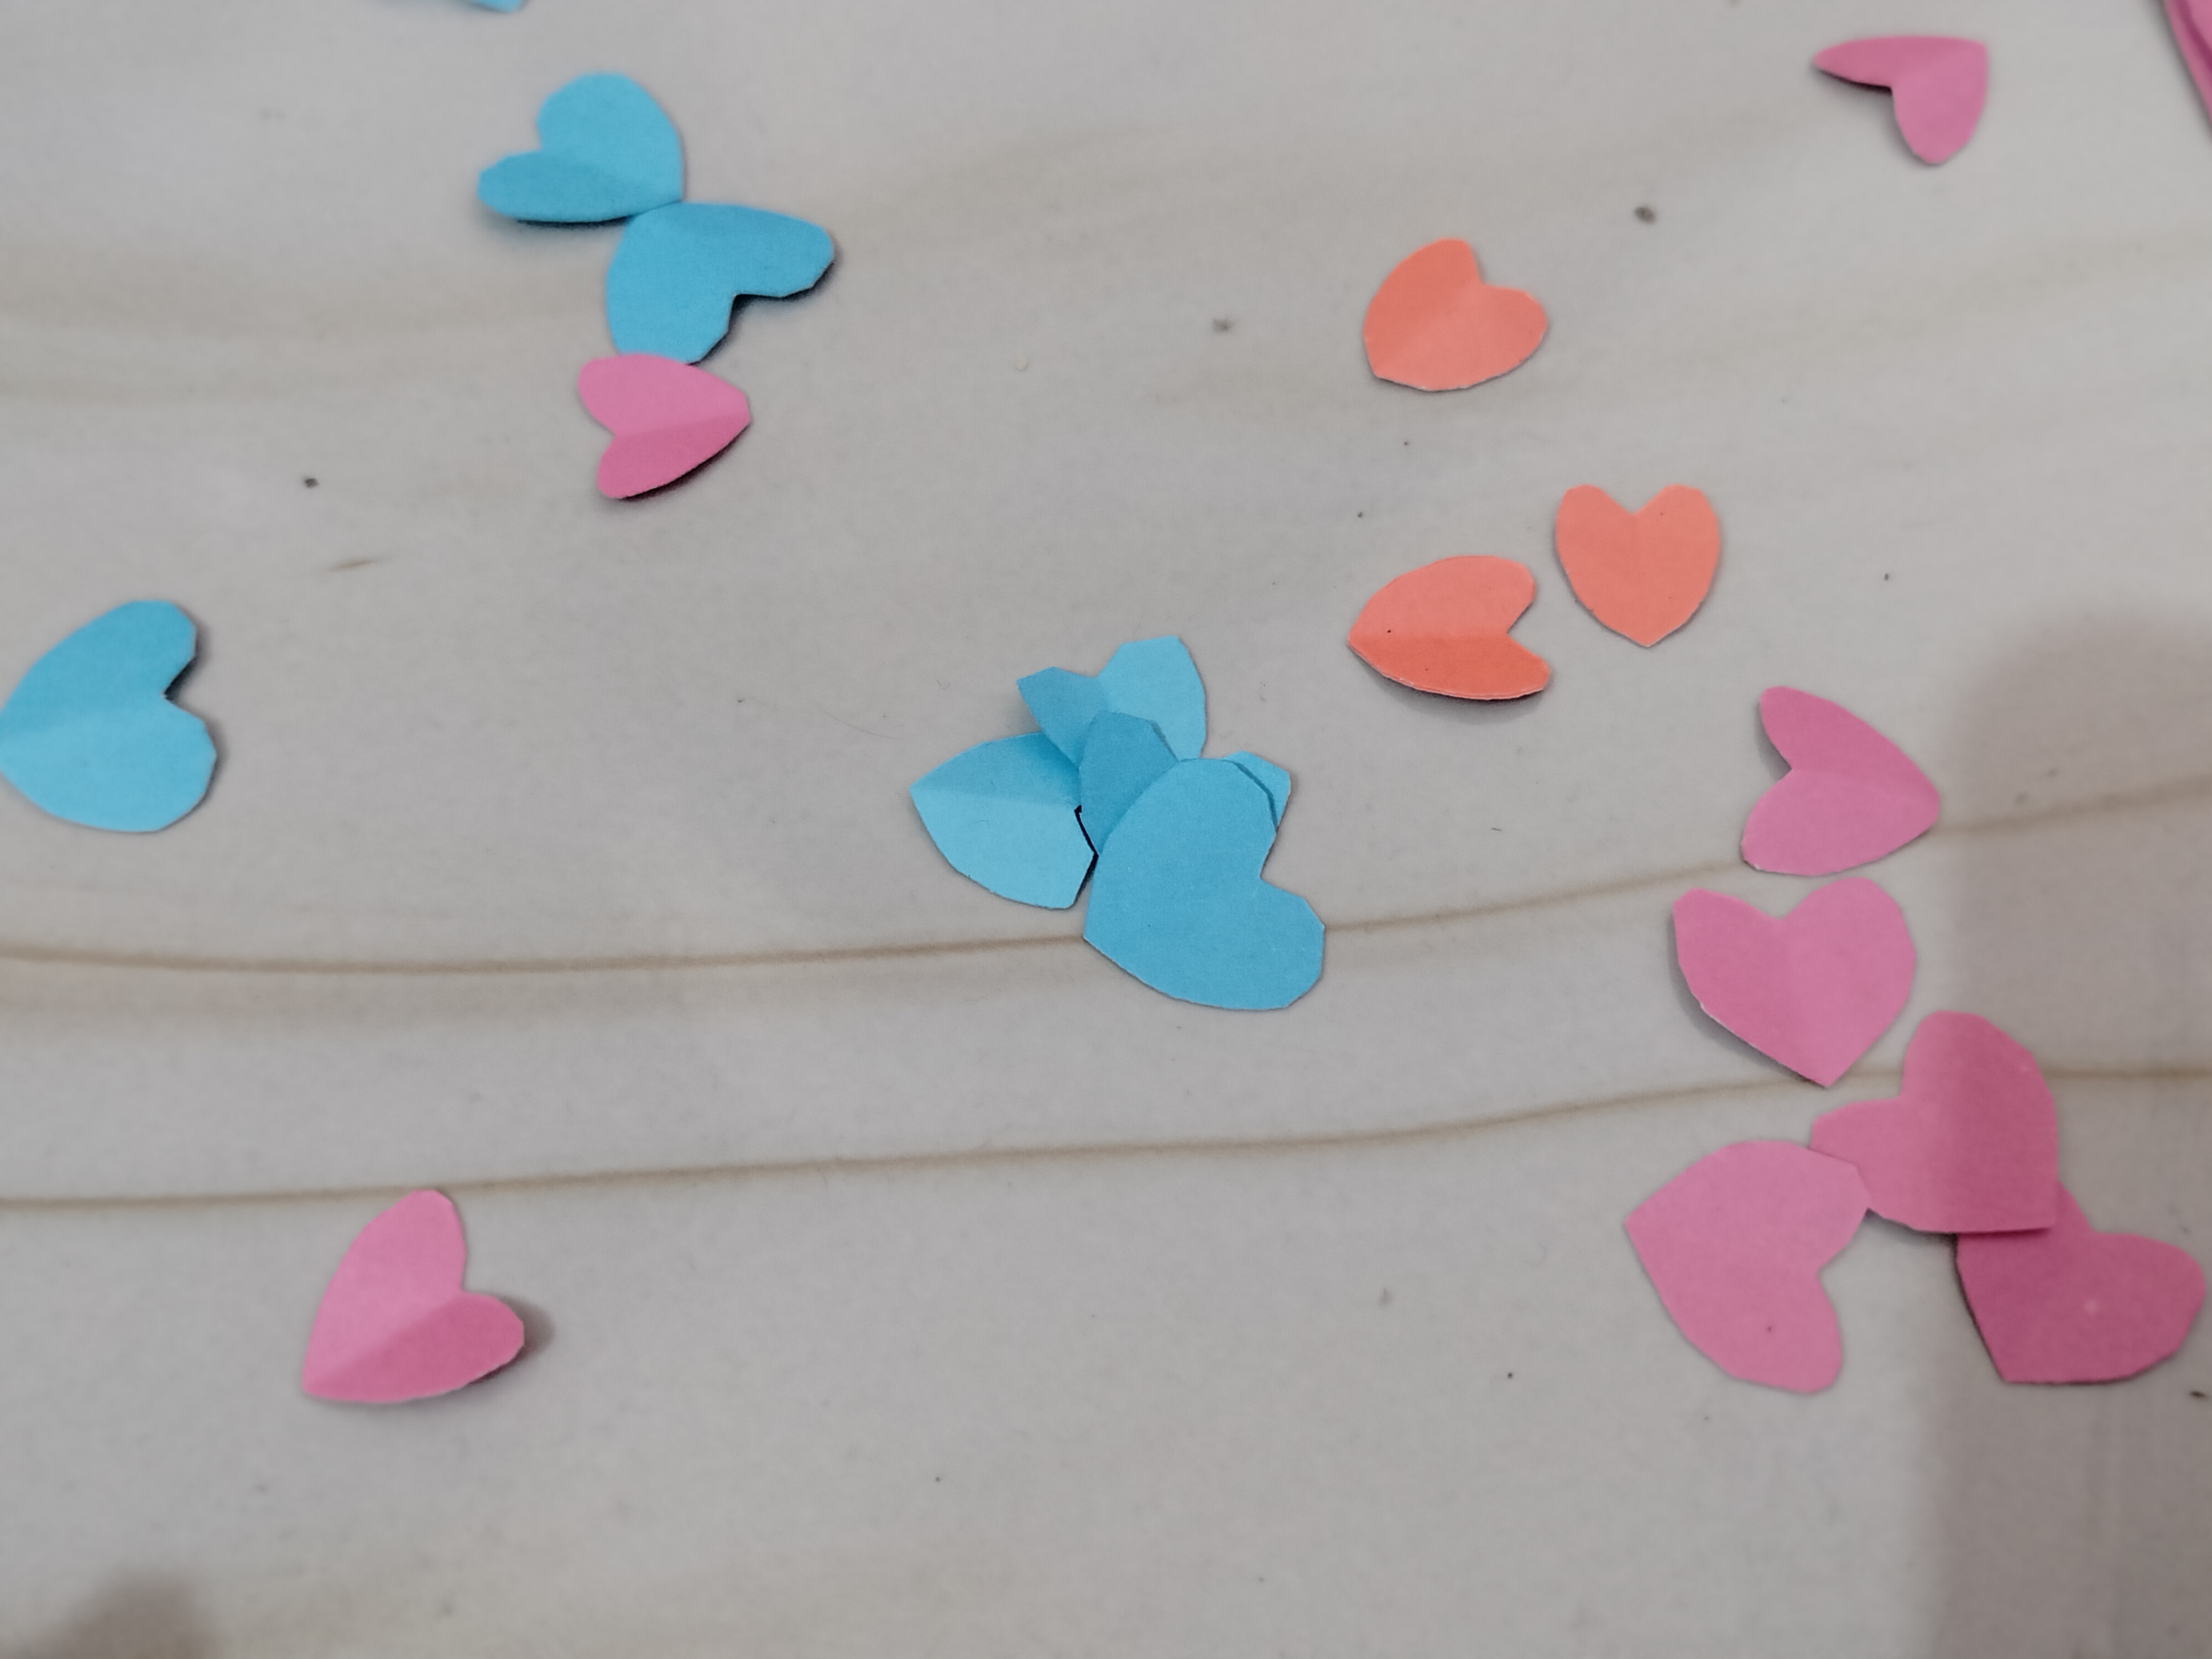
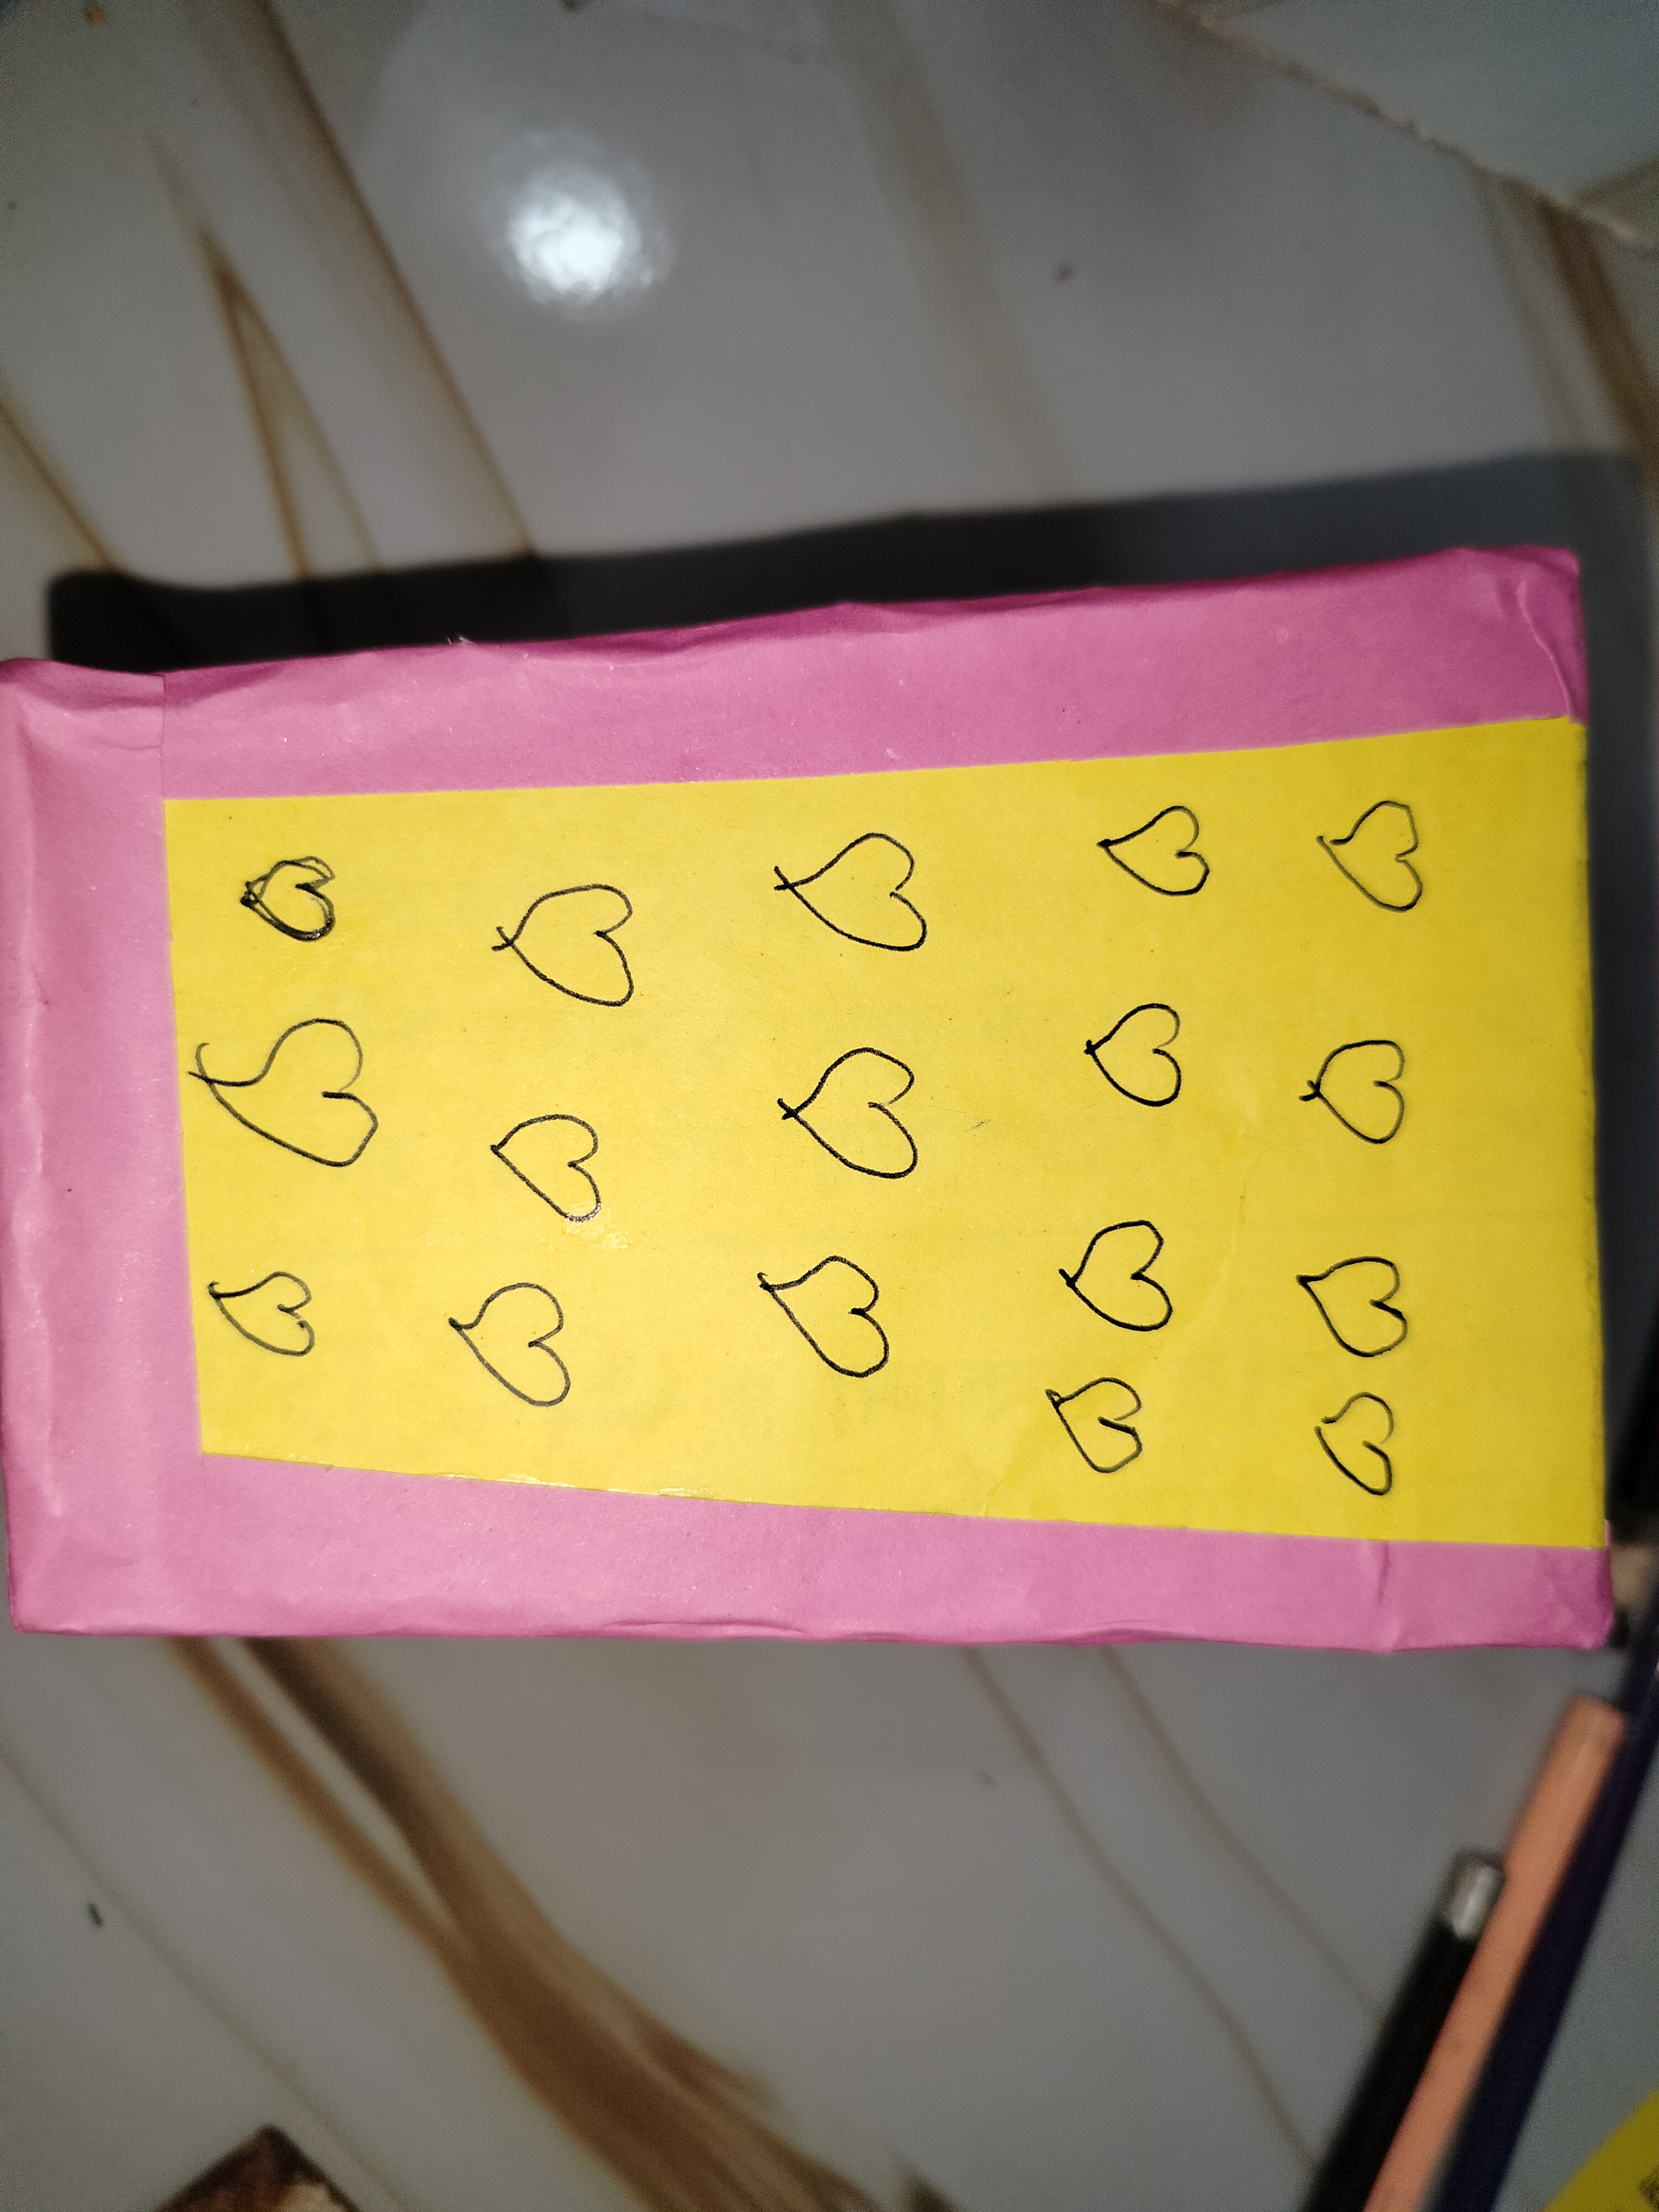
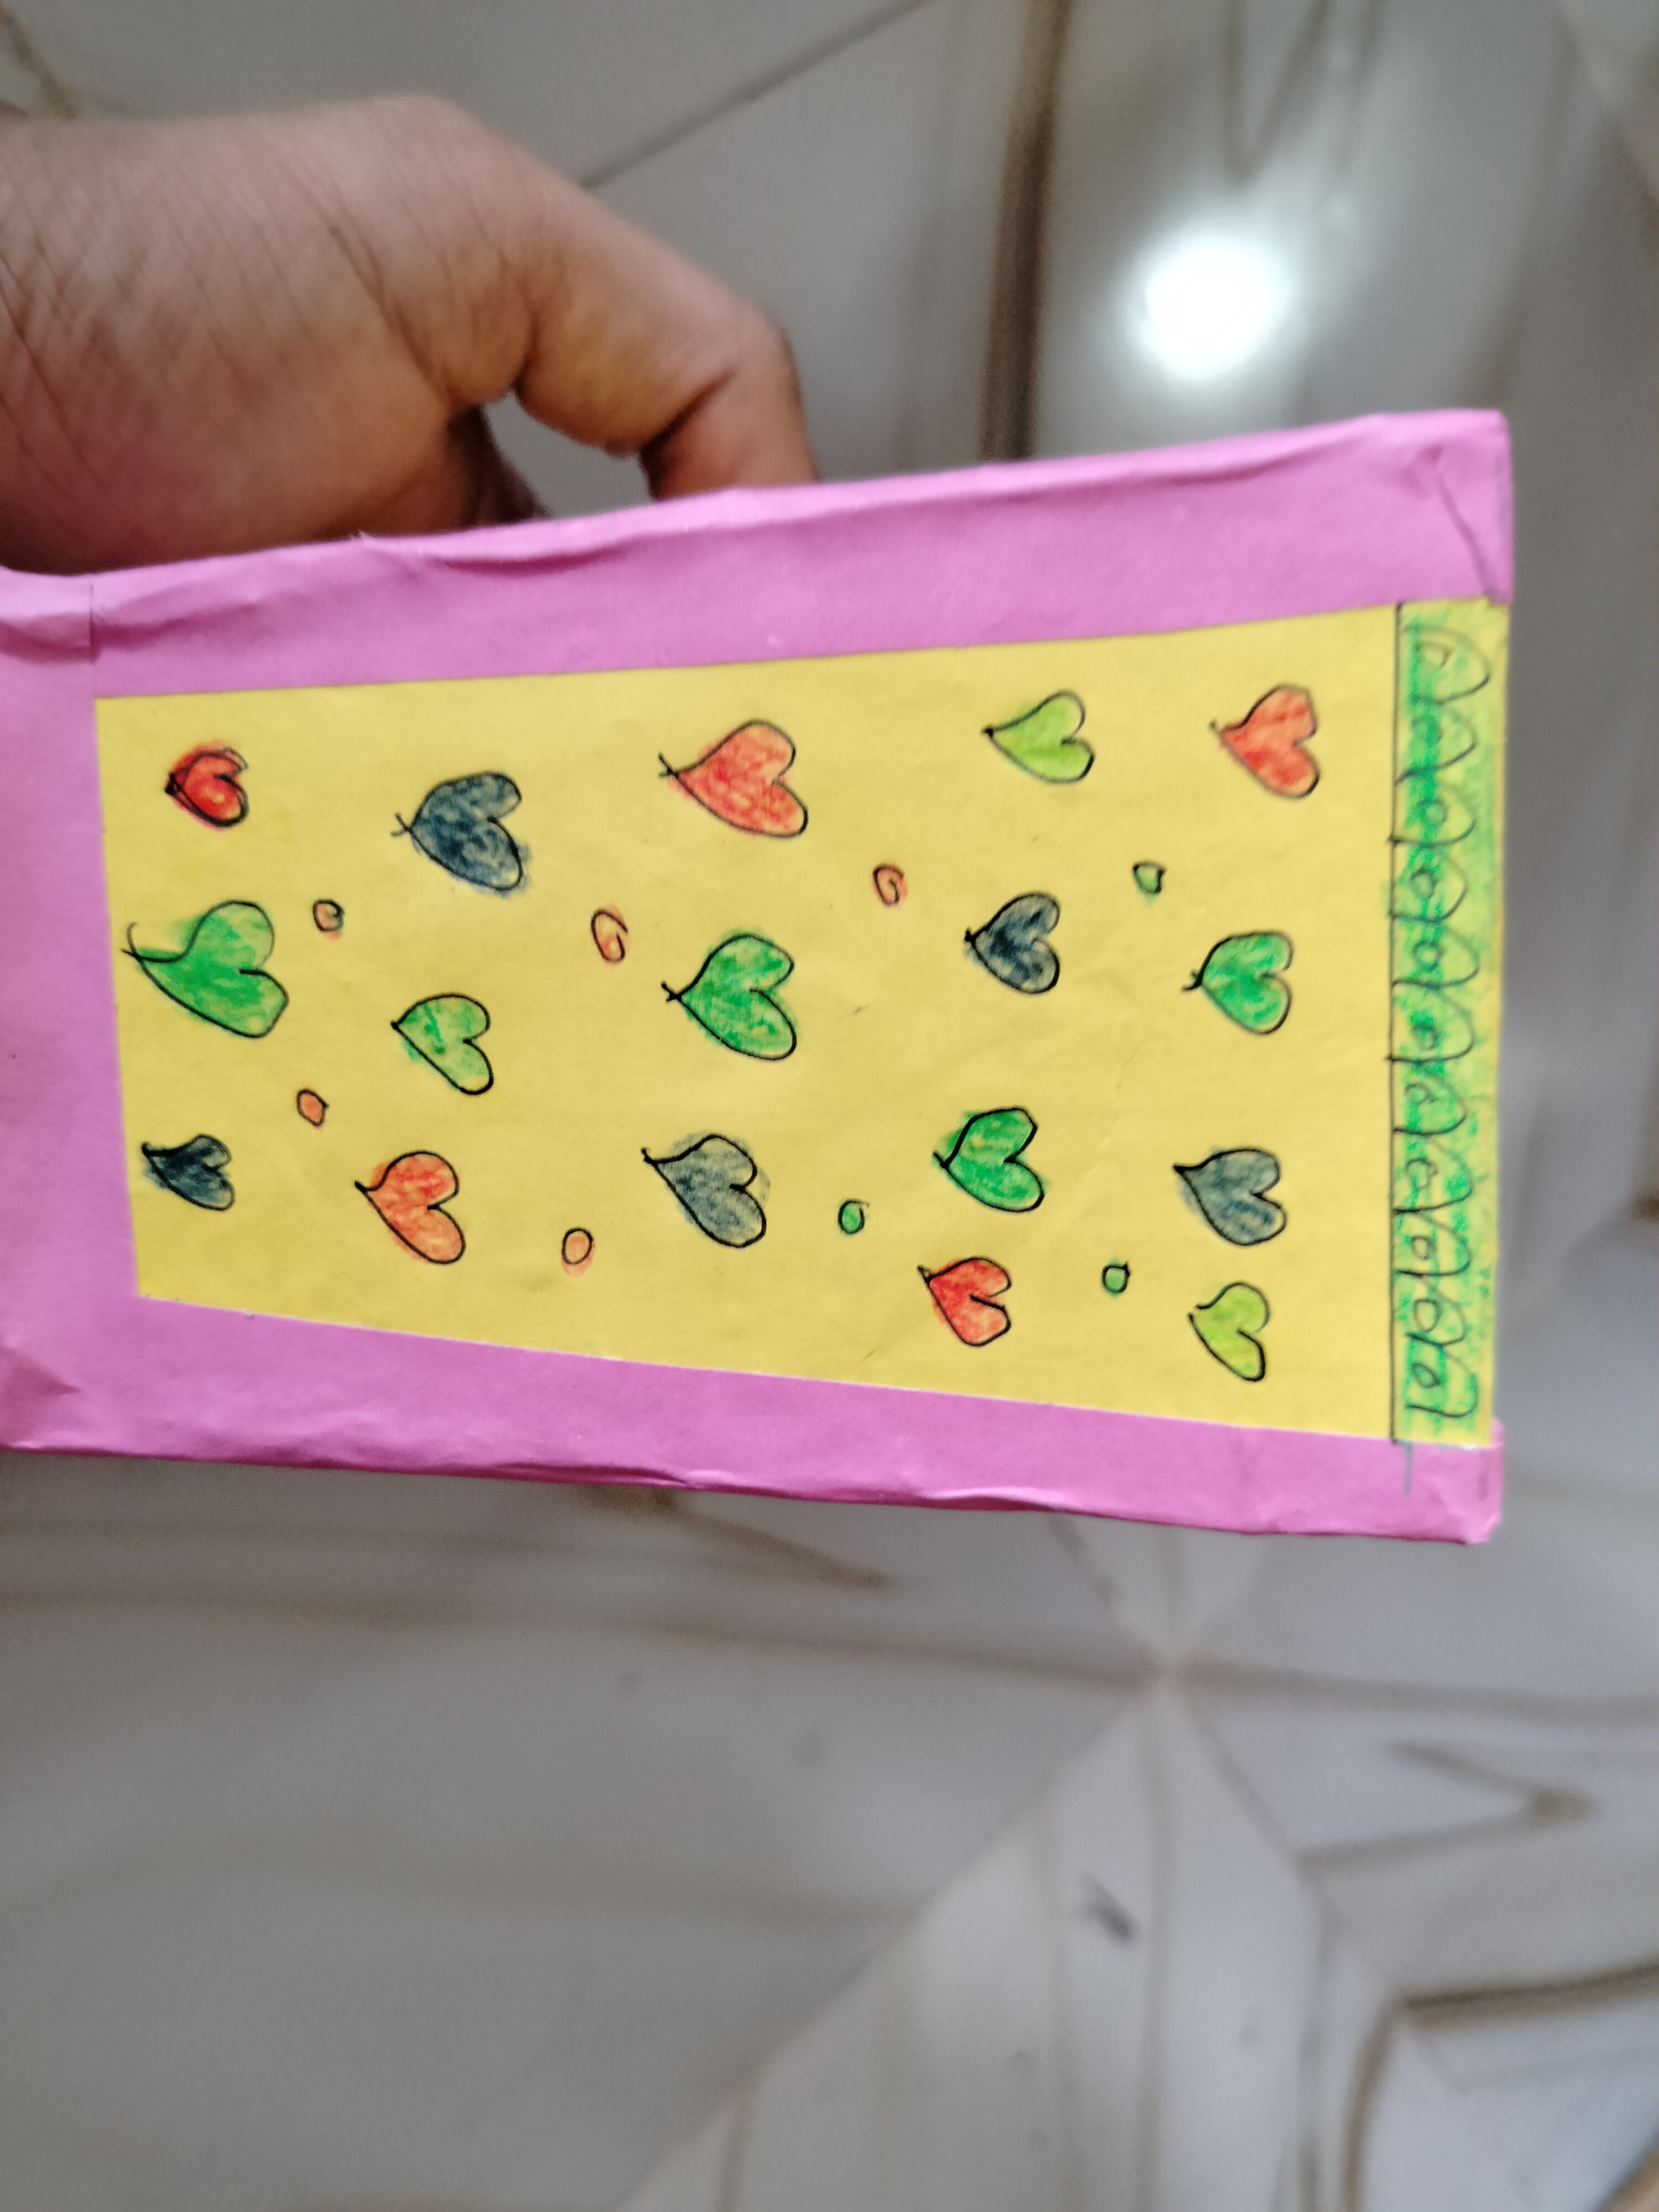
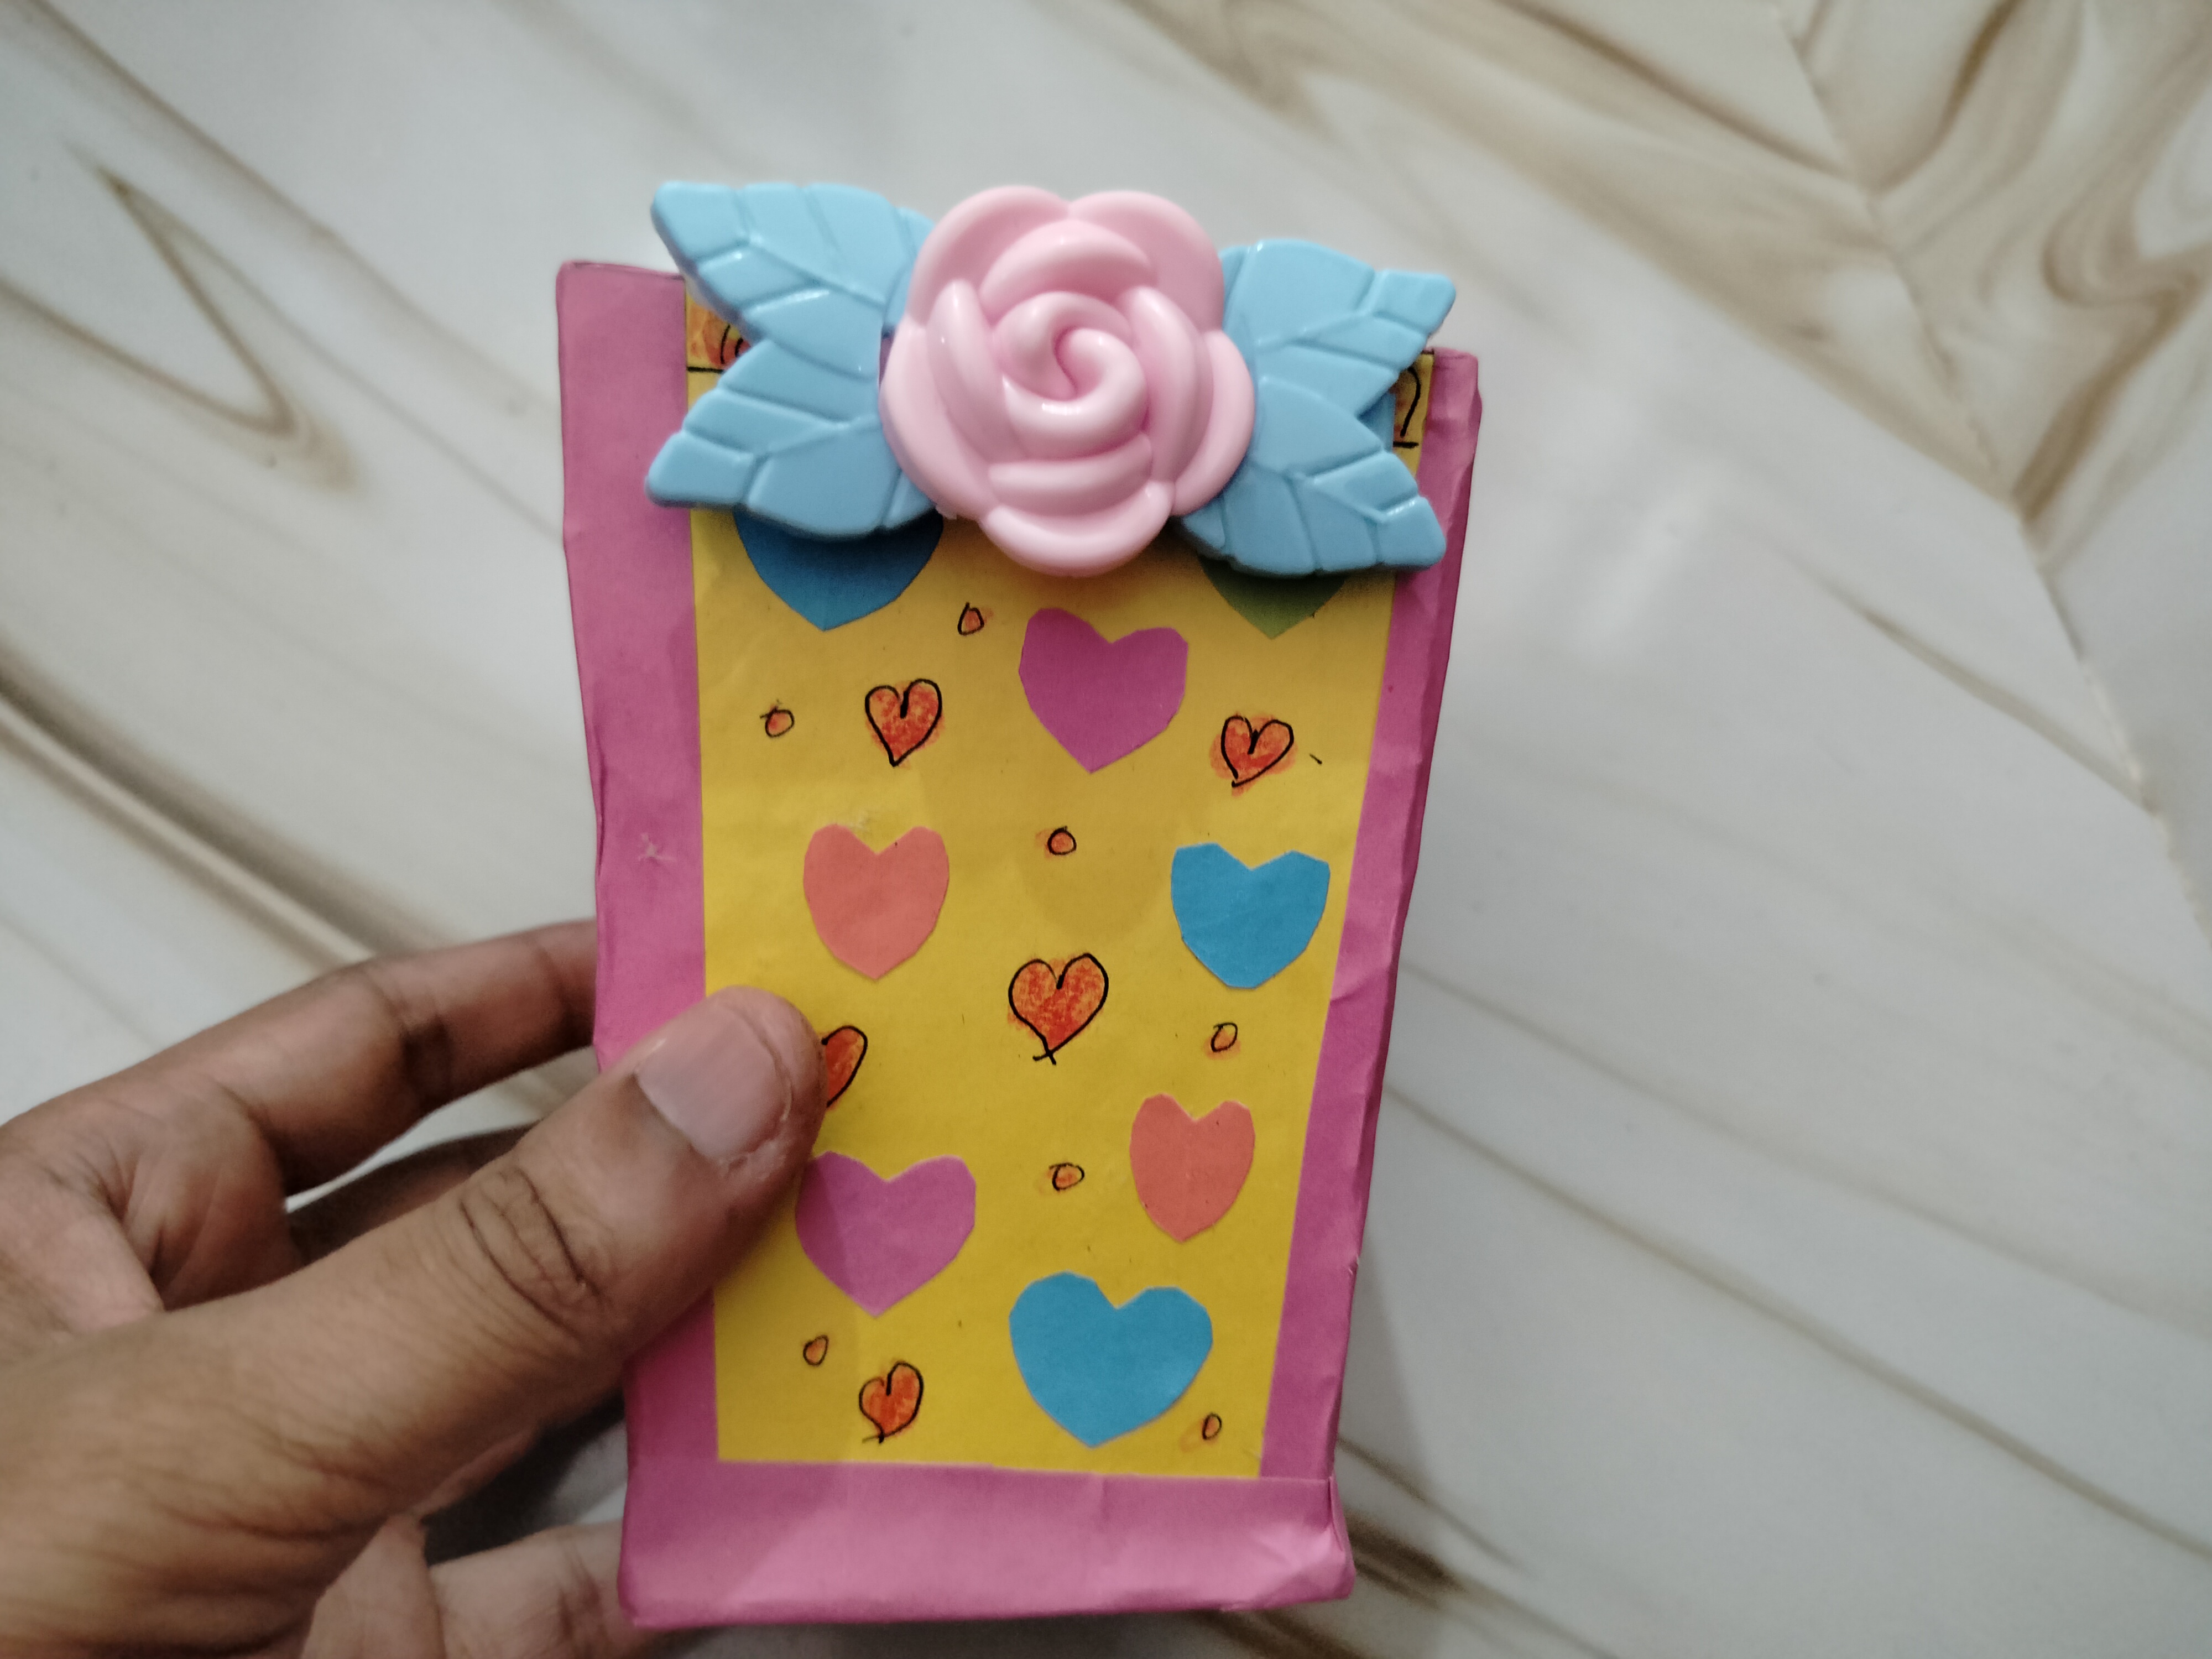
- To enhance the beauty of the box, small heart shapes were cut out of colored paper and attached to the box. In addition, some hearts were drawn with pencils and colored pencils and colored in, which looks great.
Step 6: Final look.
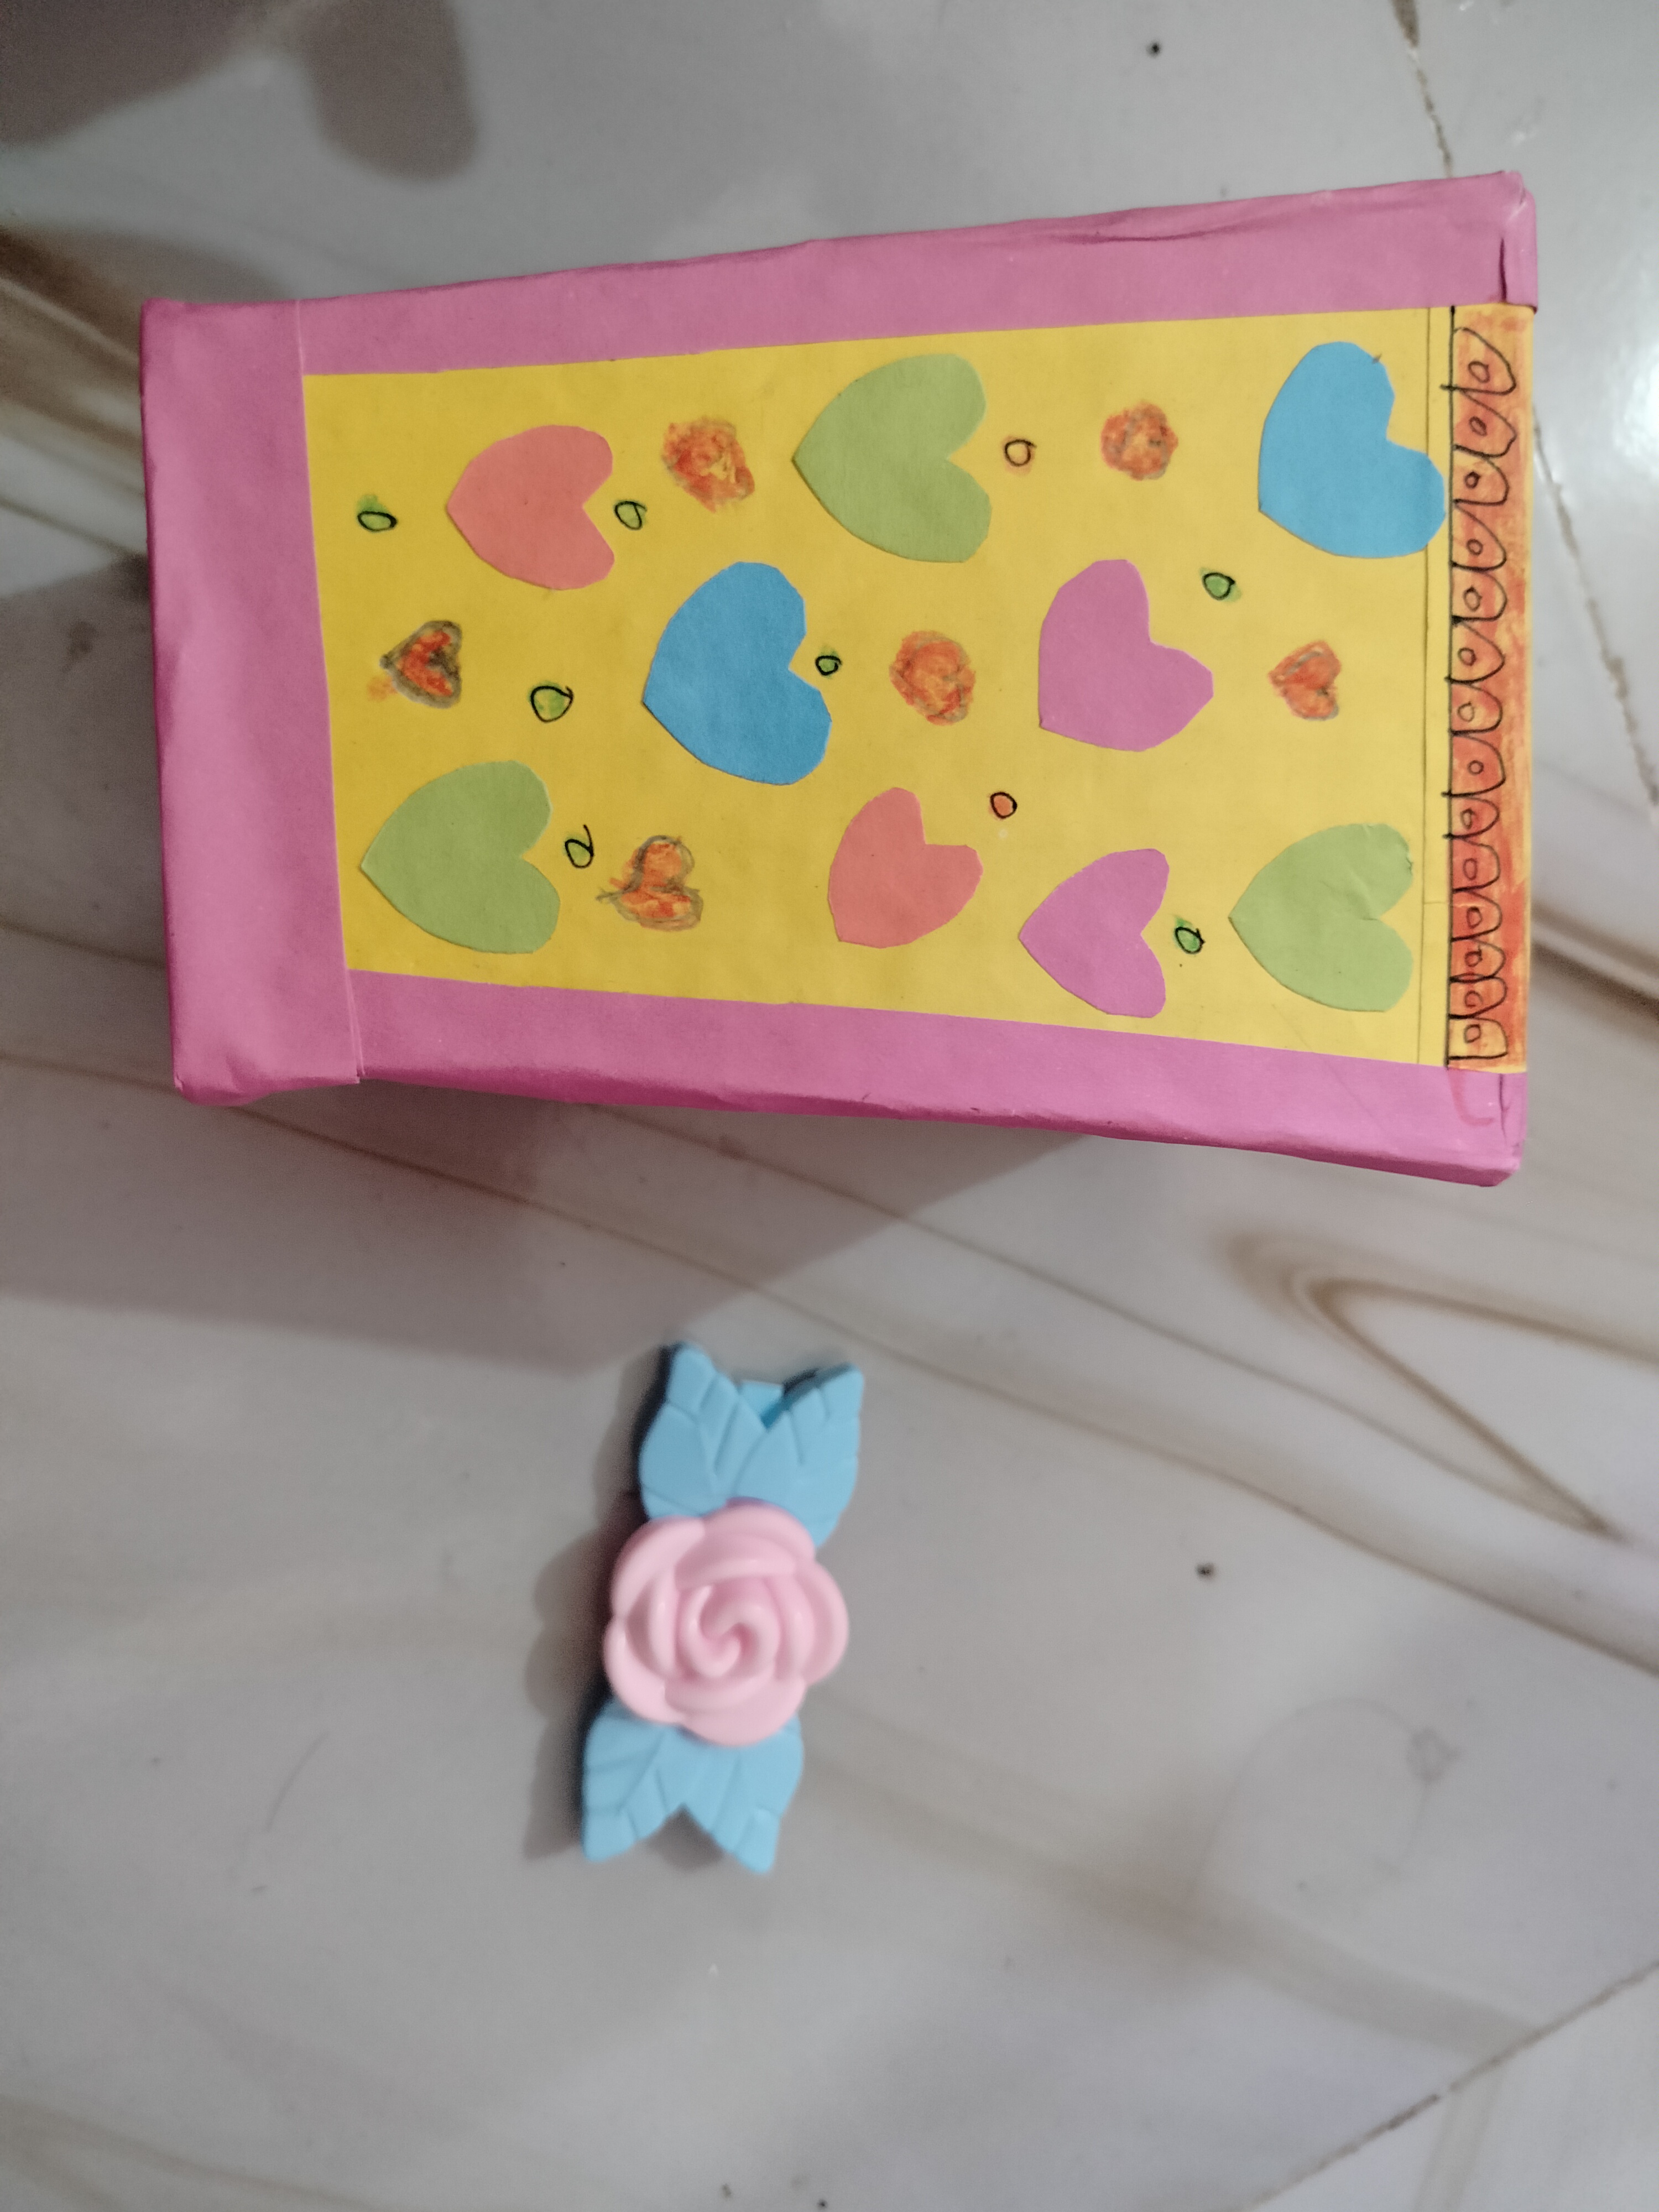
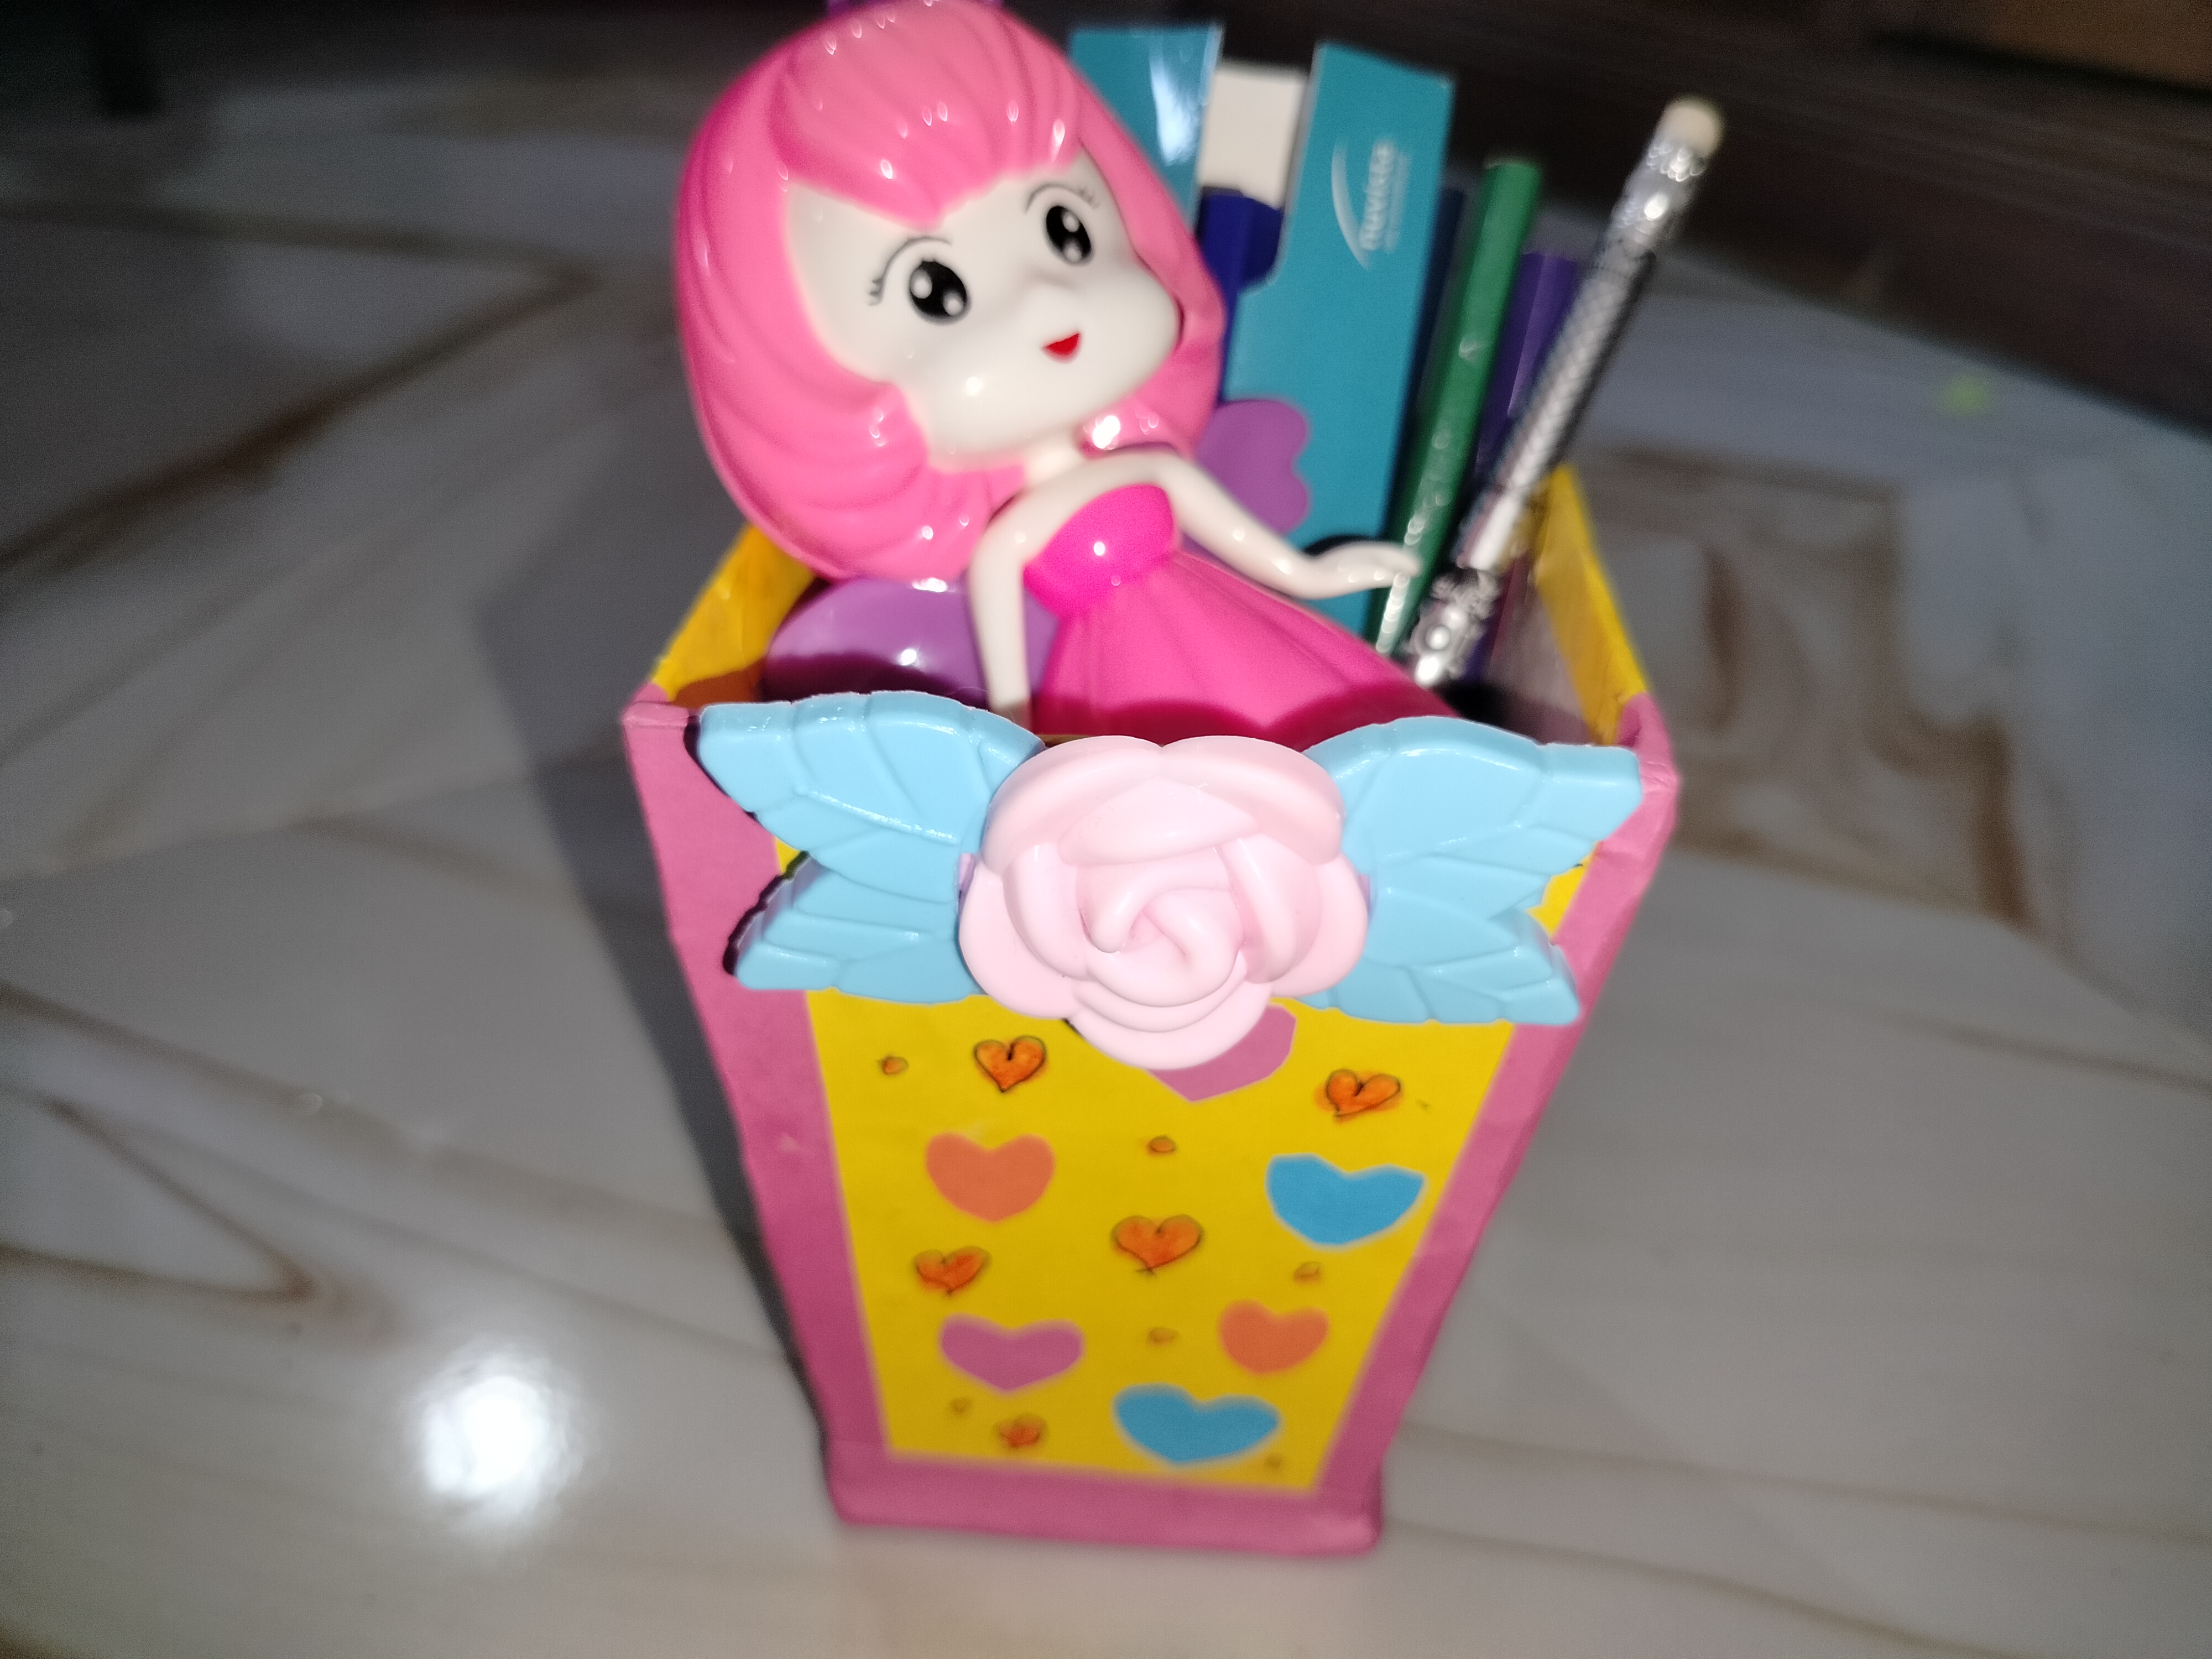
- Finally, the whole craft is completed by placing a beautiful artificial flower and leaves on the top of the box. The beauty of the box has increased manifold due to the addition of the flower. It now looks like an attractive tetra box or pen holder.
Final form.
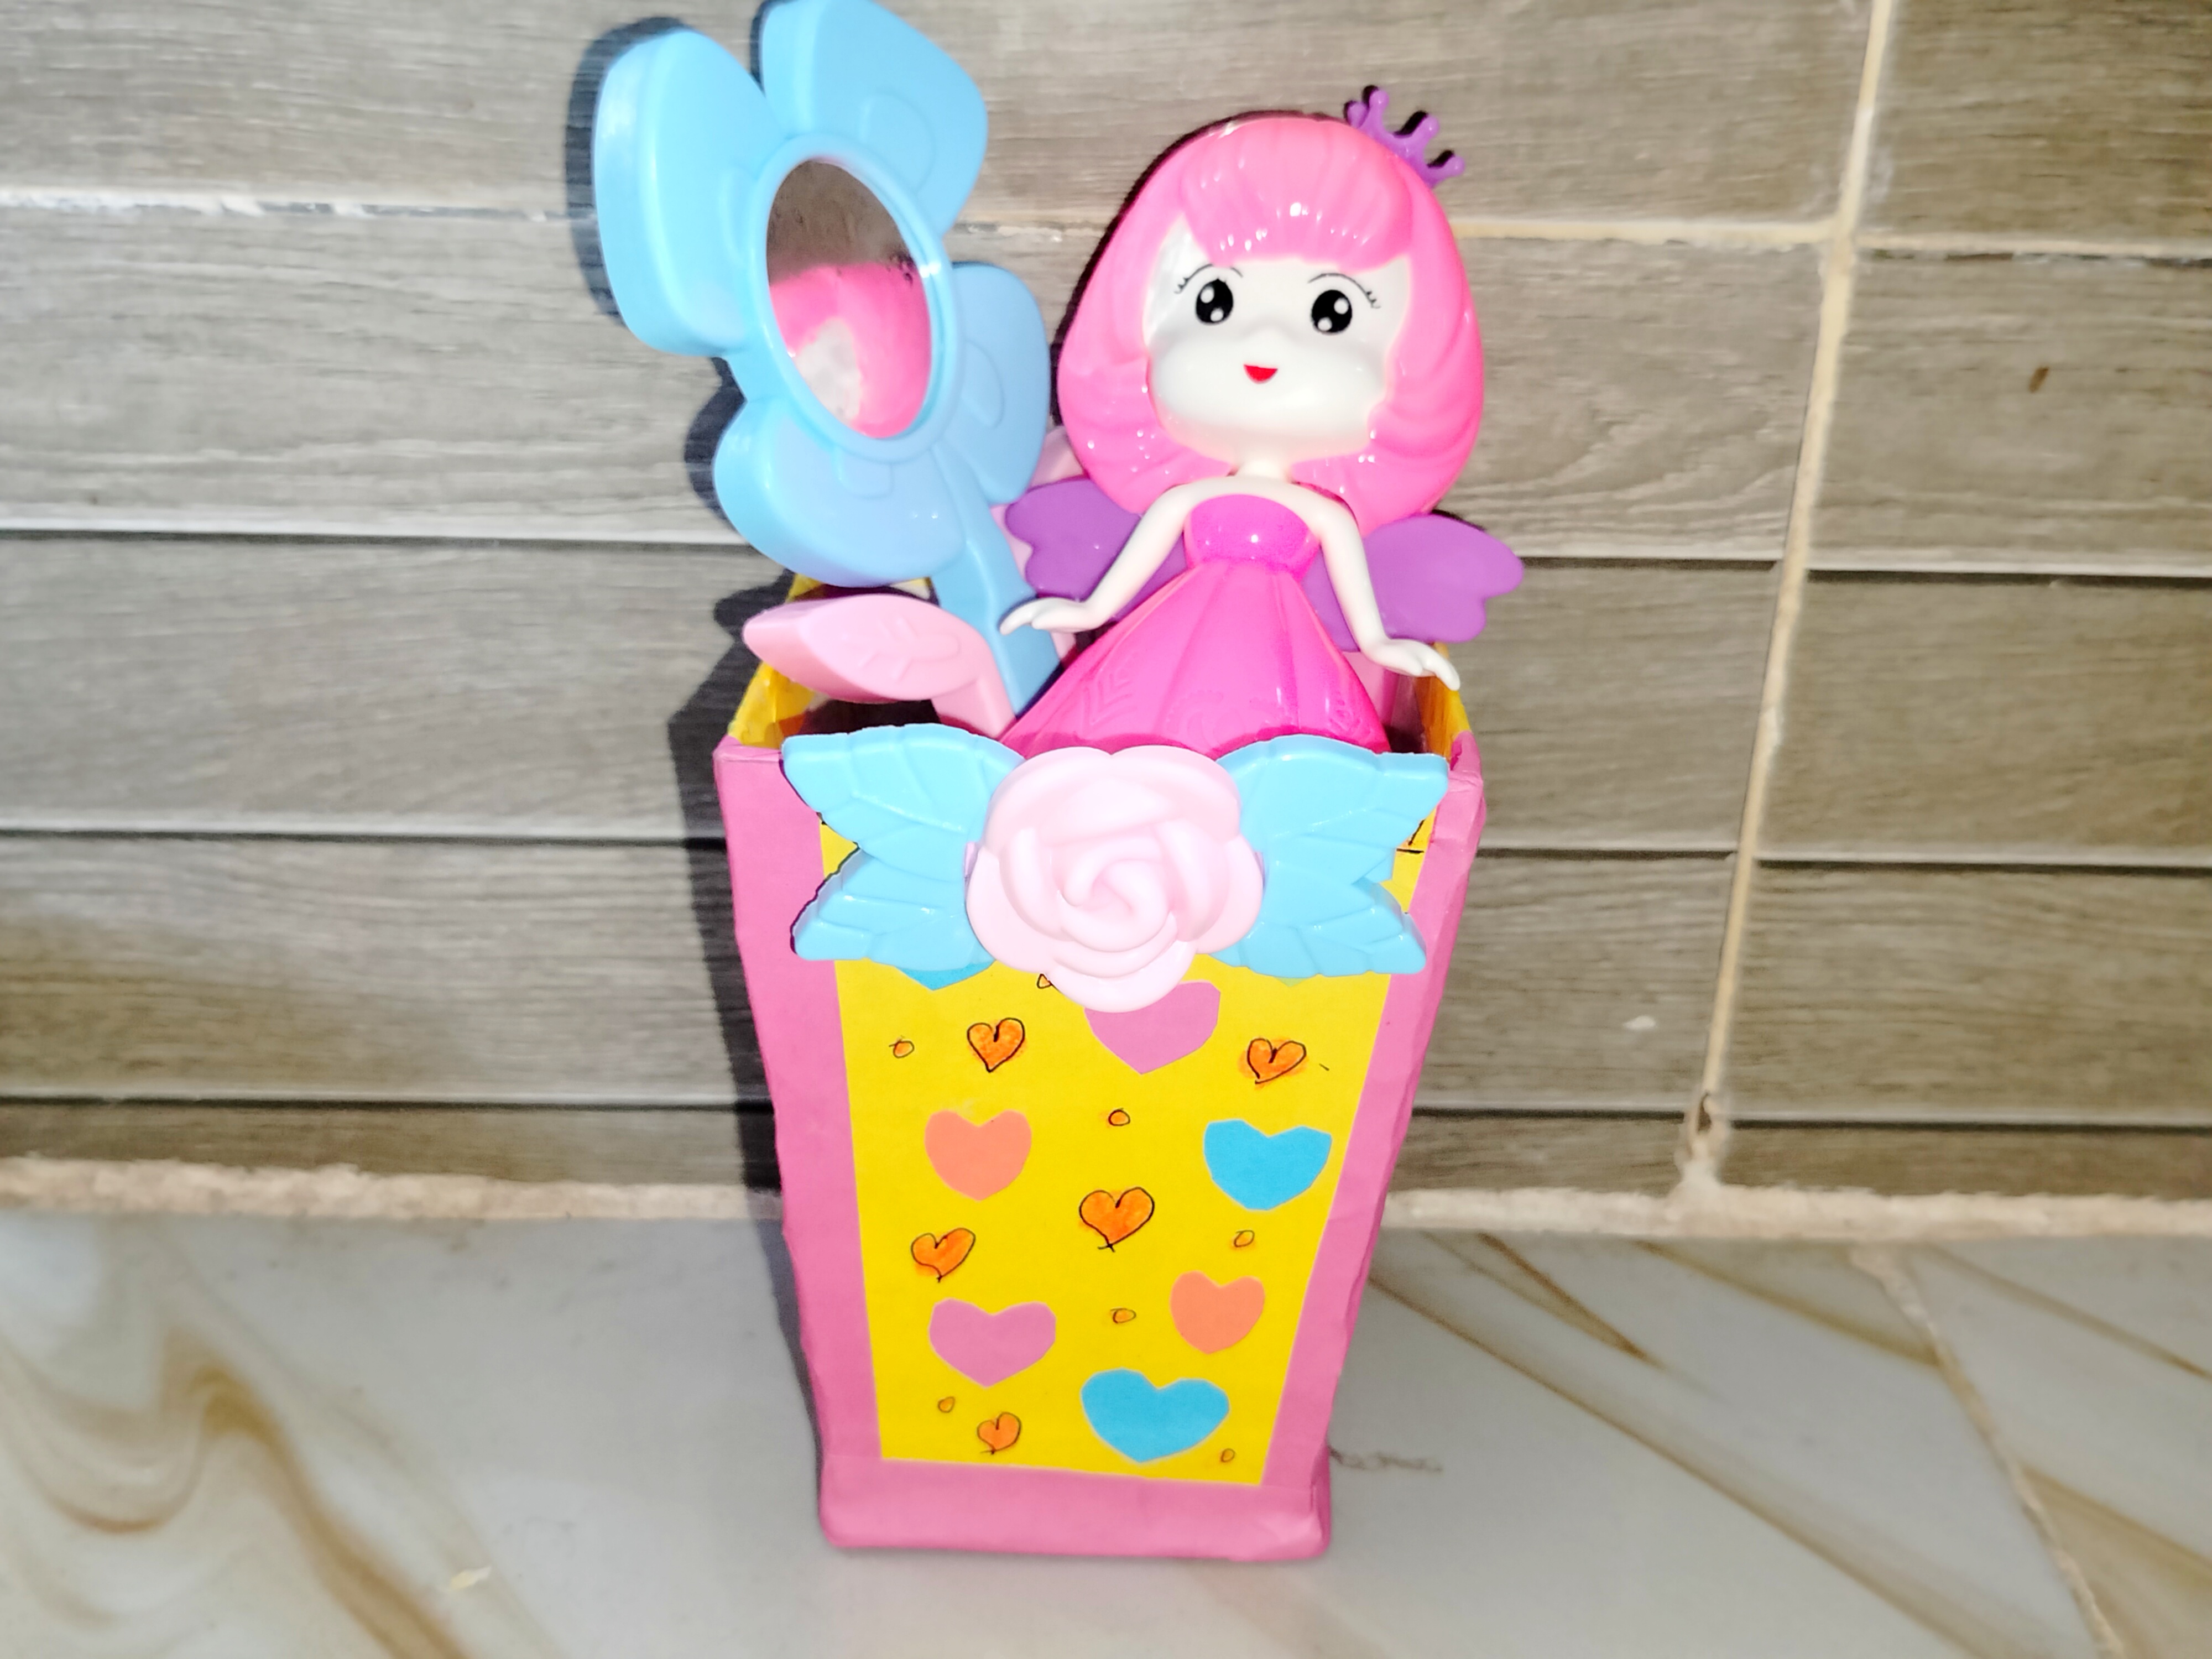
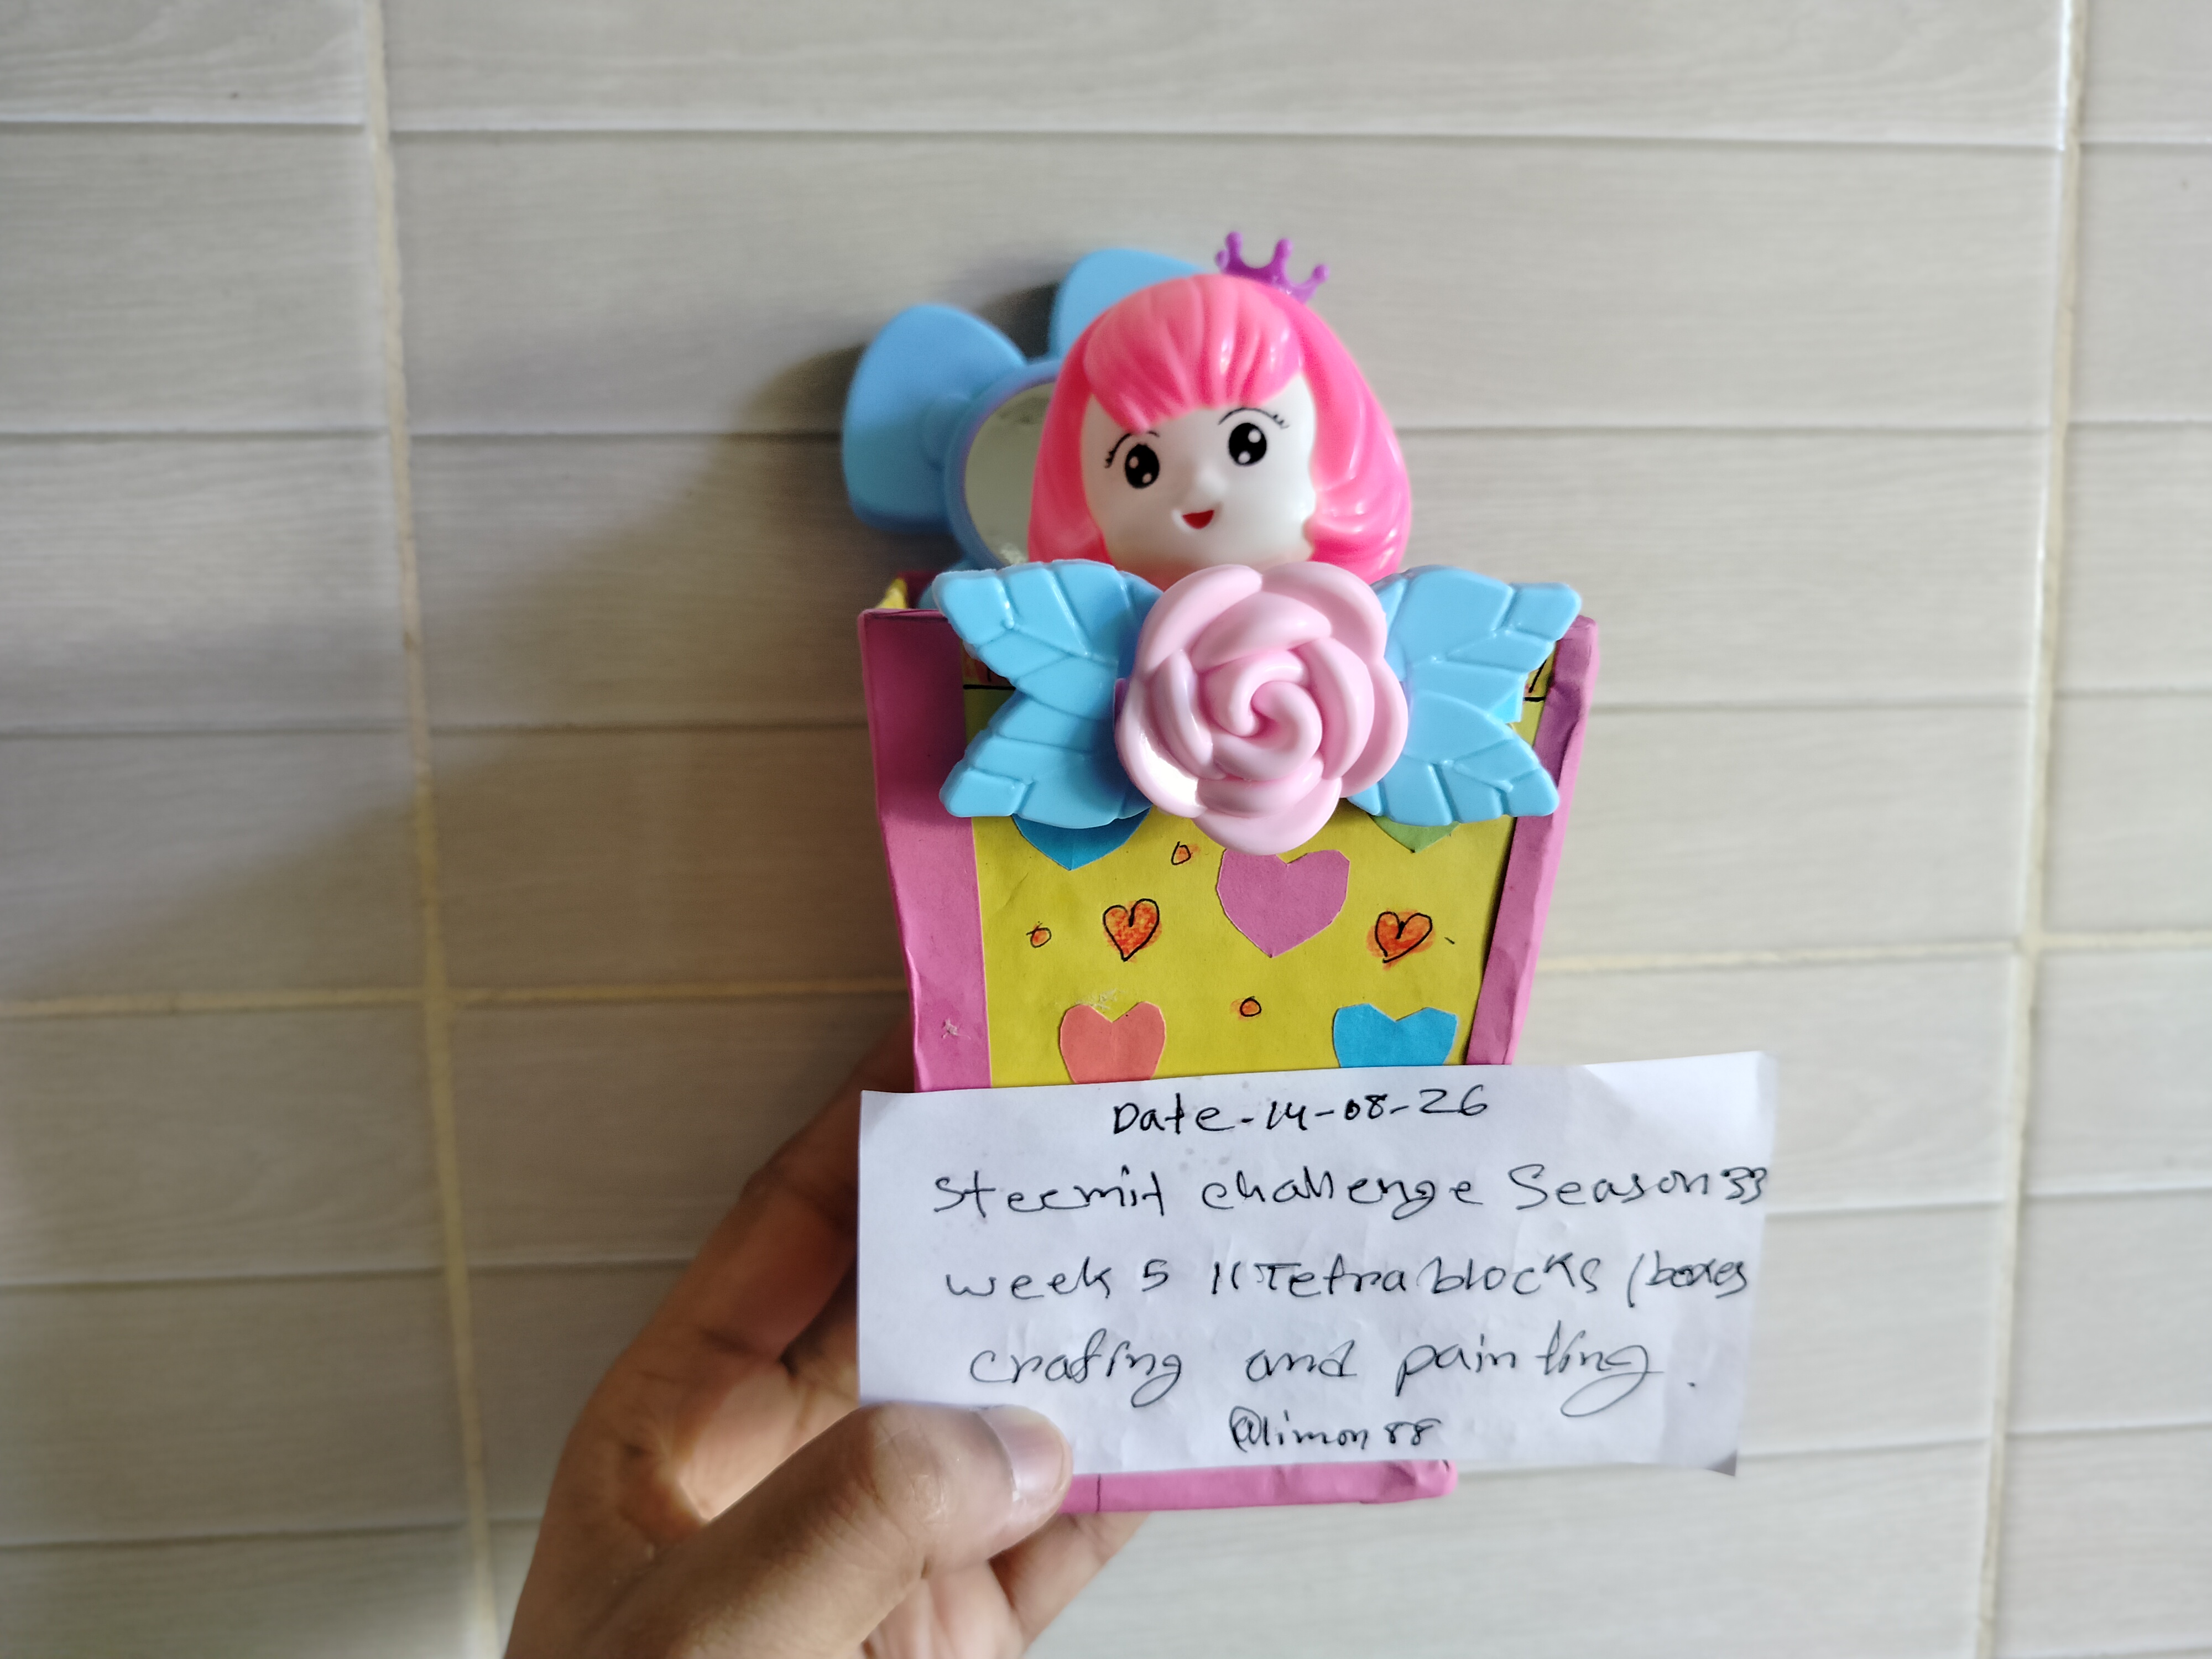
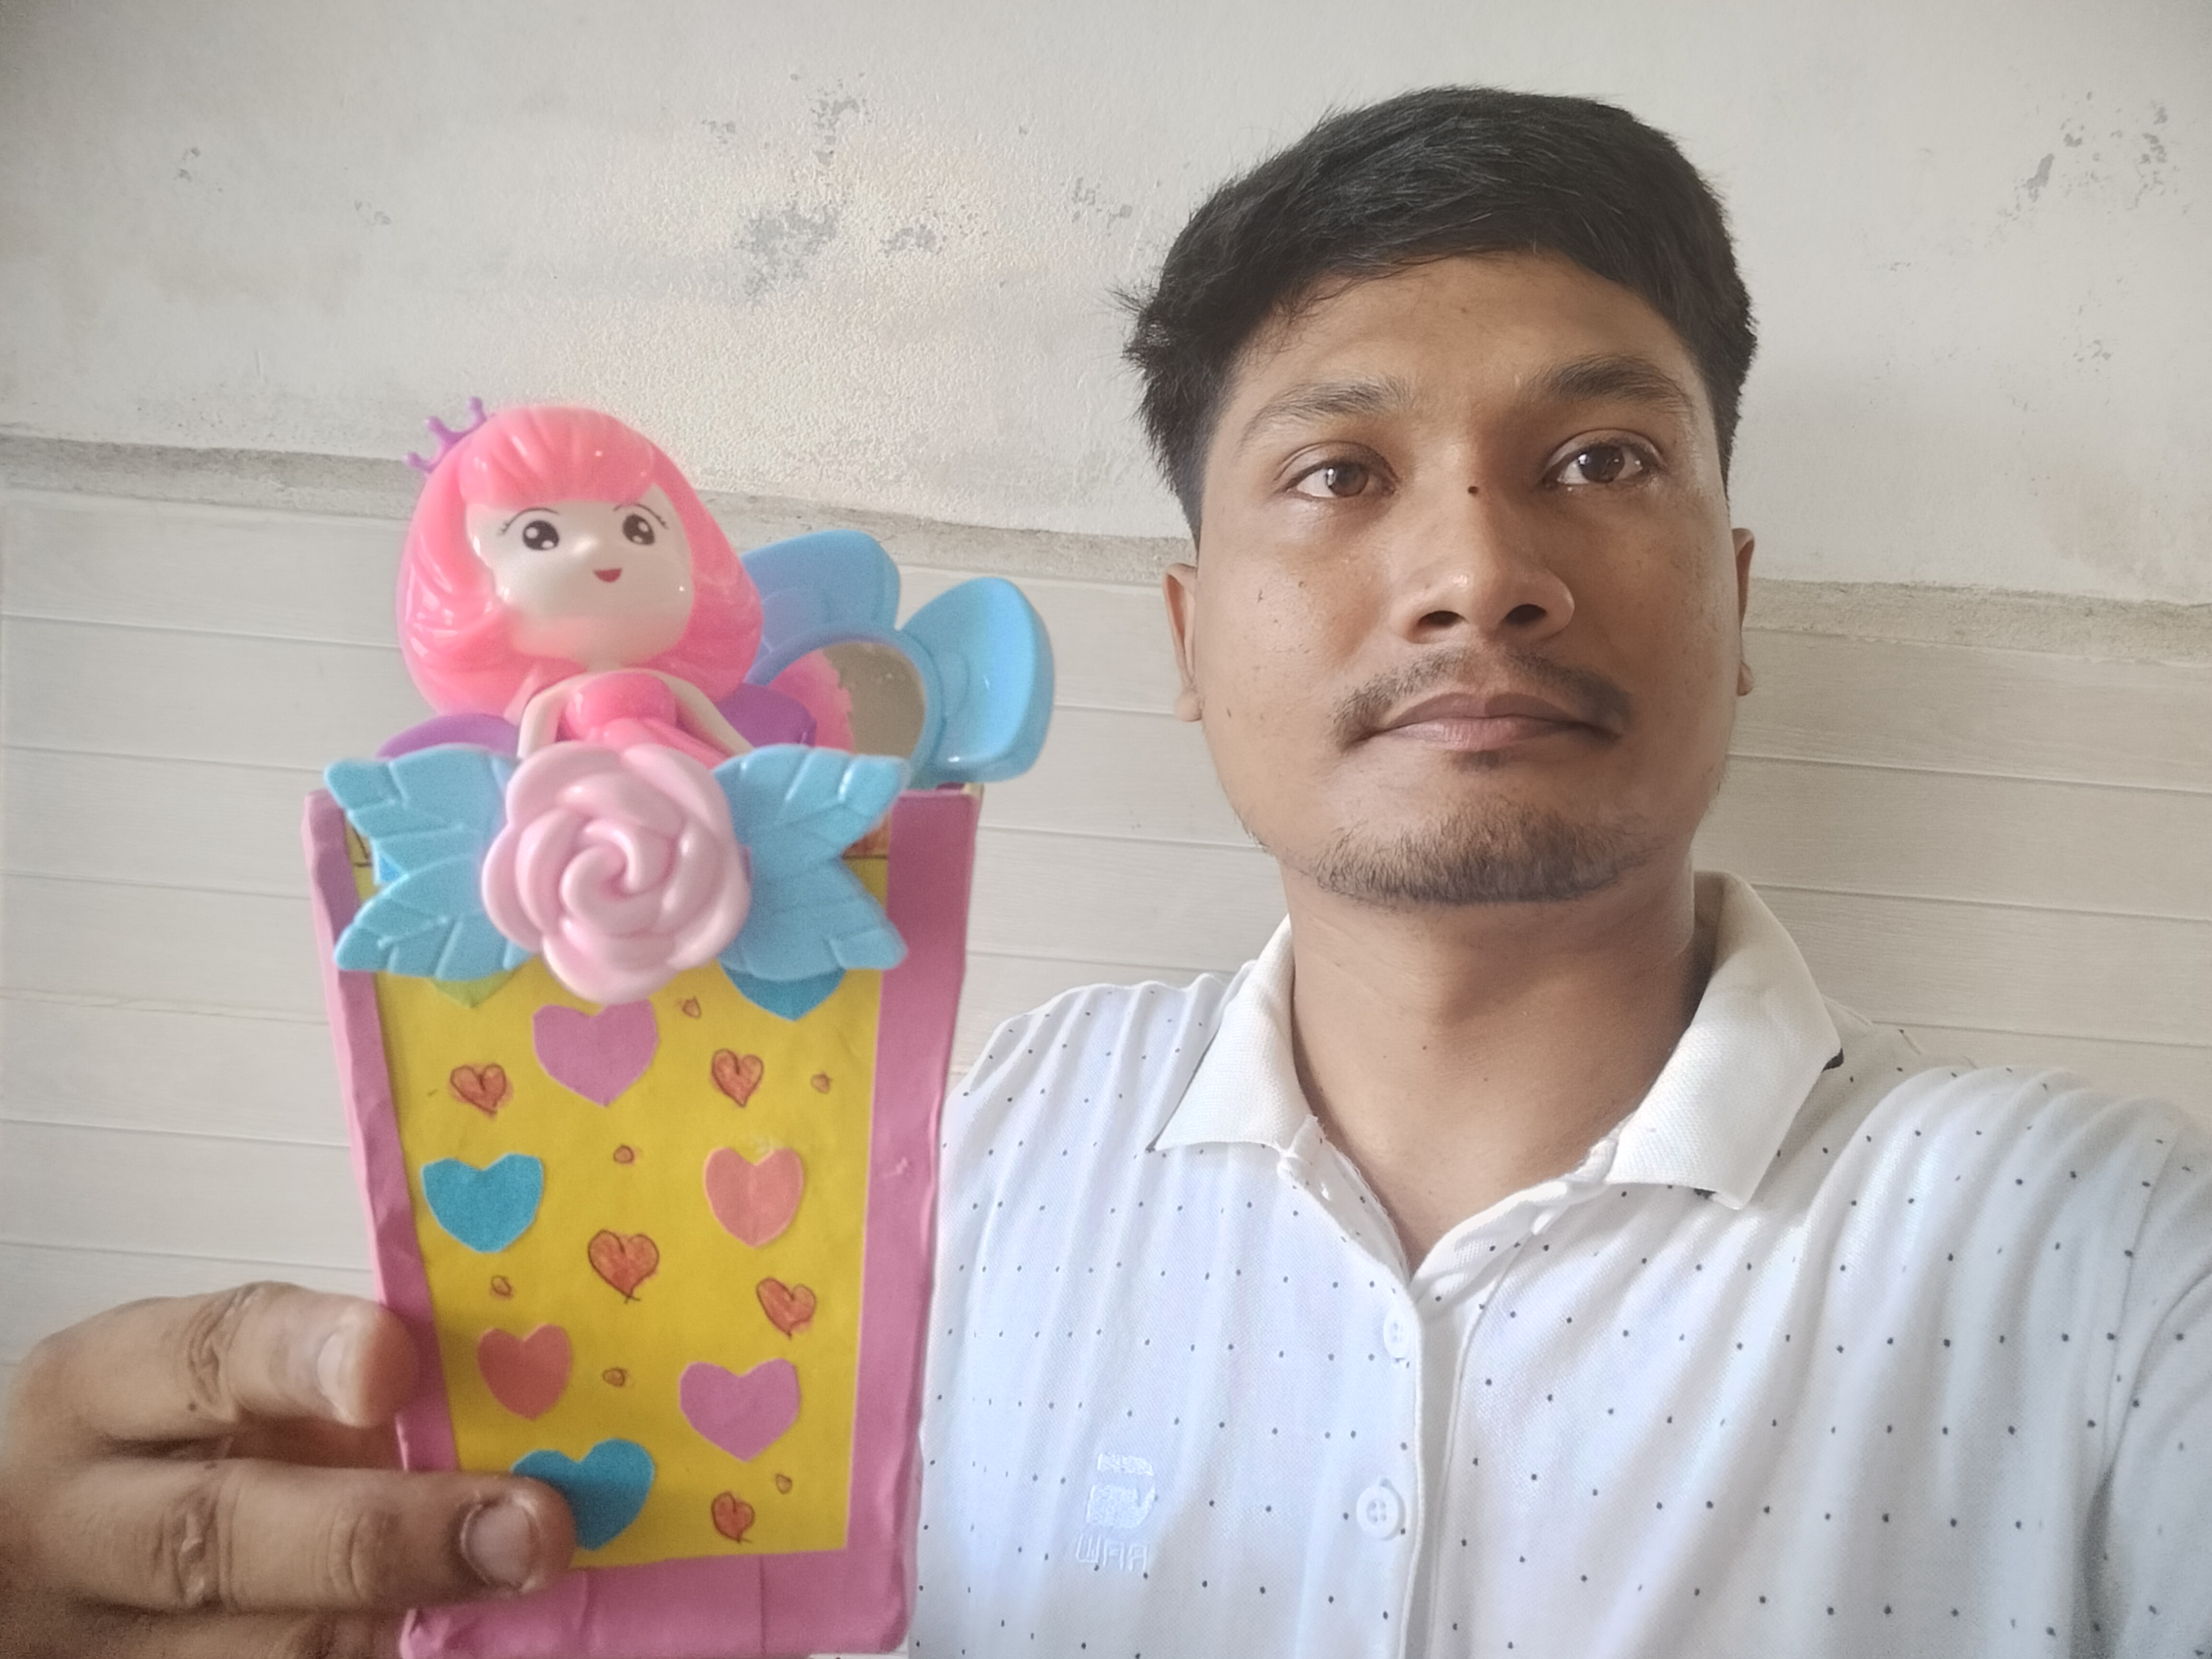
- I made this beautiful tetra box using simple materials at home such as cardboard, colored paper and glue gun. It is not only beautiful to look at, but also quite suitable for storing pens or small items. I hope you all liked my craft and Steemit challenge post today. Everyone stay well and healthy. Thank you all very much and I am ending it here as it is today.
video link 🖇️