I Built a Dragon That Breathes Light
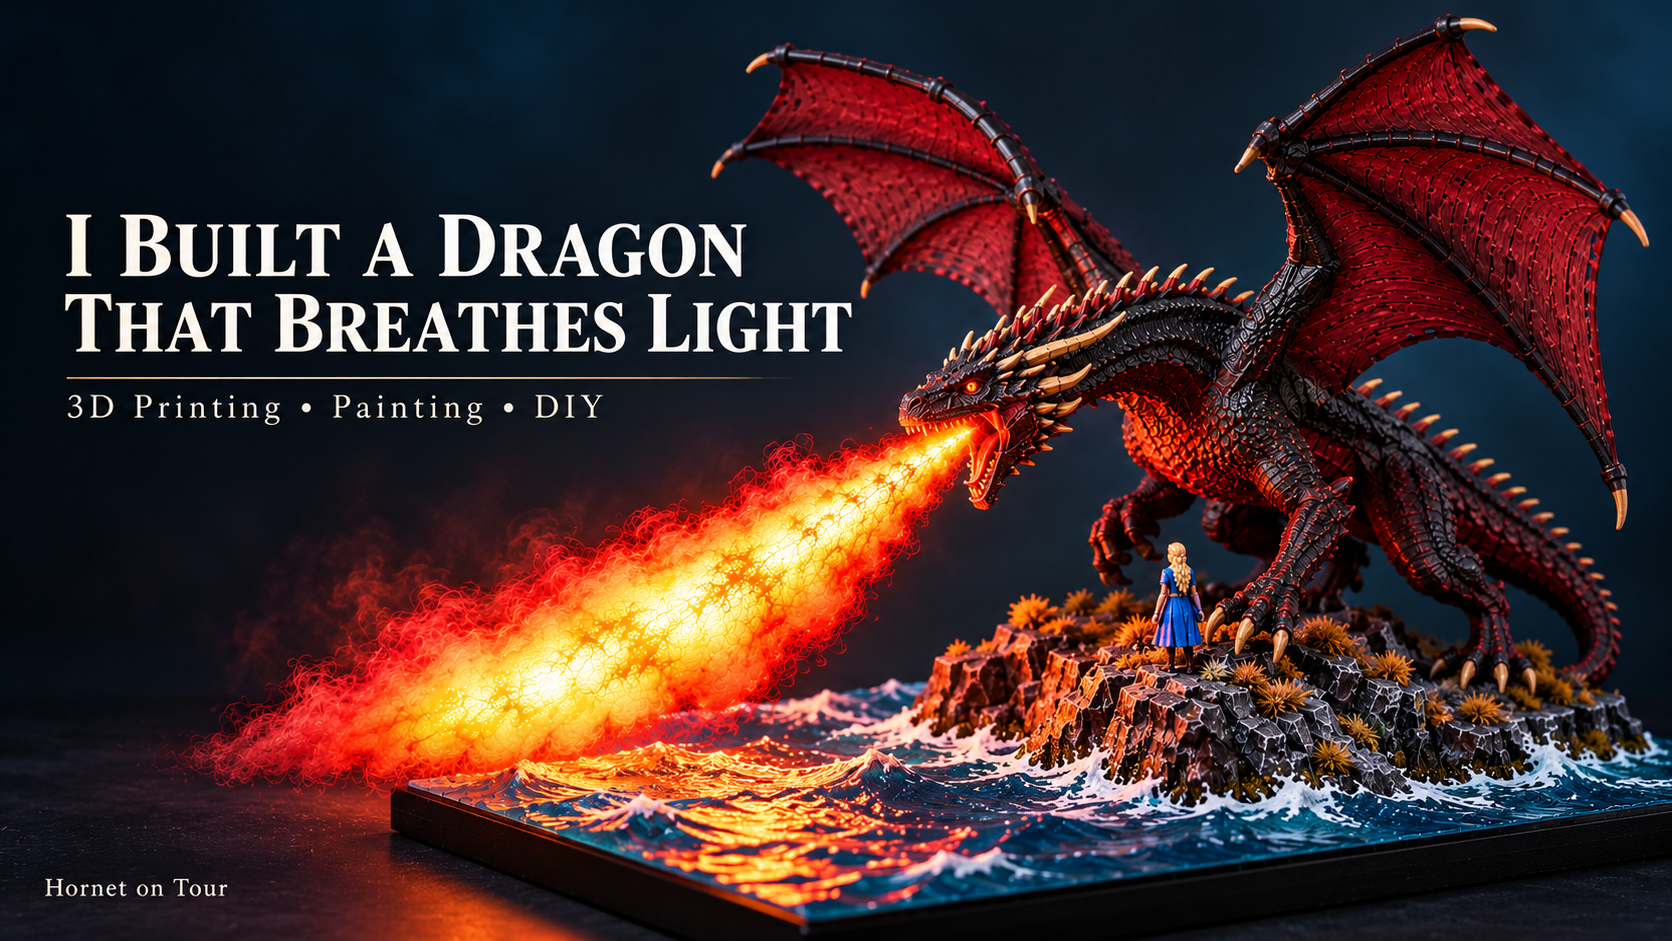
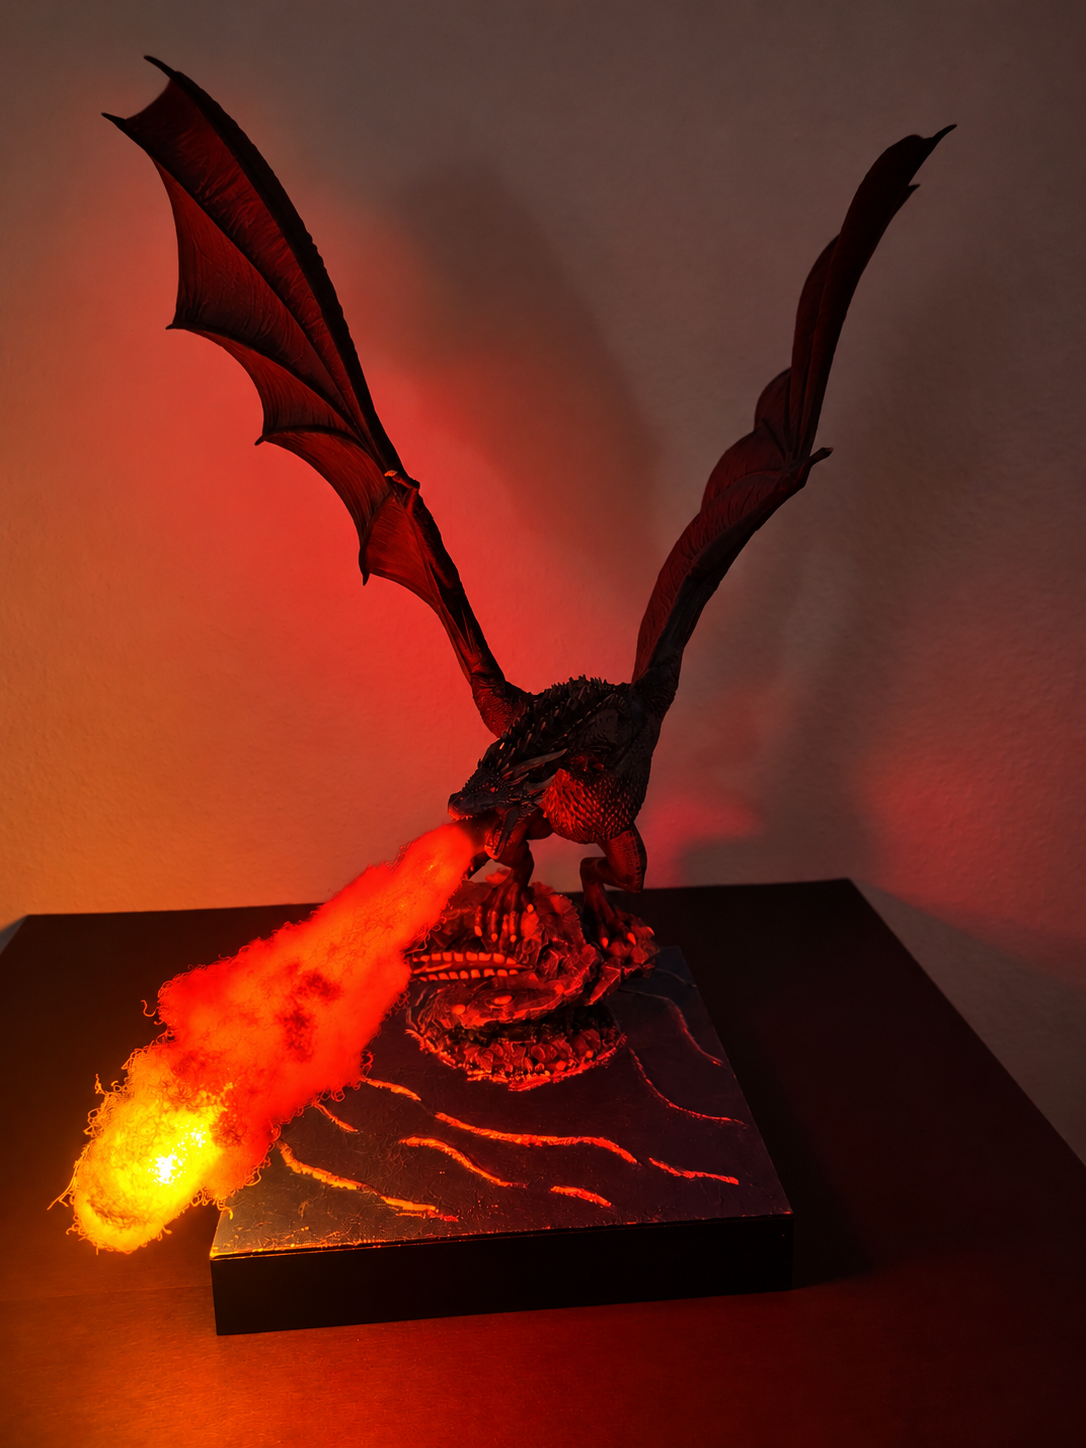
The first thing I did when this project was finished was dim the room lights. There had been plenty of opportunities to inspect the paintwork during construction, but now I wanted to see the whole scene with the fire switched on. A warm glow spread across the rocks, caught the white wave crests and lit up the underside of the dragon’s head. After many evenings at the workbench, that was a satisfying moment.
This is my finished Drogon and Daenerys diorama, standing 54 centimetres tall. It combines 3D printing, hand painting, scenery building and a homemade LED effect. Some parts went smoothly. Others involved looking at what I had just done and deciding to try again.
A Workbench Full of Dragon Parts
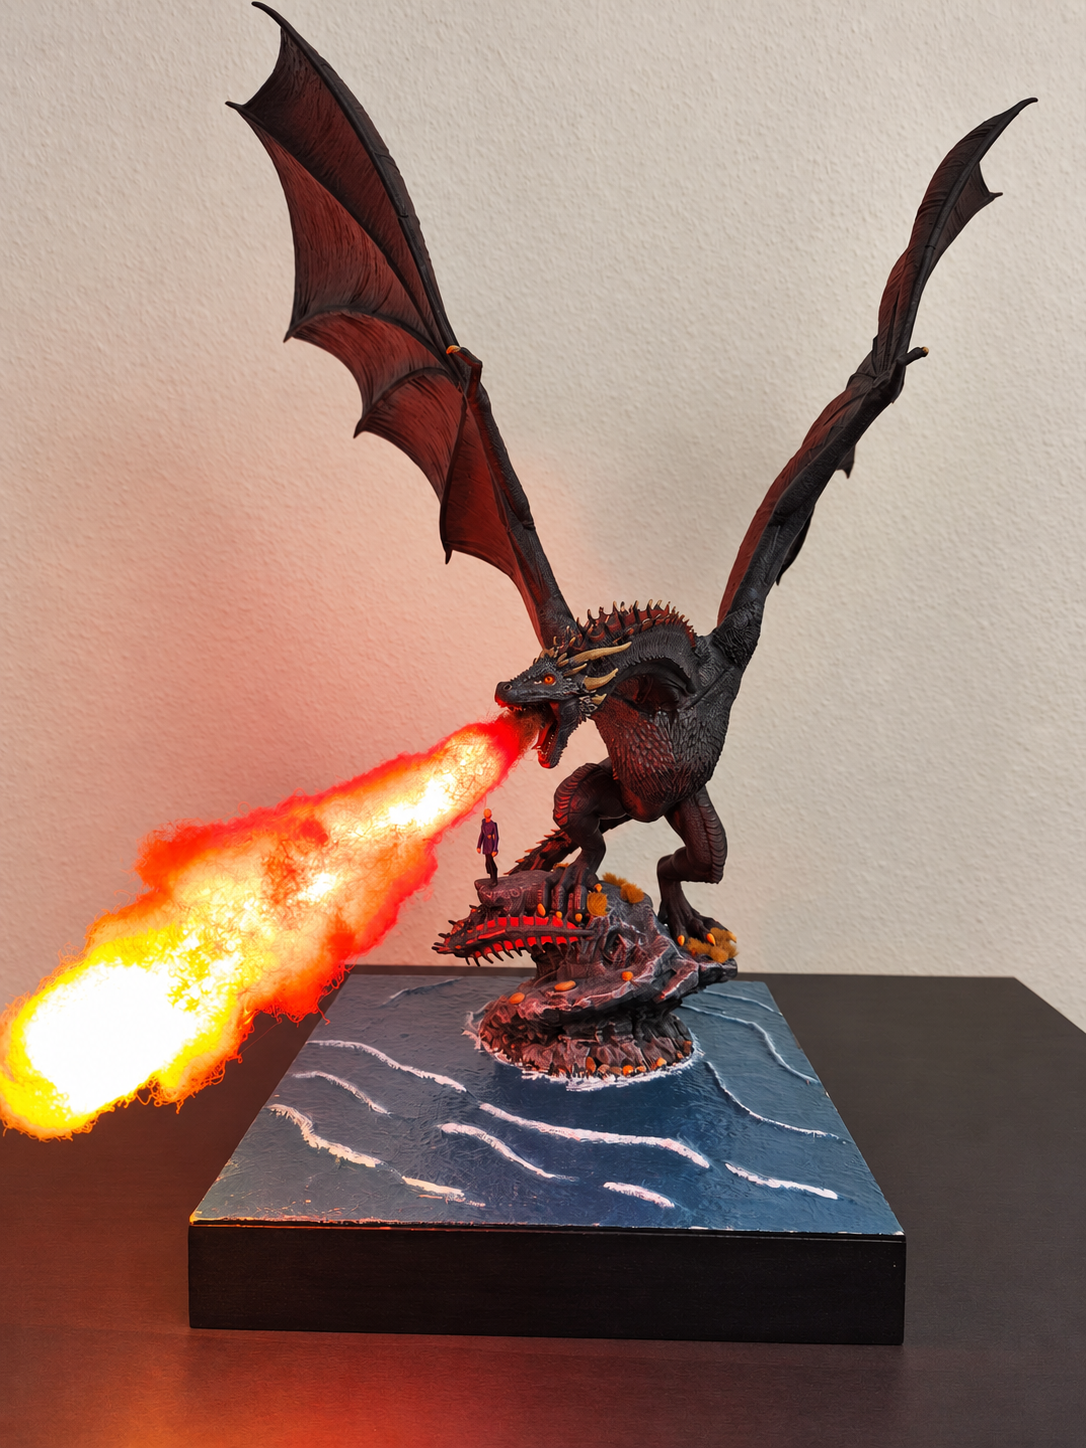
The original model is “Dany and Drogon” by VS3d / Vengeance Studios 3D. They created the digital sculpt; I printed, assembled and painted it, then built the surrounding sea and illuminated fire effect.
Working on something this size means spending a lot of time handling separate pieces. I kept the wings detached while painting them, which made reaching both sides much easier. Once assembled, those wings take up considerable space, and turning the entire model around for every brushstroke would have been awkward.
For the dragon, I worked with dark scales, red wing membranes and dorsal details, and pale horns and spikes. Bringing out the scale texture took some care. I wanted the body to remain dark while allowing the raised details to catch the light. As the colours came together, I also revisited areas that no longer looked quite right beside the finished sections.
The feet received more work, and I reworked the eyes and mouth too. Resin added a wet shine to those areas. On a close-up photograph, every brush mark and printing line becomes visible, but from a normal viewing distance the different elements come together much better. That is something I had to remind myself of during the process.
Making Fire with Cotton Wool
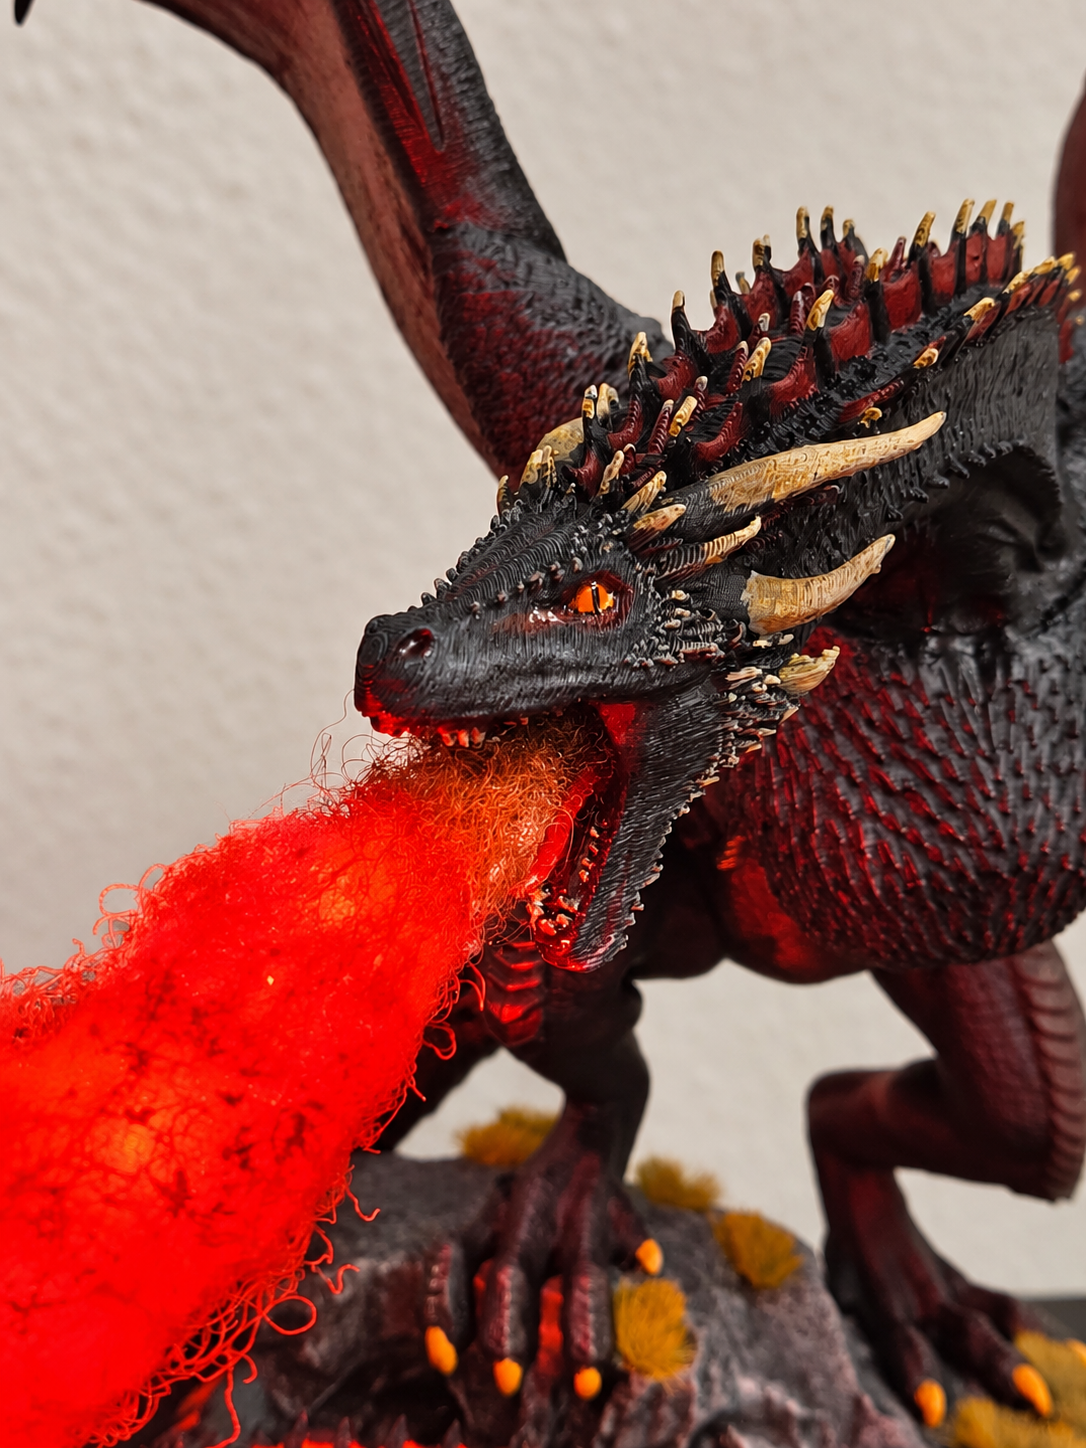
The fire breath became a small construction project of its own. Inside it are a wooden rod and LED filaments in two colours, surrounded by shaped cotton wool. I used hairspray to hold the fibres in place before gradually adding paint.
The cotton needed an uneven shape, narrow where it leaves the mouth and wider further out. I kept checking the result with the lights on and off because painting the fibres changes how much light passes through them. It was a gradual process of adding a little colour, letting it dry and checking again.
Photographing the finished effect presented another challenge. The bright LEDs can overwhelm the camera while the dark dragon disappears into shadow. In person, I can see more of both at once. The photographs still show what I enjoy most about it: the fire casts real light onto the model and its surroundings.
Rechargeable 18650 batteries are installed inside the base and charge through USB. A switch on the side controls the lighting, so the diorama can stand on display without a charging cable attached. Hiding the wiring was a welcome change after seeing loose cables throughout the build.
The Water Started in the Kitchen
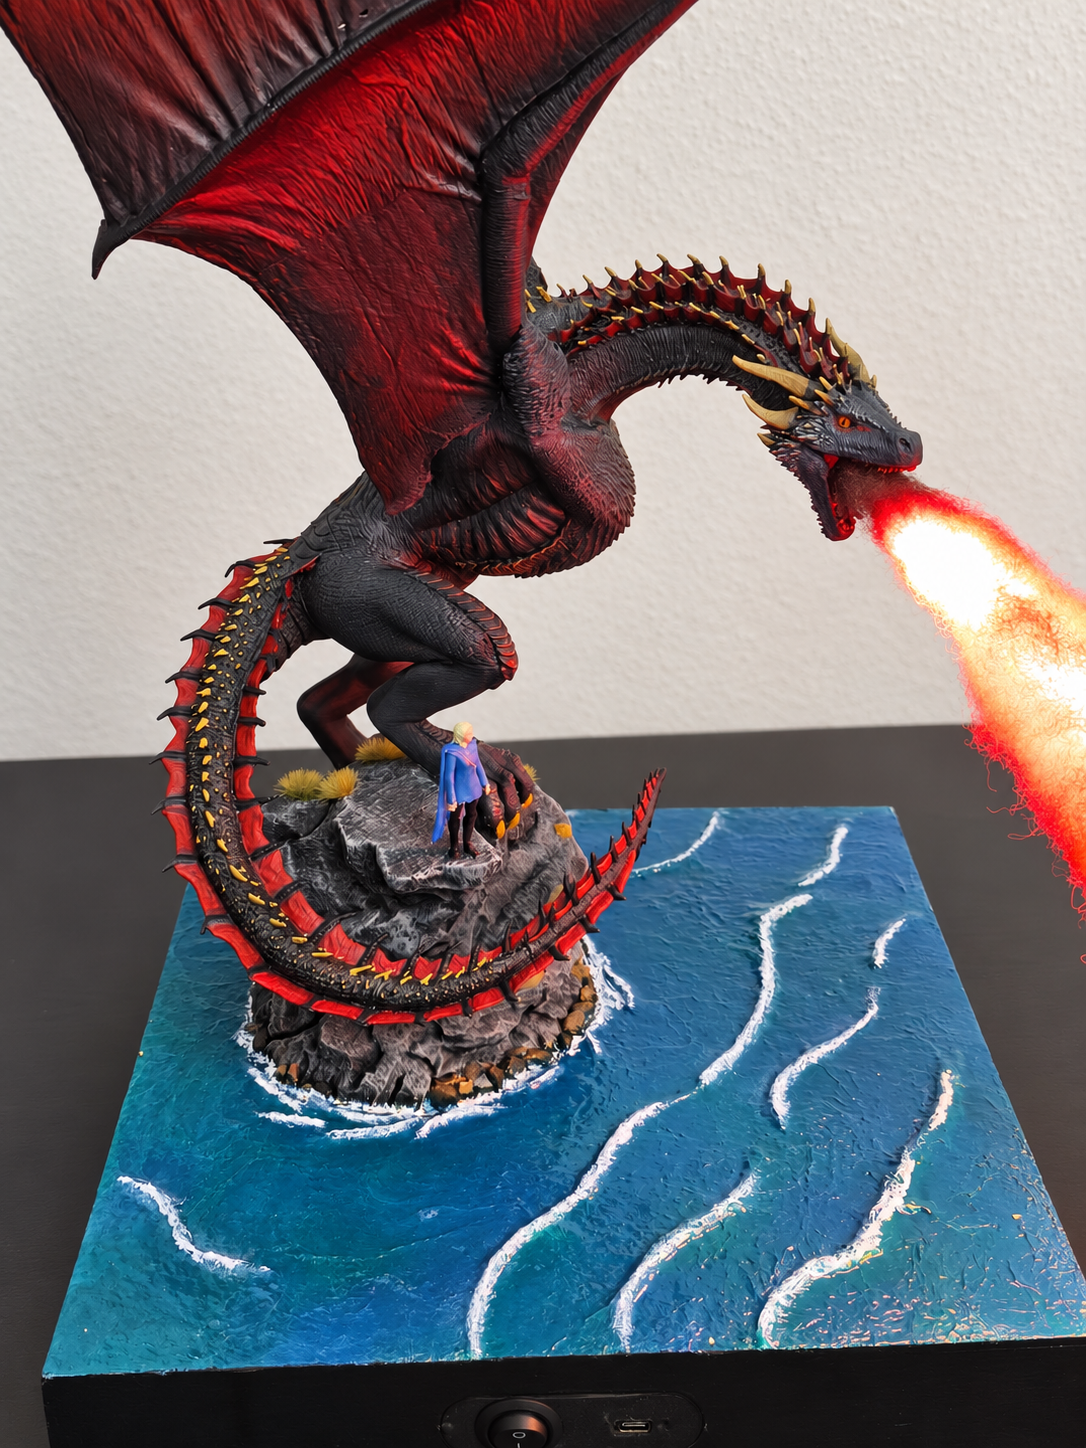
The sea is made from aluminium foil. I formed the larger wave shapes first and fixed them onto the base, then laid a crumpled sheet over the surface. This gave me broad waves with smaller creases between them, while leaving the island’s position clear.
After priming, I painted a green foundation and worked over it with blue glazes mixed with glaze medium. The underlying tones remained visible in places, giving the water some variation. White paint picked out the wave crests and added patches of foam. Along the shore, small stones and broken areas of white helped connect the rock island to the water.
I enjoyed seeing this part develop. At the beginning, it was unmistakably foil on a board. Once the colours and foam were in place, the texture began to read as a sea surface. Simple materials can take you surprisingly far when you give them a suitable shape and finish.
A Very Small Mother of Dragons
Daenerys was one of the final pieces to complete. She is only 43 millimetres tall, which made her a different painting task from the large dragon. I used pale skin and hair, blue clothing, dark boots and a little gold for the chain.
There is a limit to the detail I can comfortably paint at that size. I kept her face simple and concentrated on making the main colours clear. Once placed beside Drogon, she provides a sense of his size. The contrast between the two is part of what makes the scene work for me.
Finally Putting the Brush Down
Finishing a project like this means deciding when to stop adjusting it. I know where the difficult joins were, which areas I repainted and where I had to change my approach. Those memories are part of the finished piece, even though someone seeing it for the first time would never know them.
What I see now is a scene that grew from a collection of printed parts into something I am pleased to display. The painting took patience, the fire needed experimentation, and the sea gave me a chance to work with materials I already had around.
There is also something enjoyable about pressing a switch and watching your own work light up. After all those evenings spent building it, I am still happy to give Drogon another opportunity to breathe fire.
Original 3D model: Dany and Drogon by VS3d / Vengeance Studios 3D
3D printing, painting, sea scenery and LED construction: My own work.
Hornet on Tour